


Your retail dealer
...............................................................................
...............................................................................
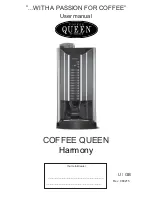
User manual
”...WITH A PASSION FOR COFFEE”
Rev. 080215
U / GB
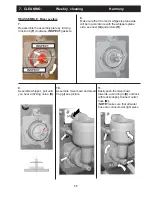
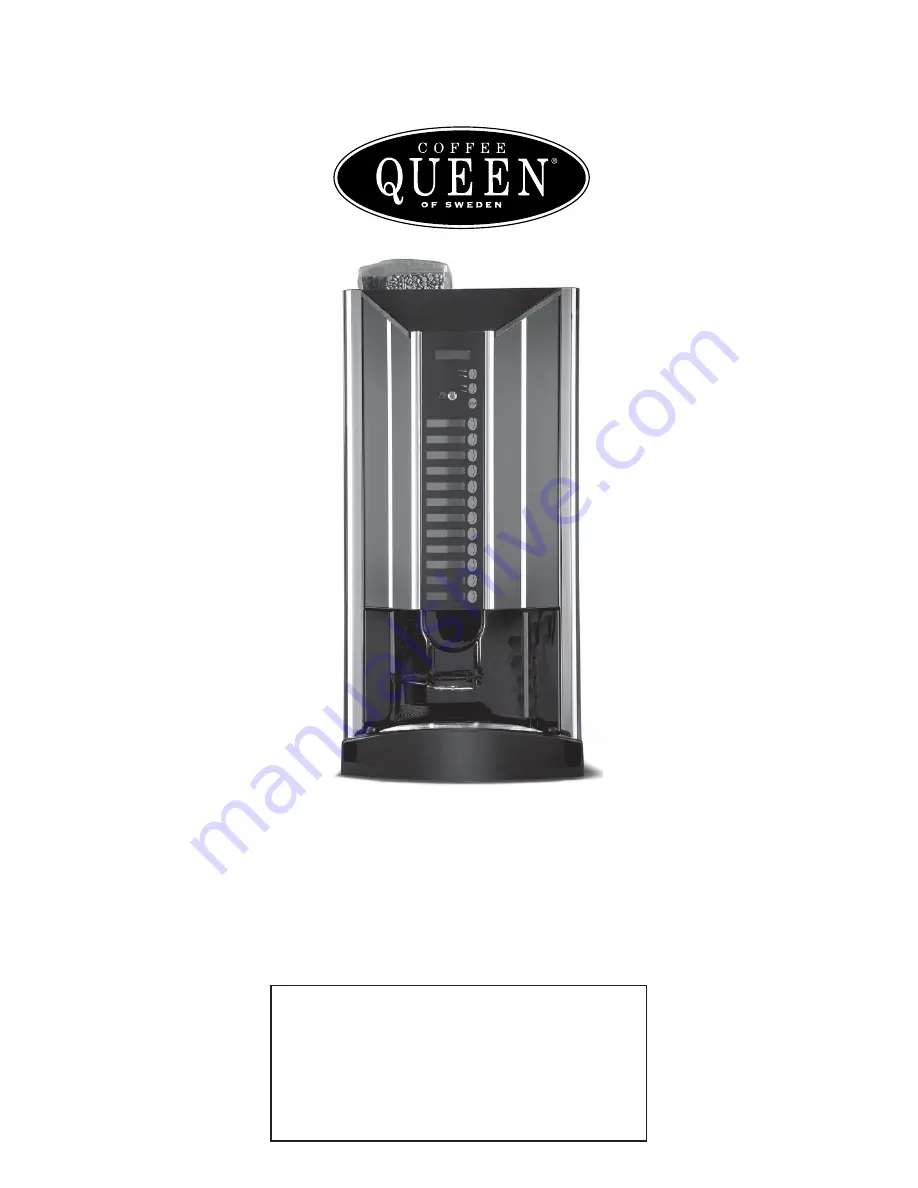
Harmony
COFFEE QUEEN
...............................................................................
...............................................................................


