23
INSTALLATION AND CONNECTIONS
®
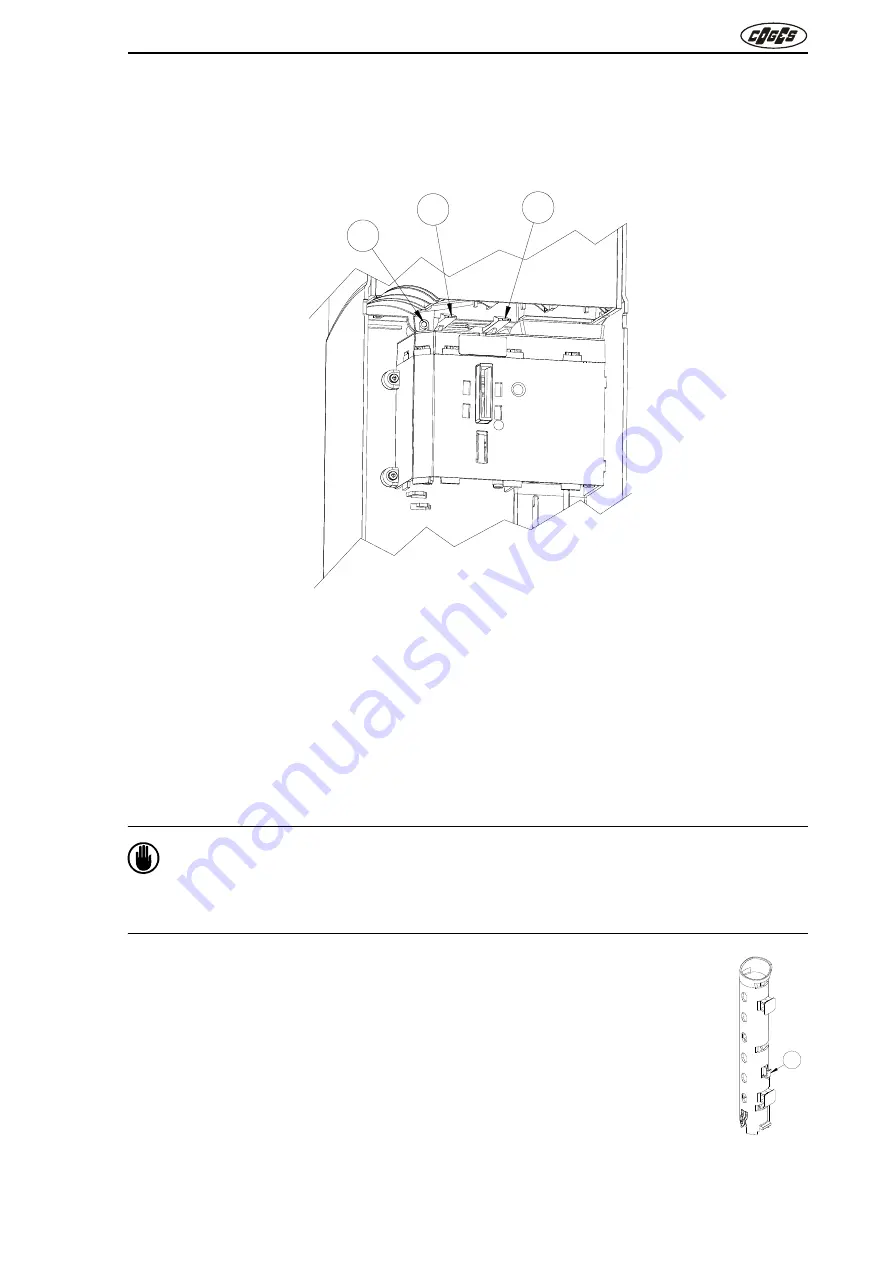
cylindrical pin which is placed on the Coin Mechanism base.
Press the Validator/Separator group towards the Coin Mechanism base till the hooking with the
clips displayed on the drawing is carried out. Make sure that the clips are perfectly hooked to the
Validator/Separator group before proceeding with the installation.
fig. 27
1 = Alignment hole for the Validator/Separator group
2 = Fastening clip
2.1.4. Configuration of the tube box
The Coin Mechanism is supplied at purchase with 5 tubes in a standard configuration, which can be
changed afterwards according to the Operator’s personal requirements.
Any other configuration of the tube box shall be included among those foreseen in COGES
programming models which are present in the EasyCoinProfit software, as these
configurations have been tested and validated by COGES. In case the configuration of the
tube box chosen is not present in the foreseen programming models, it is necessary to
check it with Coges Customer Service.
To do this it is necessary to carry out the following operations:
•
remove the tube box by keeping its handle and by acting on the opening lever of
the Coin Mechanism;
•
keep
all the tube box
firmly
with your hand in order to avoid that the weight of
coins may make it fall;
•
remove the tubes you intend to replace by acting on the fastening levers and
configure the box (see para. 2.1.4.1. “Mechanical parts associated with the Euro
coins”);
•
place the box of the Coin Mechanism in the correct position.
fig. 28
1 = Fastening lever
1
2
2
1


