5
Important
Failure to closely follow operational and maintenance procedures
may result in damage to the unit and/or void your warranty.
Coldelite Corporation will not be responsible for any machine
not properly maintained.
In the event this unit should malfunction, please contact your
Coldelite Distributor or an authorized service agency.
PART I
INSTALLATION
Before starting this procedure, make sure the shipping case
does not show any evidence of having been dropped, tampered
with or abused in such a way as to indicate that its contents may
have been damaged in transit.
IMPORTANT: Should the outside of the shipping case give any
indication of possible hidden damage, state this on the bill of
lading before signing. Contact the carrier immediately and
request an inspection of damage. If this procedure is not adhere
to, you will forfeit your right to file damage claim and be responsible
for subsequent repair costs.
A)Uncrating
Proceed, as follows:
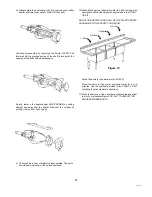
1) The case is secured to the skid with plastic strapping.
When you cut this strapping, do it with caution, as it may
spring out. Remove case by lifting it straight up and away
from the machine.
2) The freezer is also secured to the skid with plastic strapping.
Exercise caution and cut this strapping to free the machine
from the skid.
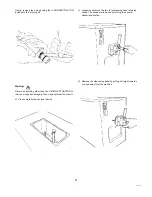
3) Remove the single screw at the bottom of each side panel.
Remove the panels by sliding upward slightly,
t h e n
pull
outward at the bottom and allow the panel to slide
down. The
protective plastic coating which
i
s
laminated to the panels
can now be removed by
simply peeling off.
B)Positioning the Machine
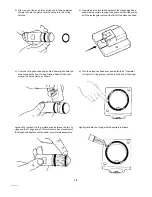
1) The freezer is shipped without legs installed. To install
the legs, lift the freezer and screw the four legs into the
bottom of the frame at each corner. When the freezer is
placed in the desired location, it must stand level. Level
the freezer by turning the bottom part of each leg in or
out. Check for level condition by placing level on the top
of the freezer at each corner.
NOTE: Accurate leveling is necessary for correct drainage of
freezer barrel and to insure correct over-run.
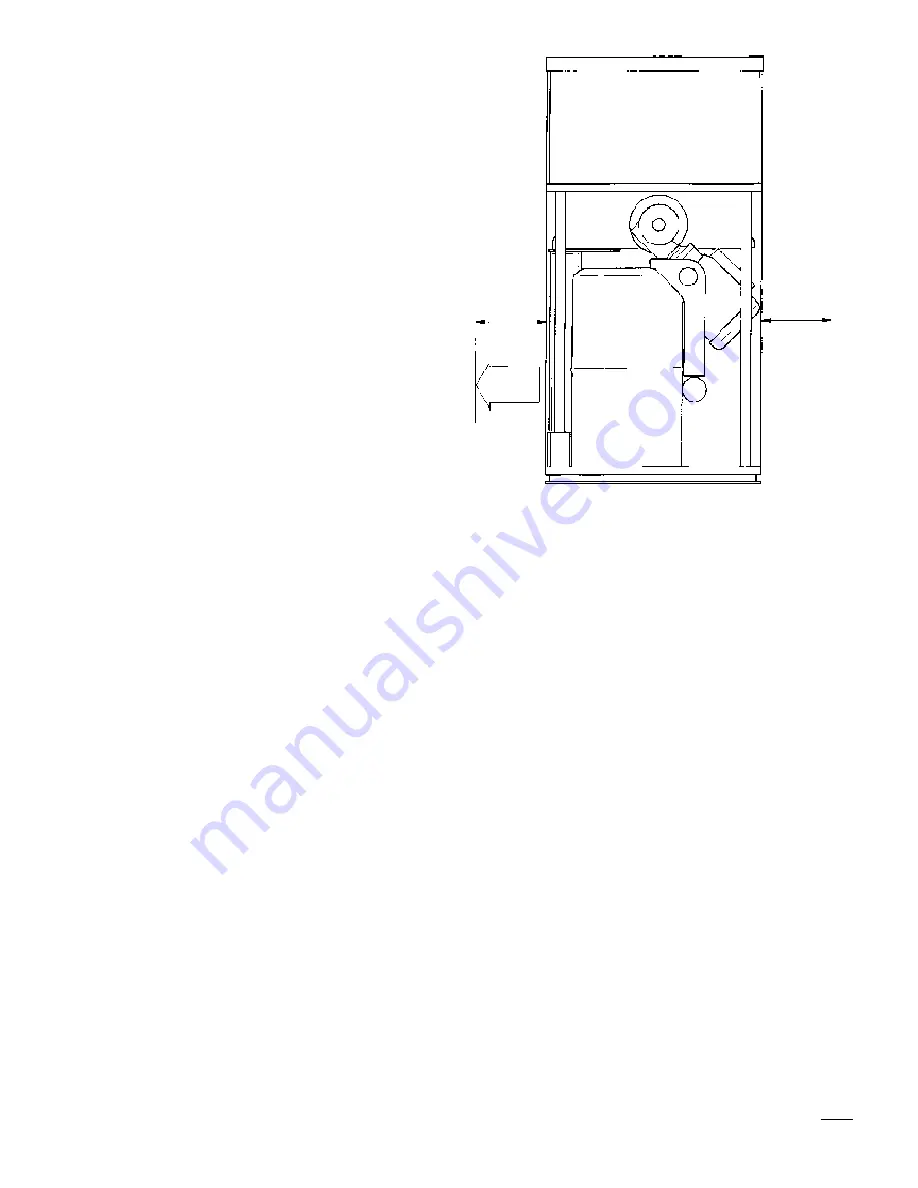
Figure 1
Clearances Required for
Air Cooled Models
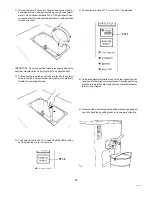
2) The freezer is now ready to be positioned onto your
counter. The counter must be capable of supporting 180
lbs. and should be vibration free. Reinforce it, if necessary.
Remember when choosing a location, if your unit is air
cooled, proper air flow will need to be maintained. Allow
at least 8 inches on left side and a minimum of 6 inches
between the right side of the machine and any obstruction.
(Ref. Fig. 1).
Note: If these clearances are not maintained, the production
capacity will be reduced, cycling will increase and the potential
will exist that the machine will stop completely.
3) It is necessary to clean the condenser each month to
eliminate dust, paper, etc. which may obstruct it, damaging
the proper functioning of the machine.
4) The machine should also be within six feet of the power
supply (a plug and receptacle or unfused disconnected).
5) Position the machine for easy accessibility for cleaning,
servicing and maintenance.
6) Position the machine away from direct sunlight. For every
2°F over 68°F, the machine’s performance will decrease
by approximately 1%.
7) Once the machine is set in position, it should be leveled
as accurately as possible.
Air
Flow
8"
6"
Rear View


