9
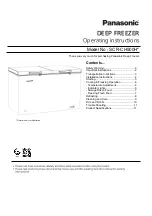
Next remove the outer regulating sleeve from the
center tube by pulling straight off.
Finally remove the orings on the end of the center
tube using
ONLY
the oring removal tool included
in your spare parts kit.
!! WARNING !!
Never use anything other than the oring remover
provided in your tool kit. Removing the orings with
other objects or tools can possibly damage the
orings and plastic parts.
Part III–Initial Cleaning Procedure
!! IMPORTANT !!
Before starting this procedure, place the machine in
the STOP mode on the touch pad.
This is a new machine and although clean, it must
be completely disassembled, washed and sanitized
before adding fresh product. Please proceed as
follows:
1) Remove the mix tank cover and spare parts items
packed inside the mix tank. The spare parts kit will
include: spatula, cleaning brushes, sanitary
lubricant, oring removal tool, sanitizer packets,
spare orings and seals, and operation manual. Place
these items in a convenient place for future
reference.
Helpful Suggestion:
Before proceeding with the
disassembly of the freezer, we recommend the use
of a clean plastic pan or pail to place the removed
parts into. This will minimize the possibility of
misplacing or damaging these components.
A)
Gravity Fed Machines
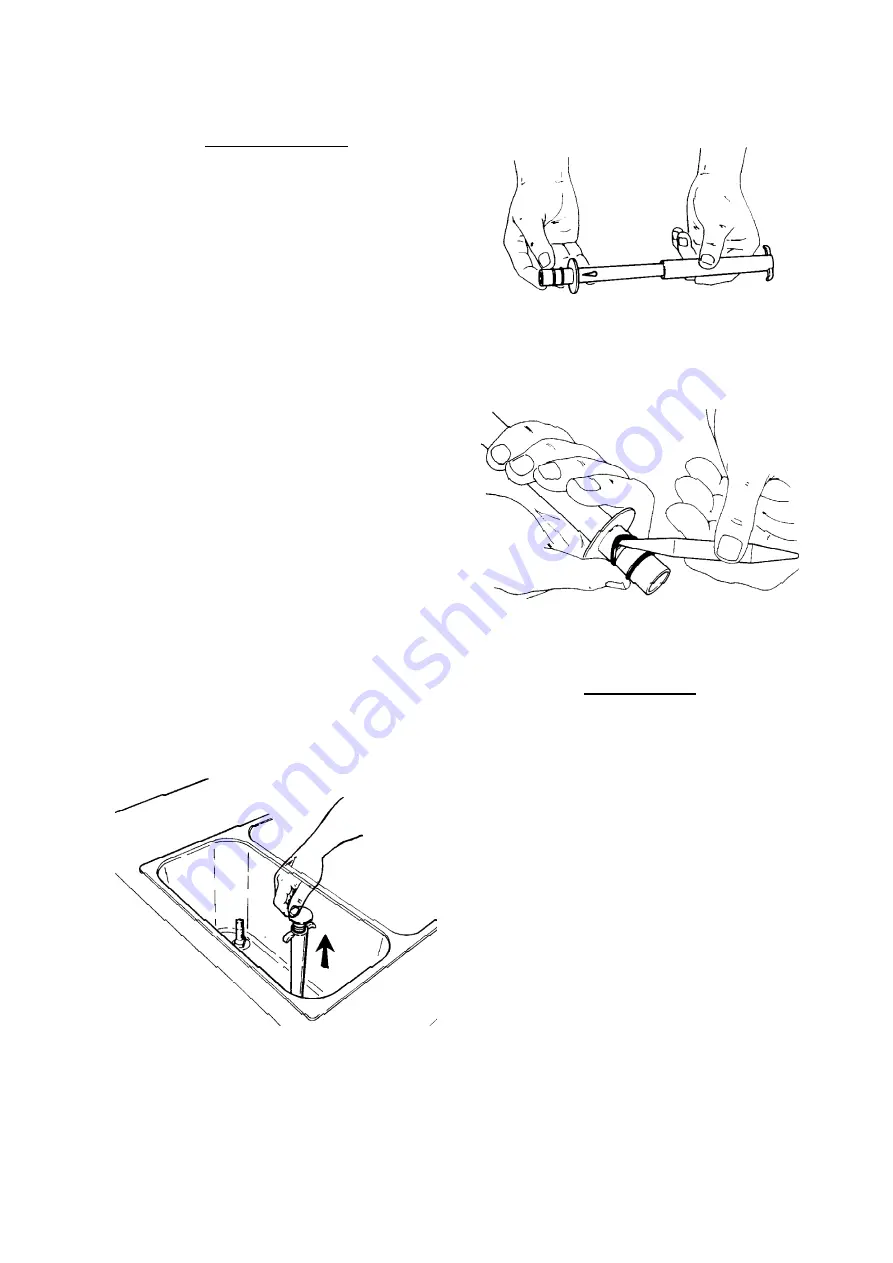
Proceed with the disassembly process by removing
the gravity feed tubes, which are located inside each
mix storage tank. These should be pulled straight
up and out of the tanks.
Once removed, the gravity feed tubes must be
disassembled. To disassemble, first remove the
splash guard from the center of the tube.


