- 5 -
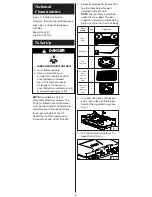
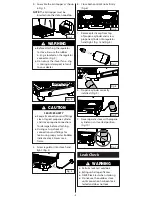
4. Assemble the lid stopper as shown
in Fig. 3.
NOTE: The lid stopper must be
inserted into the slot on cooktop.
Fig. 3
●
Before attaching the regulator
to stove, be sure the rubber
o-ring is located on the regulator
connector. (Fig. 4)
●
Do not use the stove if an o-ring
is missing or damaged, return it
to your dealer.
WARNING
Fig. 4
Rubber O-ring
SERVICE SAFETY
●
Keep all connections and fittings
clean. Inspect propane cylinder
and stove propane connections
for damage before attaching.
●
During set up, check all
connections and fittings for
leaks using soapy water. Bubbles
indicate a leak. Never use a
flame.
CAUTION
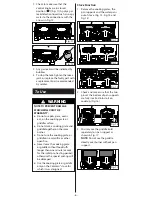
5. Screw regulator into stove hand
tight. (Fig. 5)
Fig. 5
6. Close both control knobs firmly.
(Fig. 6)
Fig. 6
7. Remove plastic cap from top
of propane cylinder and screw
propane cylinder into regulator
hand tight. (Fig. 7 and Fig. 8)
Fig. 7
Fig. 8
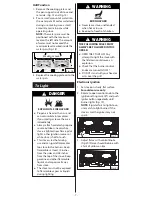
8. Propane cylinder correctly
installed. (Fig. 9)
Fig. 9
9. Never operate stove with propane
cylinder in an inverted position.
(Fig. 10)
Fig. 10
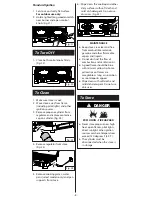
Leak Check
●
Perform leak test outdoors.
●
Extinguish all open flames.
●
NEVER leak test when smoking.
●
Do not use the outdoor stove
until connection has been leak
tested and does not leak.
WARNING
Summary of Contents for 5497 Series
Page 13: ... 12 ...


