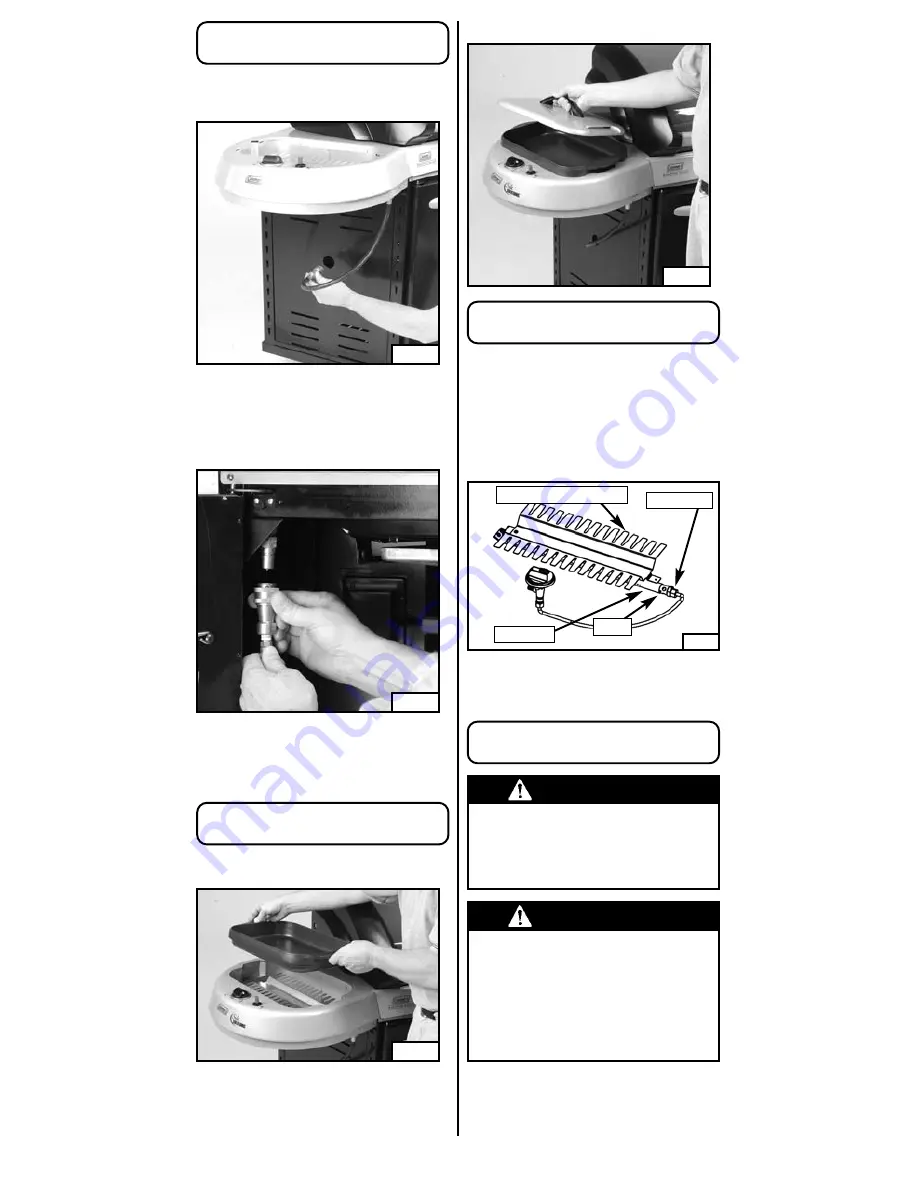
2. Place the lid onto the skillet (Fig. 10).
7. Open the door to reveal the Quick Coupler in
the upper corner. Retract the Collar on the
Quick Coupler before attaching to the male
fitting (Fig. 8). Release the collar to lock the
connection.
Skillet Assembly
(cont.)
English-6
Setup
Fig. 8
Fig. 10
1. Place the non-stick skillet into the unit (Fig. 9).
Fig. 9
8. Check that the hose has no kinks or sharp
bends and clears areas that will become hot
during use. Never put strain on the hose where
it joins a fitting.
6. Push the fuel hose connection through the
opening in the side grill panel (Fig. 7).
Fig. 7
Leak Testing
WARNING
• Perform leak test outdoors.
• Extinguish all open flames.
• NEVER leak test when smoking.
• Do not use the outdoor skillet until connection
has been leak tested and does not leak.
CAUTION
• SERVICE SAFETY
• Keep all connections and fittings clean.
Inspect propane cylinder and skillet propane
connections for damage before attaching.
• During set up, check all connections and
fittings for leaks using soapy water. Bubbles
indicate a leak.
Never use a flame.
Burner and Orifice
1. Proper location of the burner with respect to the
venturi and orifice fitting is important. To verify
the proper factory installation of the burner and
venturi, remove the cooking surface and locate
the burner and venturi. The burner tube must
be located in line with the venturi and the
orifice fitting (Fig. 11).
Fig. 11
Burner Tube
Venturi
Orifice Fitting
■
Check and clean the burner/venturi tubes for
insects and insect nests. A clogged tube can
lead to a fire beneath the appliance.
Eventemp™ Flame Deflector
Summary of Contents for 9988 Series
Page 14: ...Notes English 13 ...
Page 15: ...Notes English 14 ...


