Insert the
IMAGE
CD into your CD-ROM drive. The
autoplay disc will launch the Installer program. Follow the on-
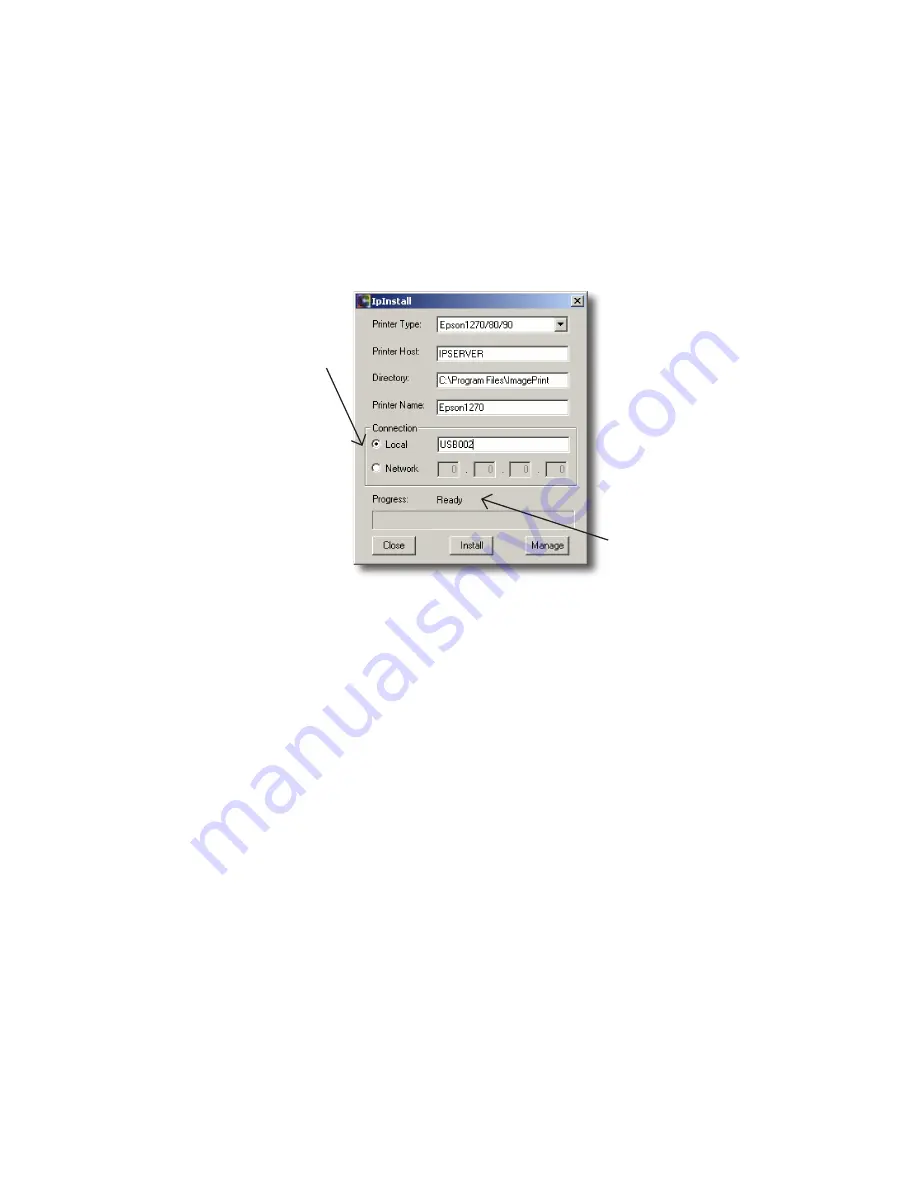
screen instructions until the IPInstall window appears.
If you’re using one computer and one printer, do not change the
Printer Host
.
If you have multiple printers and computers you should refer to the complete
User’s manual for detailed instructions.
1. For parallel, USB
or Firewire port
connections Click
Local.
In this example
we’re using USB002.
You should enter the
Port Name you wrote
down earlier.
For ethernet
connections only,
Click Network and
enter your printer’s IP
address.
2. Choose your
Printer Type
from the
drop-down menu.
4. Click
Install
.
Please be patient.
This process
may take up
to 5 minutes to
complete.
5. When the
Progress line
has changed
from “Installation
Started” to
“Installation
Complete” Click
Close.
3. In the
Directory
box you may enter the name of the folder where you’d
like to install
IMAGE
,
or use the default location shown
Continue following the on-screen instructions. Be sure to reboot
your computer before proceeding to the next step.
INSTALLING DONGLE DRIVERS
After reboot, insert the enclosed dongle to any free USB port.
Windows should automatically detect and install the proper
drivers. The dongle must be attached to your computer whenever
you use
IMAGE
or a DEMO watermark will appear across
the printed area.


