Chapter 14 - - - - - - - - - - - - - - - - - - - - - - - - - - - - - - - - - Sample setup - Backend software - - - - - - - - - - - - - - - - - - - - - - - - - - - - - - - - Chapter 14
- - - - - - - - - - - - - - - - - - - - - - - - - - - - - - - - - - - - - - - - - - - - - - - - - - - 305 - - - - - - - - - - - - - - - - - - - - - - - - - - - - - - - - - - - - - - - - - - - - - - - - - - -
Step 3: Configure Steel-Belted Radius on Server 1
Modify the
default
configuration
files
The Backend archive file contains modified configuration settings for the Steel-Belted
Radius server to make it work in this example.
1.
Open a command-line session.
2.
Execute the command:
net stop “Steel-Belted Radius”
This stops the Steel-Belted Radius server. (It was automatically started after
installation.)
3.
Copy the following files from
c:\colubris\radius\
to
c:\radius\service\.
• Sqlacct.acc
• Sqlacct2.acc
• Sqlauth.aut
If you are prompted to replace the files, do so.
4.
If you are using an older version of Steel-Belted Radius, you should also copy the
files in
c:\colubris\radius\older_version\
to
c:\radius\service\.
Start and
connect to the
server
1.
Open a command-line session.
2.
Execute the command:
net start “Steel-Belted Radius”
3.
On the
Start
menu, click
Steel-Belted Radius
, then click
Steel-Belted Radius
Administrator
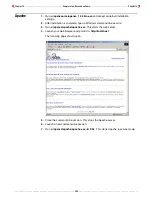
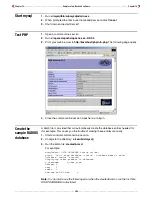
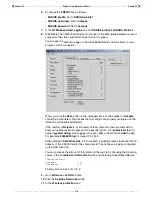
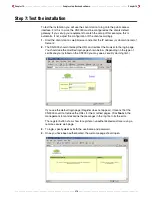
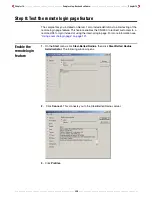
. The following window opens.
Summary of Contents for CN3000
Page 1: ...CN3000 Administrator s Guide...
Page 8: ...Table of Contents 8...
Page 60: ...Chapter 2 How it works Chapter 2 60...
Page 94: ...Chapter 4 Scenarios Chapter 4 94...
Page 106: ...Chapter 5 Activating the public access interface Chapter 5 106...
Page 211: ...Chapter 10 SSL certificates Chapter 10 211...
Page 292: ...Chapter 13 The configuration file Chapter 13 292...
Page 370: ...Chapter 16 Sample setup Microsoft RADIUS Chapter 16 370...
Page 396: ...Chapter 16 Sample setup Microsoft RADIUS Chapter 16 396...
Page 414: ...Chapter 17 Experimenting with NOC authentication Chapter 17 414...

