2 of 3
42-10-3300-02
2
Connect your computer
a.
Use a cross-over cable (not supplied) to connect the LAN port on
your computer to the LAN port on the CN3300.
b.
Configure your computer with the static IP address 192.168.1.2.
3
Power-on the CN3300.
Connect the power supply (sold separately) or use PoE (802.3af) to
power-up the CN3300. PoE is only supported on the LAN port.
The CN3300 is fully operational when the power light stops flashing.
4
Start the management tool.
a.
Start your Web browser and specify the following in the address
box:
HTTPS://192.168.1.1
and press
Enter
.
b.
You will be prompted to accept a Colubris Networks security
certificate. Do so to continue.
c.
The CN3300 login page opens. Login with username
admin
and
password
admin
.
d.
If this is the first time you are logging in, you will be prompted to
change the default administrator password. Specify a new
password and click
Save
.
e.
If you are using the CN3300 outside of the USA, set the country
that the CN3300 is operating in on the
Management >
Country
page.
5
Configure the wireless network.
By default the CN3300 is configured to:
• automatically choose the best operating channel (frequency)
•
automatically choose the optimum power level
• create a wireless network named “Colubris Networks”
There is no need to change these settings for most installations.
6
Configure the Internet connection
a.
Connect the Internet port to your Internet connection.
b.
Open the
Network > Ports > Internet
port page.
c.
Select the addressing option supported by your ISP, click
Configure,
and define all settings as required by your ISP.
7
Enable local mode
This will let you test the CN3300 without using a RADIUS server to
authenticate customers. Authentication is handled by the CN3300.
a.
Open the
Security > Authentication
page.
b.
Disable
CN3300 RADIUS authentication
.
c.
Open the
Security > Users
page.
d.
Add usernames and passwords for one or more test customers.
8
Test the public access interface
To test your installation, use a wireless client station to log onto the
public access interface. (For this to work, the CN3300 must be
configured as the client’s default gateway. This is done by default if
the wireless client is using DHCP.)
Note:
By default, the CN3300 has radio 1 set to B/G mode, and radio 2 set
to Monitor mode (scanning only), therefore the wireless client station
must have either a B or G radio.
a.
Start the client station’s web browser and enter the IP address
(or domain name) of a web site on the Internet.
b.
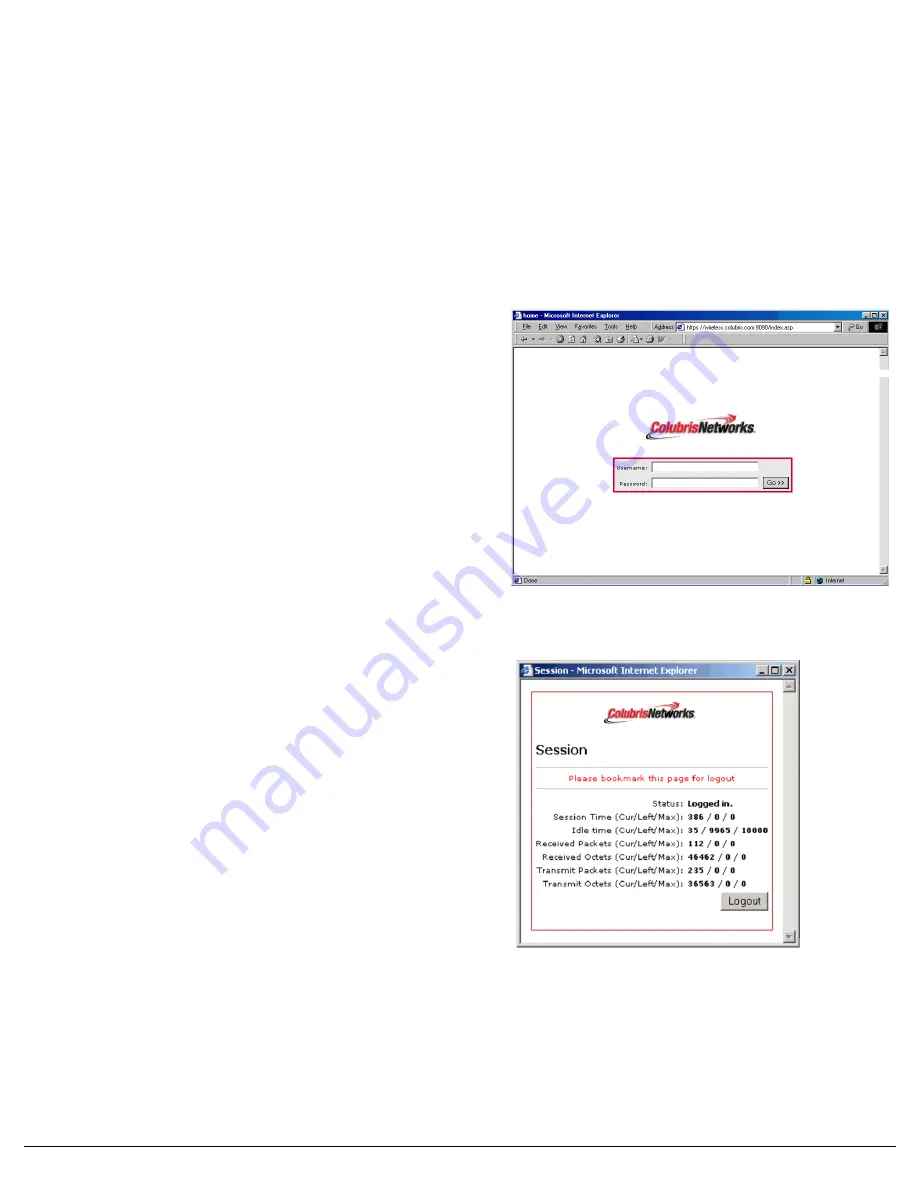
The CN3300 should intercept the URL and display the Login
page. (Depending on the type of certificate that is installed on the
CN3300, you may see a security warning first.)
c.
Specify a valid customer name and password to login.
d.
The Session page will open.
e.
Next, you are automatically redirected to the web site you
originally requested.
The CN3300 is now ready for operation.
Refer to the
CN3300 Administrator’s Guide
and the
Public Access
Interface Administrator’s Guide
for additional configuration information.


