background image


13 

MACHINE PREPARATION 


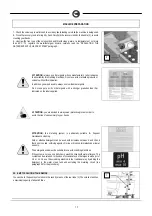
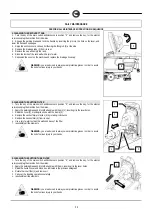
ATTENTION: in order not to cause permanent damage to the batteries it is 
essential to avoid their complete discharge: arrange the recharge within a few 
minutes of the switching on of the flashing "discharged batteries" signal 

  ATTENTION: never leave the batteries completely discharged, even if the 

machine is not being used 


ATTENTION: for the daily recharging of the batteries, you must fully respect 
the indications provided by the manufacturer or retailer. All installation and 
maintenance operations must be carried out by expert personnel, trained at the 
COMAC assistance centre 

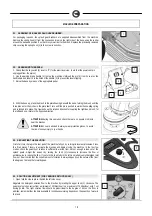
  WARNING Make sure that the battery charger green LED is on before using 

the machine again 


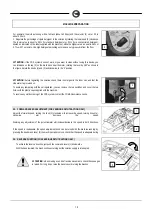
ATTENTION: danger of exhalation of gas and leakage of corrosive liquids 


ATTENTION: danger of fire: do not go near with free flames 


10.


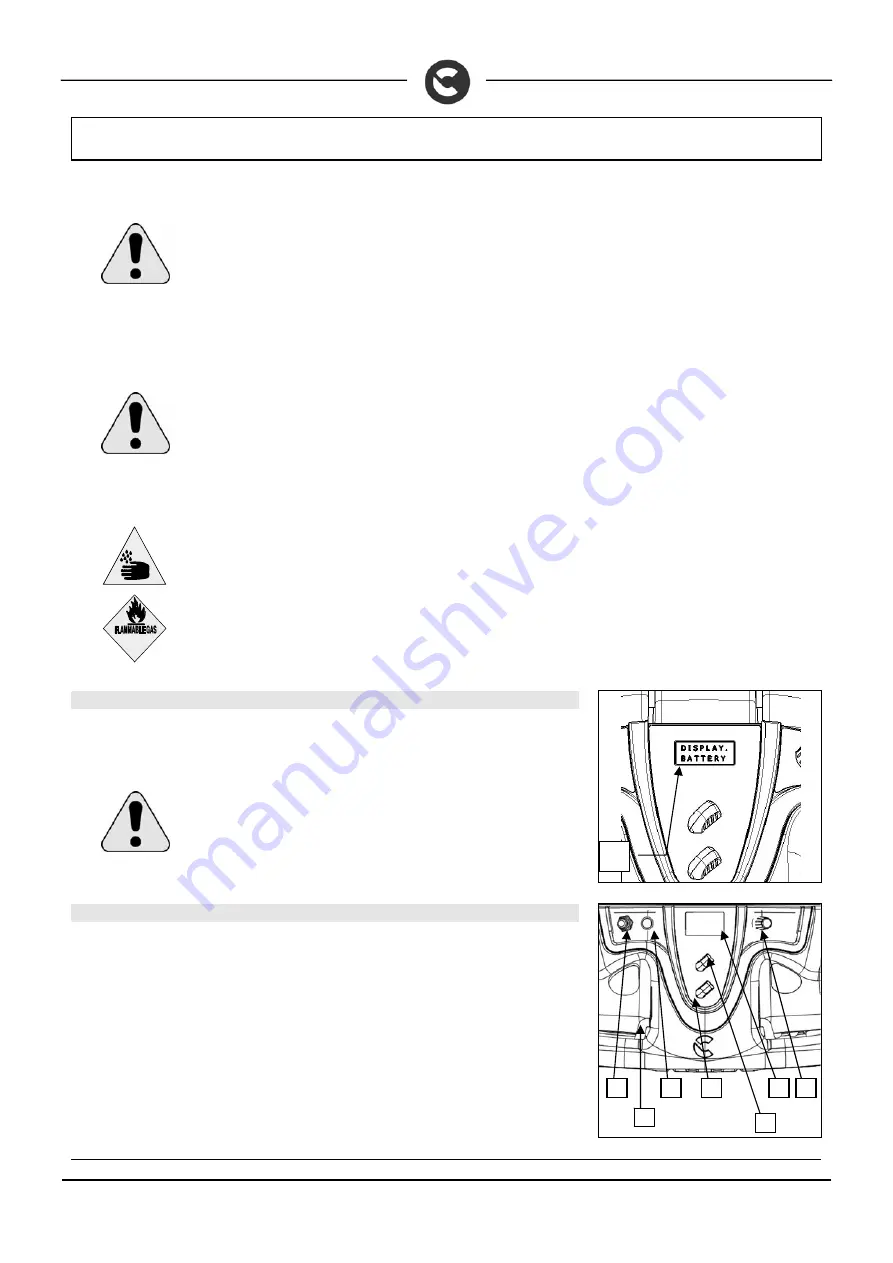
BATTERY INDICATOR (FOR B-BT VERSIONS ONLY) 

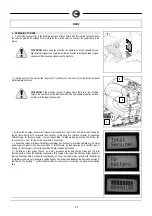
On the instrument panel of the machine there is a monitor (1) indicating (amongst other things) the 
battery charge status. If the upper line contains 8 light indicators, the battery charge level is 100%. If 
the edges of the indicators are flashing, this means the batteries are run down. 


ATTENTION: a few seconds after the last indicator on the monitor has flashed, 
the brush motor will automatically switch off. With the remaining charge it is 
possible to complete the drying process before recharging 


11.  INSTRUMENT PANEL COMPONENTS  

 The instrument panel components are identified as follows: 

1.


Levers to activate brushes/traction (located beneath the grip) 

2.


Water output adjustment switch (for CDS system only) 

3.


Detergent output adjustment switch (for CDS system only) 

4.


Battery level / hour-counter display 

5.


Battery level hour-counter display command button 

6.


Speed level knob (for automatic traction version only) 

7.


Brush uncoupling command button (for battery system only) 


Summary of Contents for SIMPLA 50 B

Page 1: ...USE AND MAINTENANCE MANUAL SIMPLA 50 B BT SIMPLA 50 E ED 10 2010 EN ORIGINAL INSTRUCTIONS Doc 10026263 Ver AA...

Page 2: ...ses only and are not binding in terms of design and supply Symbols used in the manual Open book symbol with an i Indicates the need to consult the instruction manual Warning symbol Carefully read the...

Page 3: ...THOUT CDS 16 19 SOLUTION TANK DETERGENT TANK FOR SYSTEMS WITH CDS ONLY 16 20 EMPTY SOLUTION TANK DEVICE 17 21 ASSEMBLY OF BASE SPLASH GUARD RUBBER 18 22 ASSEMBLING THE BRUSH 18 23 REGULATING THE SOLUT...

Page 4: ...machine must only be used for this purpose Even the best machines will only work well if used correctly and kept in good working order We therefore suggest you read this instruction booklet carefully...

Page 5: ...0 230 450 Suction vacuum mbar 90 90 90 Traction motor V W 24 150 Solution tank PE l 60 60 60 Recovery tank PE l 65 65 65 Total machine weight empty and without batteries kg 110 125 110 Machine weight...

Page 6: ...itch symbol key switch Water regulation symbol Printed on the solution tank to indicate the position of the tap Indicates the maximum gradient Indication showing the battery charge level on the upper...

Page 7: ...ctions in the tank for DS system only Label with the instructions for the use of concentrated or standard detergents for DS system only Label with the pH value of the detergent to be used for DS syste...

Page 8: ...ously Different operations should only be carried out in areas where the passage of unauthorised persons is prohibited Signal the presence of damp floors with suitable signs If the machine does not wo...

Page 9: ...from the pallet pushing it backwards Do not assemble the rear squeegee before unloading the machine and avoid violently jolting the brush base To assemble the squeegee read the ASSEMBLING THE SQUEEGEE...

Page 10: ...es by means of the grips on the upper part 6 house the batteries in the compartment positioning the poles and opposite each other 7 connect the batteries in series using the jumper cables supplied 3 t...

Page 11: ...u are advised to only lift and move the batteries with lifting and transportation means suitable for the specific weight and size 7 RECHARGING THE BATTERIES WITH AN EXTERNAL BATTERY CHARGER VERSIONS W...

Page 12: ...the battery connector to the machine connector see previous paragraph To charge the gel battery proceed as follows 1 Engage the parking brake 2 Check that the machine s master switch is in the 0 posi...

Page 13: ...10 BATTERY INDICATOR FOR B BT VERSIONS ONLY On the instrument panel of the machine there is a monitor 1 indicating amongst other things the battery charge status If the upper line contains 8 light ind...

Page 14: ...follows 19 Solution water filler cap 20 Recovery tank lifting handle 21 Suction unit lifting handle 14 SQUEEGEE ASSEMBLY For packaging reasons the squeegee is supplied disassembled from the machine an...

Page 15: ...o the floor along its entire length of about 5mm If it is necessary to increase the bend of the rubber in the central part you must tilt the squeegee backwards rotating the adjuster 1 anticlockwise To...

Page 16: ...imum amount of necessary detergent ATTENTION always use detergents whose manufacturer s label indicates their suitability for scrubbing machines Do not use acid or alkaline products or solvents withou...

Page 17: ...dicated on the label supplied ATTENTION you are advised to always wear protective gloves in order to avoid the risk of serious injury to your hands ATTENTION the metering system is particularly suitab...

Page 18: ...eration check there are no people or objects near the brushes ATTENTION You are advised to always wear protective gloves to avoid the risk of serious injury to your hands 23 REGULATING THE SOLUTION Fi...

Page 19: ...s turned on To avoid any tampering with the set regulation you can remove the two switches and cover the two holes with the plastic caps supplied with the machine To resolve any malfunctioning of the...

Page 20: ...s on the top line what type of hour counter has been set in this case it s a total hour counter to visualise a different type for instance partial contact the qualified COMAC trained personnel The bot...

Page 21: ...irst metres check there is sufficient solution and that the squeegee dries perfectly 10 The machine will now begin to work efficiently until the cleaning solution finishes or the battery is flat for b...

Page 22: ...them with a jet of water to disassemble the brushes see DISASSEMBLING THE BRUSHES below 9 The squeegee and the base must be off the ground when the machine is not operating to prevent deforming the s...

Page 23: ...ons unplug the machine from the mains 2 Apply the parking brake and block the handle with the pin 1 inserting it in the lever holes 3 Raise the cover 1 blocking its stroke with the clamp 2 4 Remove th...

Page 24: ...eat 5 carefully clean the inside of the squeegee and its suction nozzle 6 carefully clean the squeegee rubbers 7 reassemble all the elements 5 DISASSEMBLING THE BRUSH 1 Turn the key of the main switch...

Page 25: ...if necessary replace them The rear rubber 1 should be replaced when the squeegee fails to pick up well leaving water on the floor To replace the rubber you must 1 loosen the wing nuts 2 that block the...

Page 26: ...er and rinse with a jet of water 4 Reassemble the filter and tighten the cap 5 Turn on the tap beneath the symbol 1 WARNING you are advised to always wear protective gloves in order to avoid the risk...

Page 27: ...er filter of the recovery tank is not dirty and if necessary clean it thoroughly 4 EXCESSIVE FOAM PRODUCTION Check that a low foam detergent has been used If necessary add a small quantity of antifoam...

Page 28: ...parate the following materials and send them to the appropriate collection centres in accordance with the environmental hygiene regulations currently in force brushes filter electric and electronic pa...

Page 29: ...will become rigid and are no longer able to penetrate and clean deep down In this case like with overlarge bristles the brush tends to jump PAD HOLDER The pad holder is recommended for cleaning shiny...

Page 30: ...rial environments EN 61000 6 3 Electromagnetic compatibility EMC Part 6 3 Generic standards Standard emission for residential commercial and light industrial environments EN 61000 3 2 Electromagnetic...

Page 31: ...compatibility Regulations for household appliances electrical devices and similar equipment Part 1 Emission Regulations for product family EN 55014 2 Electromagnetic compatibility Regulations for hou...

Reviews: