5
Start-up of the counter
Before use, we recommend that the counter is cleaned, see the section on maintenance and cleaning.
Important !
If the counter has been vertically placed during transport, please wait 2 hours before starting up the counter.
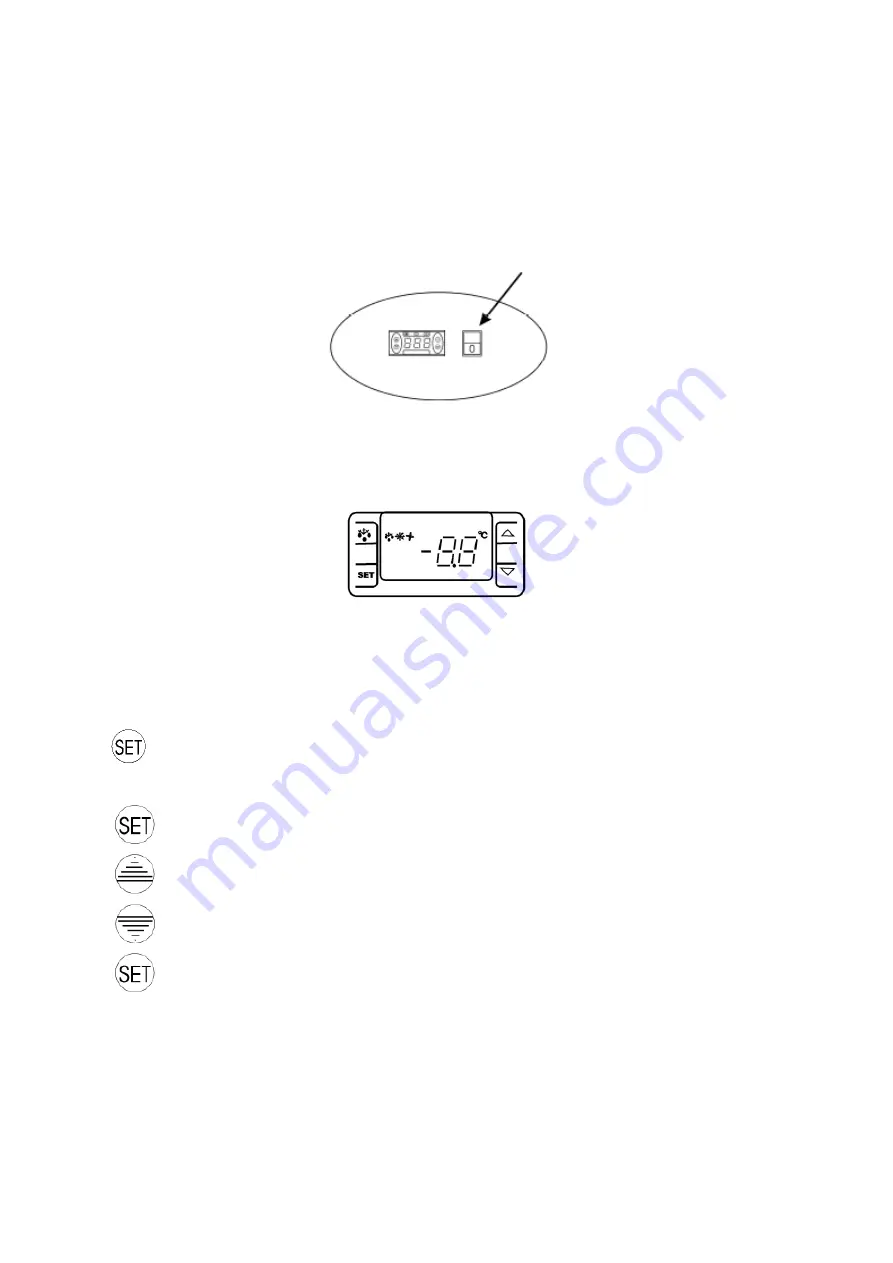
Connect the counter to a socket and turn on the switch on the control panel, see fig. 1.9.
Fig 1.9
Thermostat
The thermostat is placed in the control panel, see fig. 2.0.
Fig. 2.0
The thermostat has been pre-set and in most cases it is not necessary to adjust the settings.
When turning on the counter the display will show the current temperature in the counter.
Display set temperature:
Press this key and the display will show the set temperature. Press the key again to return to normal
reading
Set new temperature:
Press this key continuously for more than 3 seconds and the display shows the set temperature.
Press this key to increase the set temperature.
Press this key to lower the set temperature.
Press this key to save the new settings. The display will flash with the new value and will then return
to normal reading.
Alarm codes:
‘P1’
Flashing in the display: indicates that the counter sensor is defective.
The counter will strive to keep the set temperature until it has been repaired.
‘P2’
Flashing in the display: indicates that the evaporator sensor is defective.
This does not influence the operation of the counter, but should be repaired as soon as possible.


