background image


Important safety instructions 

1. 

To obtain full use of the counter, we recommend reading this instruction manual.  

2. 

It is the user’s responsibility to operate the appliance in accordance with the instructions given.  

3. 

Contact your dealer immediately in case of any malfunctions.  

4. 

Place the counter in a dry and ventilated place.   

5. 

Keep the counter away from strongly heat-emitting sources and do not expose it to direct sunlight.  

6. 

Always keep in mind that all electrical devices are sources of potential danger.   

7. 

Do not store inflammable material such as thinner, gasoline etc. in the counter.   

8. 

We declare that no asbestos nor any CFC are used in the construction.  

9. 

The oil in the compressor does not contain PCB. 


Unpacking and installation  

Remove the wooden pallet and the packing. External surfaces are supplied with a protection foil, which must be 
removed before installation  
  
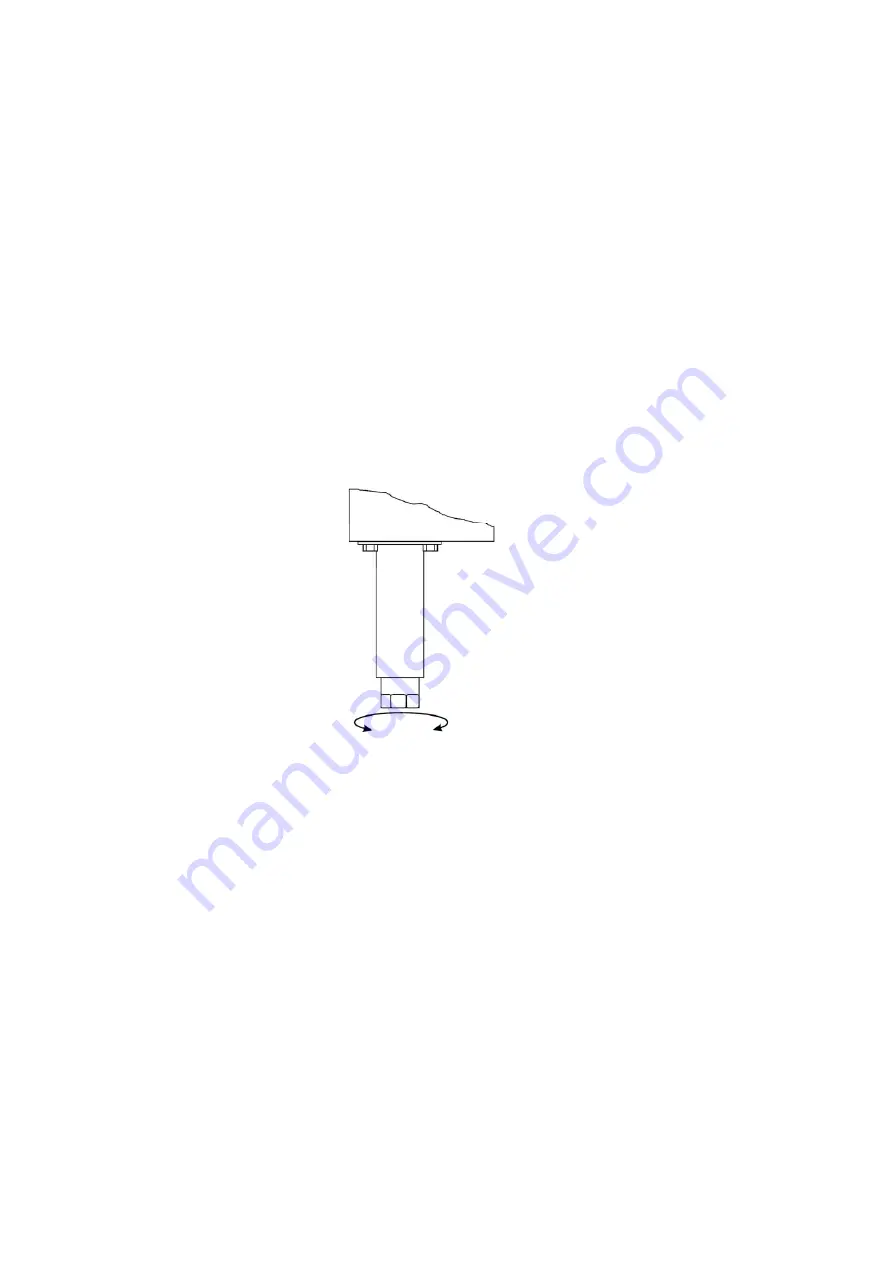
To ensure correct function it is important that the counter is level. If the counter is supplied with legs, these can 
be adjusted. See fig. 1.1.  
 

Fig. 1.1  


Electrical connection 

The counter operates on 230 V/50 Hz.  
  
The wall socket should be easily accessible.   
  
All earthing requirements stipulated by the local electricity authorities must be observed. The counter plug and 
wall socket should then give correct earthing. If in doubt, contact your local supplier or authorized electrician.  
  
The flexible cord fitted to this appliance has three cores for use with a 3-pin 13-Amp or 3-pin 15Amp plug. If a 
B.S. 1363 (13-Amp) fused plug is used, it should be fitted with a 13-Amp fuse.  
  
The wires in this mains lead are coloured in accordance with the following code: Green/Yellow: Earth,  Blue: 
Neutral,  Brown: Live.  
  
The main electrical connections must be done by skilled electricians. 


Summary of Contents for 7450.0079

Page 1: ...Counters User Manual Gebruikershandleiding Gebrauchsanweisung Le mode d emploi...

Page 2: ...rische verbinding 7 De koelwerkbank starten 8 Thermostaat 8 Ontdooien 9 Onderhoud en reiniging 9 Service 9 Weggooien 9 DEUTSCH Wichtige Sicherheitsvorschriften 10 Aufstellung 10 Anslie en 10 Einschalt...

Page 3: ...doors 700 mm depth 7950 0082 Refrigerated counter 3 doors 700 mm depth 7950 0084 Refrigerated counter 4 doors 700 mm depth 7950 0106 Refrigerated counter 2 doors 700 mm depth 7950 0108 Refrigerated c...

Page 4: ...d the packing External surfaces are supplied with a protection foil which must be removed before installation To ensure correct function it is important that the counter is level If the counter is sup...

Page 5: ...Display set temperature Press this key and the display will show the set temperature Press the key again to return to normal reading Set new temperature Press this key continuously for more than 3 sec...

Page 6: ...her harsh cleansers as these can damage the stainless steel surfaces and the internal cooling system Clean the condenser and the compressor compartment using a vacuum cleaner and a stiff brush Do NOT...

Page 7: ...leverd met een beschermfolie die v r de installatie moet worden verwijderd Om juist gebruik te waarborgen is het belangrijk dat de koelwerkbank waterpas staat Als de koelwerkbank met poten wordt gelev...

Page 8: ...elde temperatuur Druk op deze toets en op het display verschijnt de ingestelde temperatuur Druk nogmaals op de toets om terug te keren naar normaal lezen Stel nieuwe temperatuur in Druk nogmaals op de...

Page 9: ...re zware reinigers bevatten omdat deze de roestvast stalen oppervlakken en het interne koelsysteem kunnen beschadigen Reinig de condensor en het compressorcompartiment met een stofzuiger en een stevig...

Page 10: ...keine explosiven Stoffe wie z B chemische Verd nnungsmittel und Benzin in diesem Ger t auf 8 Wir erkl ren dass kein Asbest noch CFC im Aufbau verwendet worden ist 9 Das l im Kompressor enth lt nicht...

Page 11: ...zeigt die eingestellte Temperatur Nochmal dr cken um normale Temperatur zu zeigen Neue Temperatur einstellen Dr cken Sie auf diesen Taster mehr als 3 Sekunden und Display zeigt die eingestellt Tempera...

Page 12: ...chen und Innenk hlsystem verursachen Kondensator und das brige Kompressorraum mit Staubsauger reinigen und eine steife B rste Achten Sie darauf dass kein Wasser im Kompressorraum und in den elektrisch...

Page 13: ...les tels que gaz briquets essence ther etc dans le table 8 Aucune asbeste ou CFC est utilis e dans la construction de le table 9 L huile dans le compresseur ne contient pas de PCB D sassemblage et mis...

Page 14: ...gl e Presser ce bouton et l afficheur montre la temp rature r gl e presser encore une fois pour retourner l indication normale R gler la nouvelle temp rature Presser ce bouton pendant plus de 3 second...

Page 15: ...ourraient causer la corrosion de l acier inox et du syst me frigorifique interne Le condensateur et le compartiment compresseur doivent tre nettoy s par l aide d un aspirateur et d une brosse raide Ne...

Reviews: