IMI
Installation
3 .
Full scale mounting templates are supplied in the packing boxes.
Hold or tape them to the mounting
surface,
and mark the location
of the mounting holes on the mounting surface as they are located
on the templates.
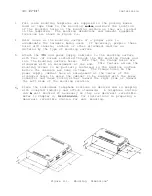
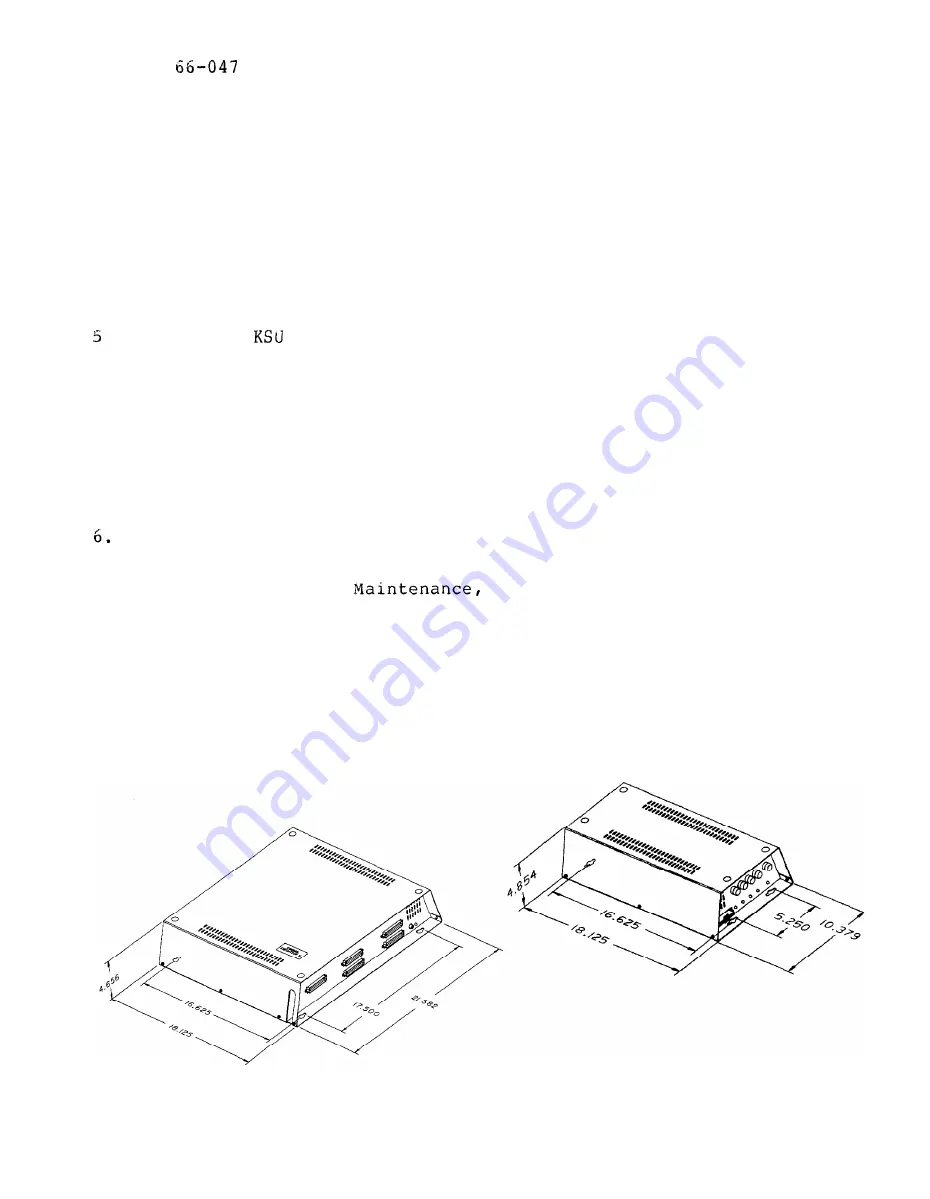
The mounting dimensions and general equipment
locations are shown on Figure 2-l.
4 .
Drill holes in the mounting surface of a proper size to
accommodate the hardware being used.
If necessary,
prepare these
holes with inserts,
anchors or other attachment devices as
dictated by the type of mounting surface.
.
Attach the
and power supply cabinets to the mounting surface
with four (4) screws installed through the KSU mounting flange and
into the mounting surface holes.
Note that the flange holes are
elongated with an enlargement at one end.
This feature allows the
mounting screws to be partially installed in the mounting surface
before the cabinets are hung on them.
The flange holes on the
power supply cabinet have an enlargement at the center of the
elongated holes to allow the cabinet to be mounted with the power
connector and fuses facing either toward the right side or toward
the left side of the mounting location.
Place the individual telephone stations as desired and in keeping
with accepted industry and office standards.
A telephone station
can
be
wall mounted if necessary as they are desk/wall reversible.
Refer to Chapter 4,
for instructions in preparing a
desk/wall reversible station for wall mounting.
Figure 2-1.
Mounting Dimensions'
Summary of Contents for Executech 2232
Page 2: ......
Page 3: ......
Page 4: ......
Page 5: ......
Page 6: ......
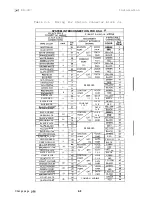
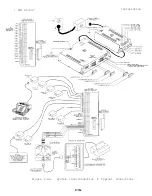
Page 25: ... IMI 66 047 Installation L Figure 2 4a System Interconnection Typical Connections 2 15a ...
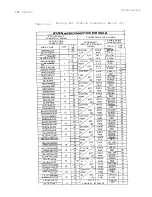
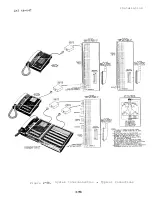
Page 26: ...IN1 66 047 Installation 2 Figure 2 4b System Interconnection Typical Connections 2 15b ...
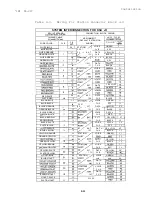
Page 27: ...IMI 66 047 Installation 2 16 ...
Page 28: ......
Page 61: ......
Page 71: ......
Page 75: ......
Page 79: ...COMDIAL Charlottesville Va 22901 PRINTED IN U S A 716604 700 01 ...
Page 80: ......


