16
SETUP
CONTENTS
CONTENTS
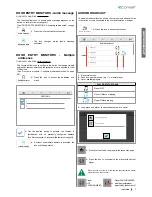
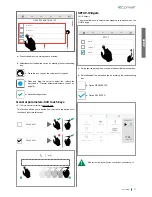
Press on the name of the camera, then confirm the operation to
start playback of the camera images.
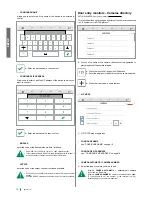
allows you to enter or edit the name of the device to be entered in
the list.
• Example CAMERA AUTOMATIC = external unit camera
connected to ViP address.
• Example CAMERA NUMBER = camera connected to art. 1445.
IT is necessary to set the number of the terminal (1-2-3-4)
corresponding to the camera in question!
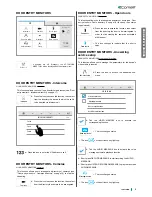
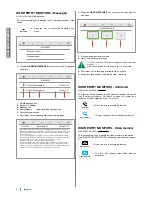
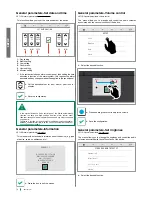
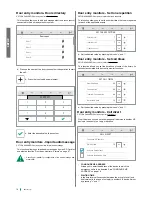
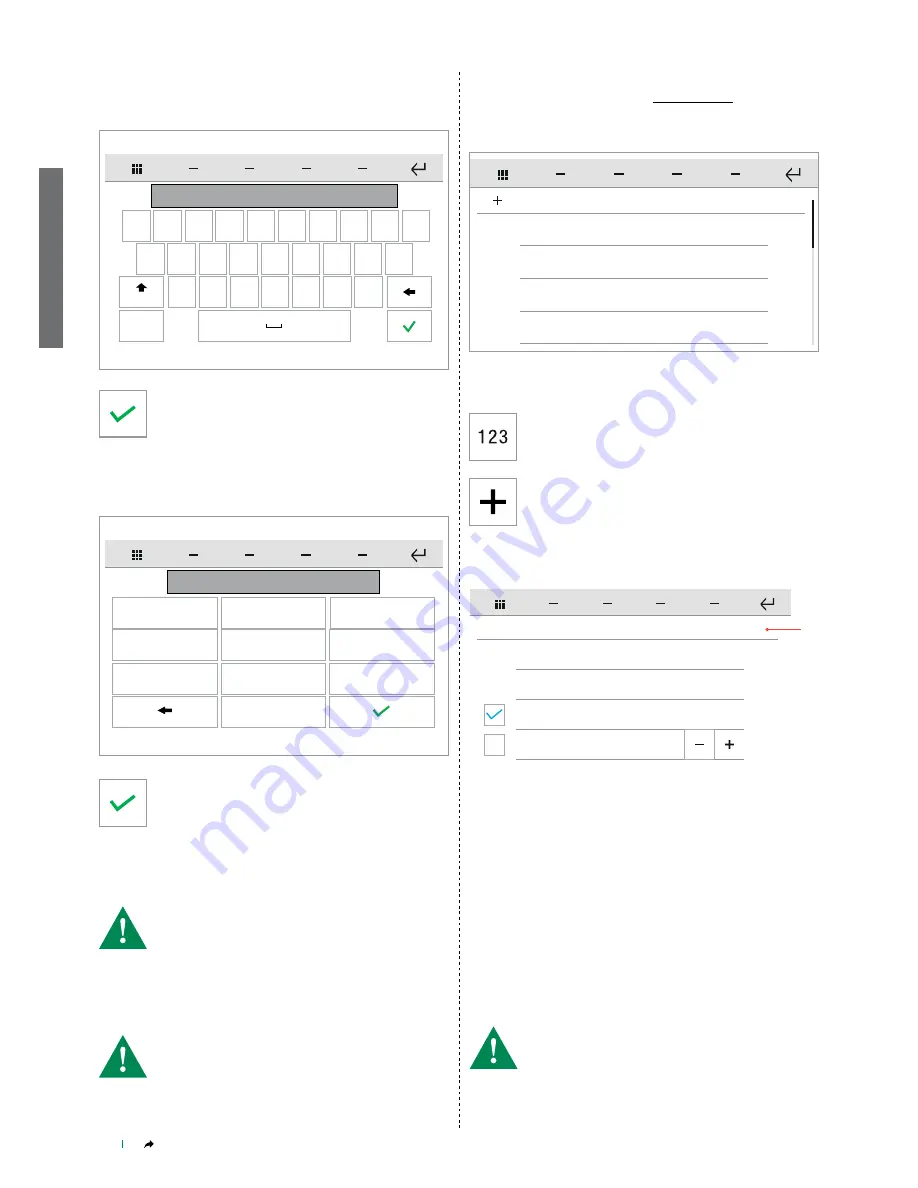
This function allows you manage a directory of the cameras connected
to ViP systems or via RTSP protocol.
Door entry monitors - Cameras directory
SETUP-ADVANCED-Door entry monitors-Cameras directory
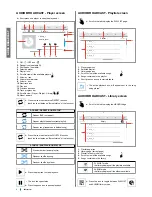
• CONFIGURE NAME
Camera 1
CAMERAS
Camera 2
Camera 3
Camera 4
123
Configure name
CAMERAS
ViP
Configure ViP address
Camera automatic
Camera number
1
1
Press the icon to add a new element.
Press the icon to call a specific ViP address.
Enter the address in the field to start the communication.
• CONFIGURE NAME
see "CONFIGURE NAME" on page 16
1. ViP / RTSP mode toggle icon
• CONFIGURE VIP ADDRESS
see "CONFIGURE VIP ADDRESS" on page 16
Select the type of camera you wish to add.
• CAMERA AUTOMATIC / CAMERA NUMBER
q
w
e
r
t
y
u
i
o
p
a
s
d
f
g
h
j
k
l
z
x
c
v
b
n
m
123
Aa
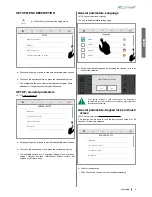
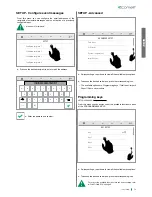
Enter the desired name, then confirm.
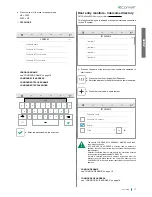
Allows you to enter or edit the ViP address of the device to which you
want to connect.
• CONFIGURE VIP ADDRESS
1
00000001
2
3
4
5
6
7
8
9
0
Enter the desired value, then confirm.
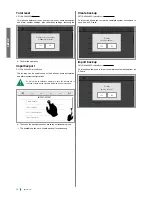
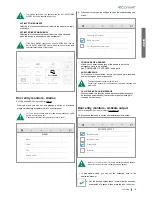
• Code 255 = art. 1443 with 1 relay + 1 open collector output
• If the interface module SK9071 is used (equipped with 10 relays), it
will be necessary to enter the code of the module itself.
• With 1443 you can select 1 for on-board relay or 2 for open collector
output.
• With the SK9071 module you can select one of its 10 relay contacts.
enter the code of the desired relay module / interface.
enter the code of the output, chosen from those available.
• MODULE
• OUTPUT
√
VIP MODE

