
6
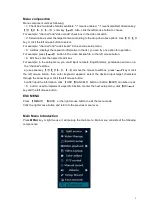
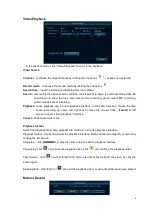
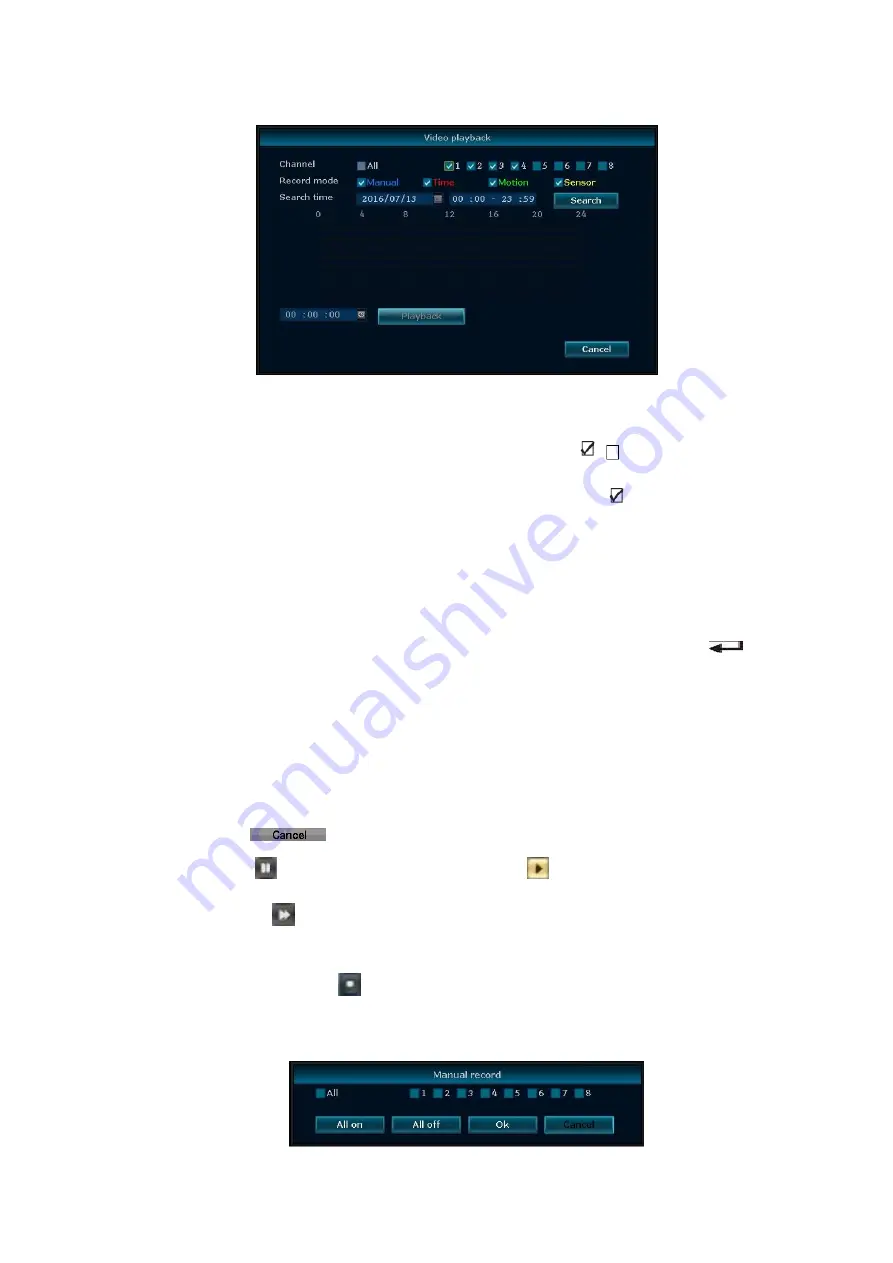
Video Playback
In the shortcut menu, click "Video Playback" to enter in the interface.
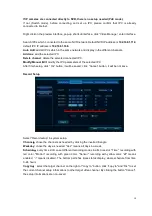
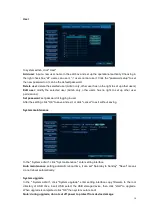
Video Search
Channel
:
to choose the target channel by clicking the check box
means non-selected.
Record mode
:
to choose the recode mode by clicking the check box
Search time
:
input the starting and finishing time into edit box
.
Search
:
after setup the above search condition, click "search" to begin the corresponding video file
searching and show the files. Red means time recording, green means MD recording,
yellow means sensor recording.
Playback: chose playback and turn into playback interface. In the search list box, choose the time
bucket according up ,down, left ,right key or move the mouse. Click
【
】
or left
mouse to enter "video playback "Interface
Cancel
:
back to previous menu
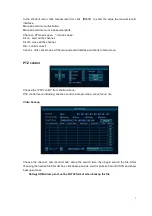
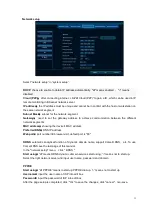
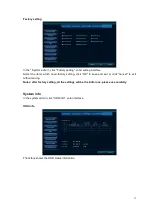
Playback toolbar
Select the playback file or time playback file, it will turn into video playback interface.
Playback toolbar : it will show below the playback interface. Each channel can magnify or narrow by
clicking the left mouse .
Stop play
:
click
to stop the video and turn back to playback interface.
Pause/play: click
can pause the playback video, click
can continue the playback video.
Fast forward
:
click
can fast forward the video, also times fast forward the video by click the
button again.
Exit playback
:
click “ESC” or
can exit the playback video; or exit until all file have been played.
Manual Record
Summary of Contents for IPNVR004BPOE
Page 19: ...19 ...


