EN
User instructions
Q1
S3
H2 H3
S9
1
2
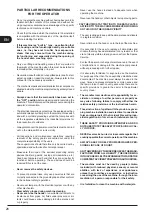
2.1 WASHING PHASES RC
2.1.a Switching on and Preparing the machine
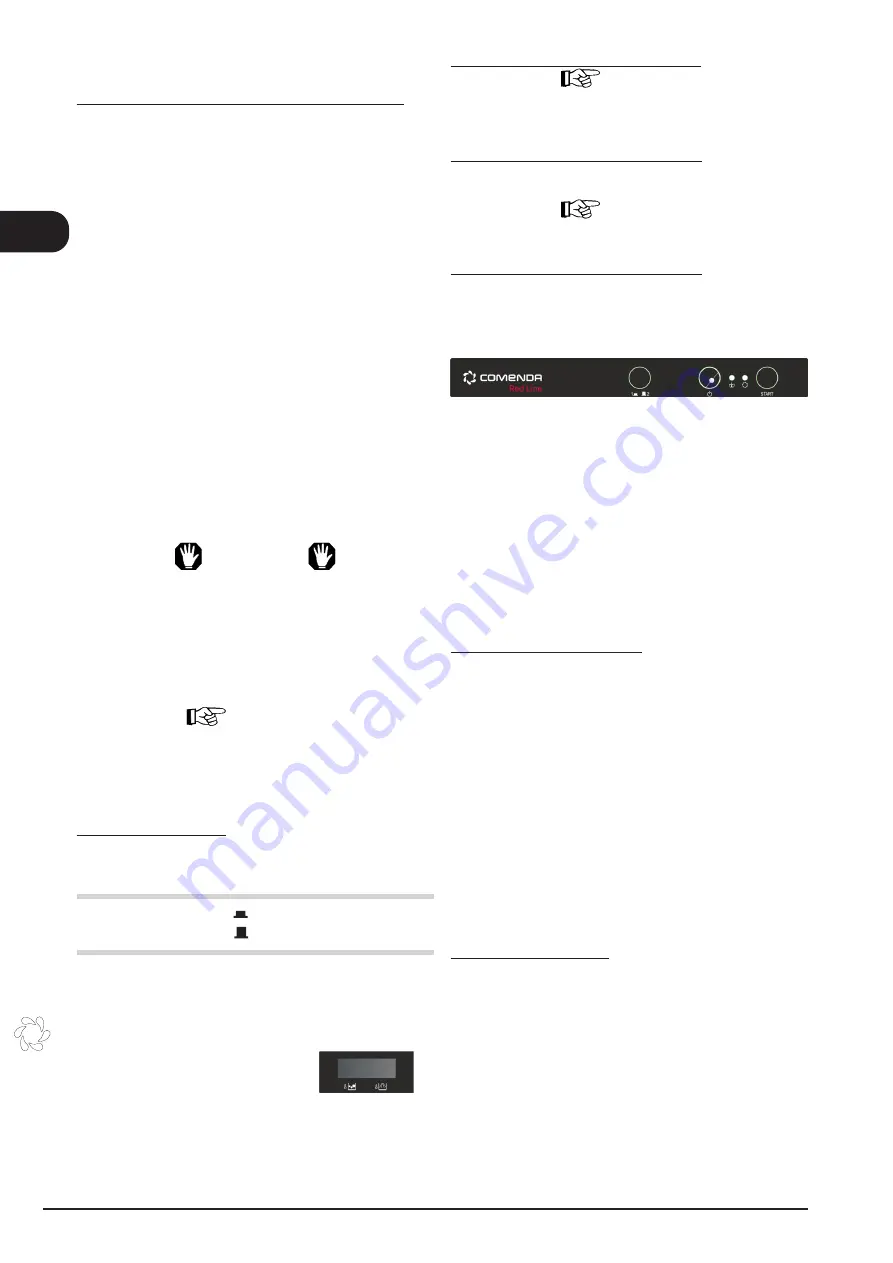
To switch on the machine, press the power switch (
Q1
)
the internal signaler to the switch it becomes red.
The lamp (
H3
) remains lit for a few seconds
The boiler, and then the tank, will start to fill automa
-
tically.
Once the water level has been reached, the heating
elements will switch in, first in the boiler, then in the tank.
Once the water in the tank reaches the correct tempera-
ture, the tank temperature lamp (
H2
) will be FIXED lit.
During the whole duration of the cycle the lamp (
H3
)
remains ON.
WASHING OPERATION
If not using the equipped automatic dosing system, pour
into the tank a quantity of detergent suitable for the volu
me and hardness of the water. For quantities, refer to the
specific instructions for the detergent in use.
To repeat the operation every 4 cycle.
ATTENTION
When items to be washed are encrusted with burnt
on matter, or a long time has passed between use
and washing, it is essential to carry out a pre-was
soak using a suitable softening agent.
The use of hand-washing products is to be avoided
as they could produce foam inside the machine.
IMPORTANT
It is advised to install a detergent pump automatic
rifle (to see paragraph 3,2).
Place the basket of items to be washed inside the ma-
chine, having first removed any solid waste.
2.1.b During of Cycle
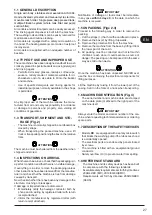
The duration of the washing cycle is FIXED :
CYCLE
= 90 sec.
CYCLE
= 120 sec.
To cycle through 1 or 2, press the key cycle selection (
S9
).
The start of the cycle is set AUTOMATIC
(with the opening and closing of the hood).
TEMPERATURE READING
(only models prepared)
The temperatures are shown on the display D1
of the water contained in the tank and in the boiler
2.1.c STARTING WASHING CYCLE
IMPORTANT
The selection of starting MANUAL or AUTOMATIC
cycle must be made by an authorised technician.
STARTING MANUAL WASH CYCLE
To start the wash cycle in MANUAL mode the cycle
start mode must be changed.
IMPORTANT
This operation must be carried out by an authorised
technician during installation..
STARTING MANUAL WASH CYCLE
To start the washing cycle, press the (
S3
) button.
Throughout the washing cycle the lamp
(H3)
will be
FIXED lit.
The use of the machine ensures rinsing at the ideal
temperature for hygienic purposes every time;
Indeed, if the temperature is not sufficient the wash will
be automatically prolonged so as to ensure the neces-
sary conditions of optimum rinsing at
85 °C
.
The waiting time required to attain optimum temperature
can extend to a maximum of
8 minutes
.
Finished the time max of 8 min, the (
H3
)
cycle
lamp will
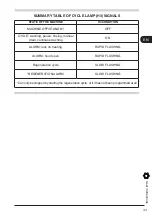
FLASH RAPIDLY until the end of the cycle. To reset the
flashing (anomaly signalling), switch the machine off
and back on using the power switch (
Q1
) .
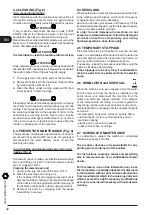
2.1.d Interrupting the cycle
1) It is possible to interrupt the washing cycle momen-
tarily by opening the hood (the lamp
H3
will FLASH):
this is an EMERGENCY measure:
On closing the hood, operations will resume from the
point in which they stopped.
2) The cycle can also be interrupted by SWITCHING
the machine’s power switch (
Q1
); the internal signaler
to the switch it became GREEN.
Allow items to dry and remove them from the basket
with clean hands.
Store all items on hygienic and completely stable sur-
faces.
2.1.e Manual Draining
It is possible to drain the water from the tank at any time
during the day, according to the waste accumulated.
To carry out this operation, proceed as follows:
- SWITCH the machine’s power switch (
Q1
); the internal
signaler to the switch it becomes GREEN and release
the overflow, allowing all the water to drain from the tank;
- Remove the tank filter (14) and clean;
30
Summary of Contents for RC07
Page 11: ...IT ITALIANO ITALIANO ISTRUZIONI ORIGINALI 11...
Page 14: ...Spazio lasciato bianco intenzionalmente IT 14...
Page 15: ...Istruzioni per l utente IT ISTRUZIONI PER L UTENTE ISTRUZIONI PER L UTENTE 15...
Page 24: ...Spazio lasciato bianco intenzionalmente IT 24...
Page 25: ...EN ENGLISH ENGLISH TRANSLATION OF ORIGINAL INSTRUCTIONS 25...
Page 28: ...Space intentionally left blank EN 28...
Page 29: ...User instructions EN USER INSTRUCTIONS USER INSTRUCTIONS 29...
Page 38: ...Space intentionally left blank EN 38...
Page 39: ...FR FRAN AIS FRAN AIS TRADUCTION DES INSTRUCTIONS ORIGINALES 39...
Page 42: ...Espace laiss en blanc intentionnellement FR 42...
Page 52: ...Espace laiss en blanc intentionnellement FR 52...
Page 53: ...DE DEUTSCH DEUTSCH BERSETZUNG DER ORIGINALANLEITUNG 53...
Page 56: ...Absichtlich leer gelassene Seite DE 56...
Page 57: ...Anweisungen f r den Benutzer DE ANWEISUNGEN F R DEN ANWEISUNGEN F R DEN BENUTZER BENUTZER 57...
Page 66: ...Absichtlich leer gelassene Seite DE 66...
Page 67: ...ES ESPA OL ESPA OL TRADUCCI N DE LAS INSTRUCCIONES ORIGINALES 67...
Page 70: ...Espacio dejado en blanco intencionalmente ES 70...
Page 80: ...Espacio dejado en blanco intencionalmente ES 80...
Page 81: ...PORTUGU S PORTUGU S TRADU O DAS INSTRU ES ORIGINAIS POR 81...
Page 84: ...Este espa o em branco intencionalmente deixado da p gina POR 84...
Page 85: ...Instru es para o usu rio POR INSTRU ES PARA O USU RIO INSTRU ES PARA O USU RIO 85...
Page 94: ...Fig 2 Fig 3 Fig 5 Fig 4 1 Lift Lift 2 3 4 Prime STAR T 94...
Page 95: ...18 16 17 19 13 Fig 7 Fig 6 8 5 6 7 11 12 9 10 Fig 8 13 14 15 95...
Page 96: ...NOTE 96...
Page 98: ...900887 04 2022...


