background image


EE-260 

VIA ETX Motherboard 

User’s Manual 

Edition 1.0 

2006/03/03 

Summary of Contents for EE-260

Page 1: ...EE 260 VIA ETX Motherboard User s Manual Edition 1 0 2006 03 03...

Page 2: ...ument are property of their respective owners Disclaimer The company shall not be liable for any incidental or consequential damages resulting from the performance or use of this product The company d...

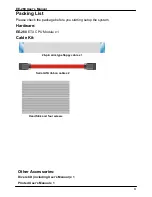
Page 3: ...kage before you starting setup the system Hardware EE 260 ETX CPU Module x 1 Cable Kit 26 pin slim type floppy cable x 1 Serial ATA ribbon cable x 2 Head Sink and four screws Other Accessories Divers...

Page 4: ...y Setup 14 2 3 1 CPU 14 2 3 2 Memory 14 2 4 Enhanced IDE CF Interface 15 2 5 Serial ATA Interface 15 2 6 Floppy Port 16 2 7 LAN Interface 17 2 8 Onboard Display Interface 17 2 8 1 Analog VGA Interface...

Page 5: ...EE 260 User s Manual 5 B 1 Floppy Port 31 B 2 Serial ATA Port 31 Appendix C Flash BIOS 33 C 1 BIOS Auto Flash Tool 33 C 2 Flash Method 33 Contact Information 35...

Page 6: ...EE 260 User s Manual 6 The Page is Left For Blank...

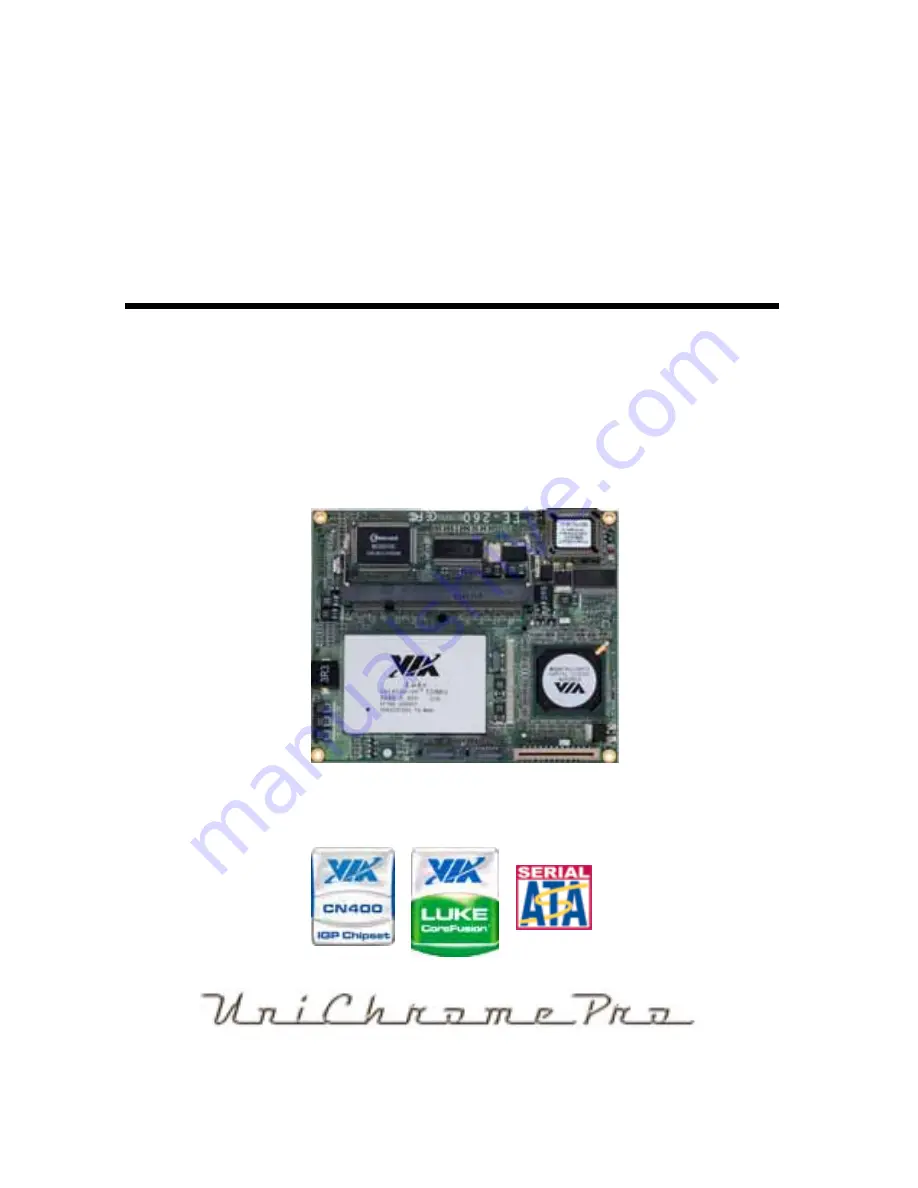
Page 7: ...ocessor Luke DDR266 333 400 SoDimm integrated the S3 Graphics UniChrome Pro IGP graphics core hardware MPEG 2 and MPEG 4 acceleration The VT8237R provides the board to support Ultra V Link 1GB s two s...

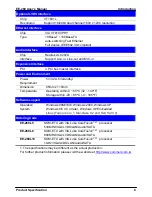
Page 8: ...VT8237R built in RTC with lithium battery Enhanced IDE Support two channels up to four IDE device Support Ultra DMA 33 IDE device Serial ATA VIA VT8237R integrates 2 Serial ATA interface RAID 0 1 arra...

Page 9: ...on 95mm x 114mm Temperature Operating within 0 60 o C 32 140 o F Storage within 20 85o C 4 185 o F Software support Operation System Windows 98SE ME Windows 2000 Windows XP Windows CE 4 0 or later Win...

Page 10: ...EE 260 User s Manual Introduction Product Specification 10 1 3 Mechanical Drawing...

Page 11: ...cification 11 1 4 Block Diagram CRT LCD Monitor Ultra V Link 1GB s 1 x 200 pin SoDIMM DDR266 333 400 Up to 1GB Optional LVDS 4 x USB2 0 Ports 2 x SATA VT8237R ALC202 Codec 2 x Serial ports LPT 1 x Flo...

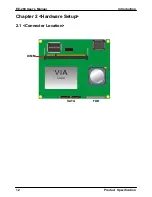
Page 12: ...EE 260 User s Manual Introduction Product Specification 12 Chapter 2 Hardware Setup 2 1 Connector Location DIMM SATA FDD...

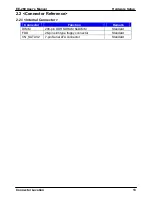
Page 13: ...up Connector Location 13 2 2 Connector Reference 2 2 1 Internal Connector Connector Function Remark DIMM 200 pin DDR SDRAM SoDIMM Standard FDD 26 pin slim type floppy connector Standard CN_SATA1 2 7 p...

Page 14: ...rocessor default ratio is 533Mhz 800Mhz 1GHz with CPU cooler fan Luke 533 533MHz with heatsink only TM 2 3 2 Memory The board supports one 200 pin DDR SoDIMM SDRAM and up to 1GB of capacity only non E...

Page 15: ...wo Serial ATA interfaces with RAID 0 and 1 array function The following is the list of the specification of the Serial ATA 1 Complies with Serial ATA Specification Revision 1 0 2 Dual Channel master m...

Page 16: ...lease use the 26 pin ribbon cable in the package to connect the floppy device FDD 1 Lift up this plastic bar 2 Slot the cable in Blue paste for outside 3 Press back the plastic bar Floppy rear side 4...

Page 17: ...tandard IEEE 802 3 Ethernet interface for 100BASE TX 2 8 Onboard Display Interface Based on VIA Luke CoreFusion processor the module supports integrated S3 Graphics UniChrome Pro IGP graphics with BIO...

Page 18: ...37R Transfer Rate Up to 480Mb s PS The USB2 0 will be only active when you connecting with the USB2 0 devices if you insert an USB1 1 device the port will be changed to USB1 1 protocol automatically T...

Page 19: ...the data from first drive to second drive for data security and if one drive fails the system would access the applications to the workable drive It needs two unused drives or one used and one unused...

Page 20: ...Configuration 20 You also can edit disk array under OS please install the VIA RAID Utility in the driver CD To getting start please click here to learn more information Click here to build RAID 0 Clic...

Page 21: ...onfiguration Audio Configuration 21 3 2 Audio Configuration The board provides 2 channel audio interface with driver installed please install the VIA audio driver in the CD before getting start to enj...

Page 22: ...d display Based on the VIA Luke with S3 UniChrome Pro graphic the board provides dual display function for clone or extended desktop modes with secondary display device attached After installing video...

Page 23: ...ed device setting Connected Devices Click check box to enable disable device Specified display setup When you set dual display clone mode you ll see the same screen display on two devices When you set...

Page 24: ...EE 260 User s Manual 24 This Page is Left for Blank...

Page 25: ...e information when the power is turned off If the battery runs out of the power then the settings of BIOS will come back to the default setting The BIOS section of the manual is subject to change with...

Page 26: ...EE 260 User s Manual 26 This Page is Left for Blank...

Page 27: ...GND A68 GND A19 VCC A20 VCC A69 AD16 A70 CBE2 A21 SERIRQ A22 REQ0 A71 AD17 A72 USB3 A23 AD0 A24 3 3V A73 AD19 A74 AD18 A25 AD1 A26 AD2 A75 AD20 A76 USB A27 AD4 A28 AD3 A77 AD22 A78 AD21 A29 AD6 A30 AD...

Page 28: ...B68 GND B19 N C B20 N C B69 N C B70 N C B21 LGP7 B22 N C B71 N C B72 N C B23 N C B24 N C B73 N C B74 N C B25 N C B26 N C B75 N C B76 N C B27 N C B28 N C B77 N C B78 N C B29 N C B30 N C B79 N C B80 N...

Page 29: ...M C20 A6M C69 DTR2 C70 SLIN C21 GND C22 GND C71 DCD2 C72 PD4 C23 A3M C24 A4P C73 DSR2 C74 PD3 C25 A3P C26 A4M C75 CTS2 C76 PD2 C27 GND C28 GND C77 TD2 C78 PD1 C29 A2M C30 CLK1P C79 RI2 C80 PD0 C31 A2P...

Page 30: ...20 N C D69 SDD12 D70 PDD2 D21 EXTSMI D22 N C D71 SDD3 D72 PDD12 D23 SMBCLK D24 SMBDATA D73 SDD11 D74 PDD3 D25 SCS3 D26 N C D75 SDD4 D76 PDD11 D27 SCS1 D28 HDLED2 D77 SDD10 D78 PDD4 D29 SDA2 D30 PCS3 D...

Page 31: ...2 INDEX 3 VCC 4 DRV0 5 VCC 6 DSKCHG 7 DRV1 8 N C 9 MTR1 10 MTR0 11 RPM 12 DIR 13 N C 14 STEP 15 Ground 16 WRITE DATA 17 Ground 18 WRITE GATE 19 N C 20 TRACK 0 21 N C 22 WRPTR 23 Ground 24 RDATA 25 Gro...

Page 32: ...EE 260 User s Manual 32 This Page is Left for Blank...

Page 33: ...is awdflash exe it s the utility that can write the data into the BIOS flash ship and update the BIOS C 2 Flash Method 1 Please make a bootable floppy disk 2 Get the last bin files you want to update...

Page 34: ...EE 260 User s Manual 34 This Page is Left for Blank...

Page 35: ...We will do our best to support you for your projects and business Taiwan Commate Computer Inc Address 8F No 94 Sec 1 Shin Tai Wu Rd Shi Chih Taipei Hsien Taiwan TEL 886 2 26963909 FAX 886 2 26963911 W...

Reviews: