background image

1

User manual Tango VII 1e

NO

EN

2

User manual Tango VII 1e

NO

EN

®

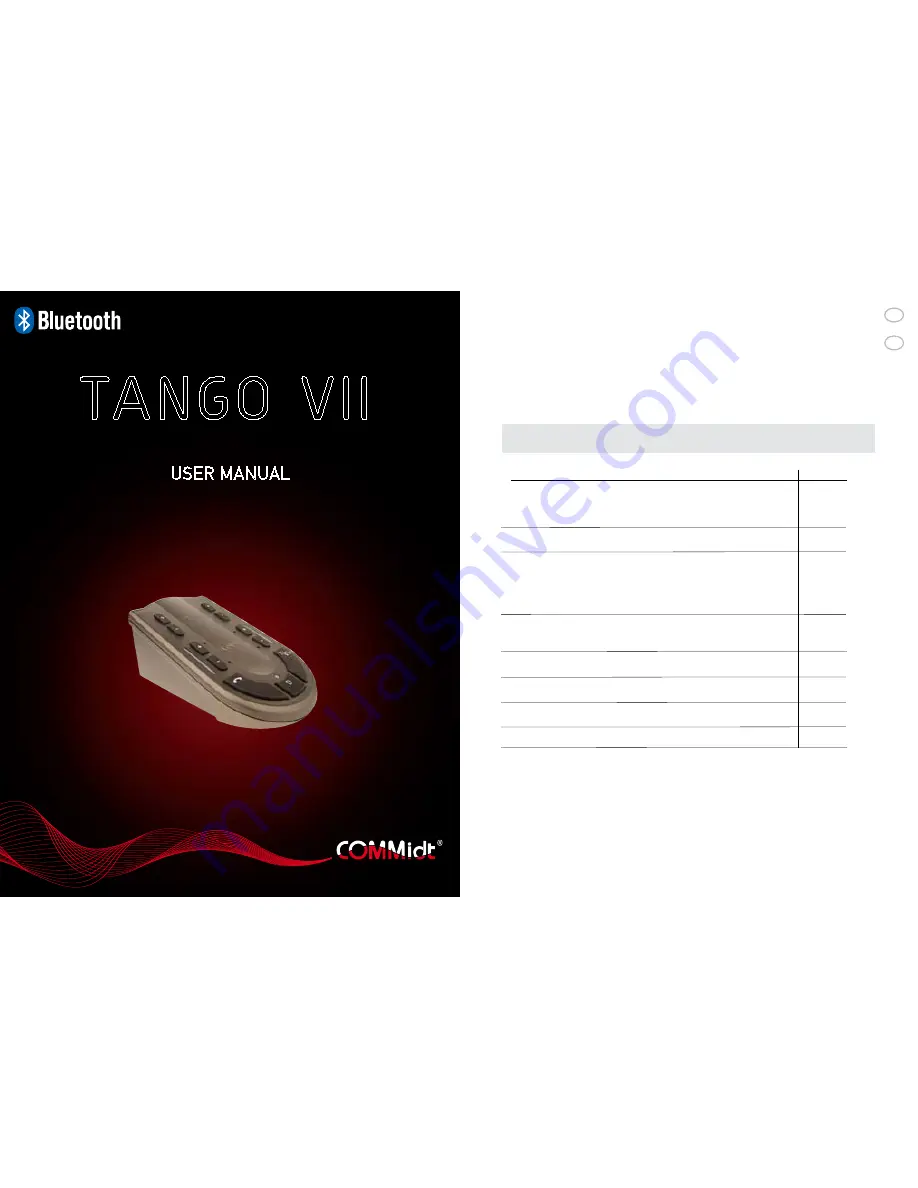
TANGO  VII

User manUal

H


ILLUSTRASJON/ ILLUSTRA

TION


H

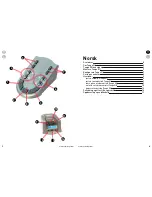
Forklaringer til bildet  til venstre:

1:  

Telefonrør. 

Betjeningsknapp for aktivering av telefonrøret.

2:  

Dialog. 

Betjeningsknapp for å aktivere/ 


deaktivere dialogfunksjonen. 

2 a: 


Dialoglampe.

 Lyser når Dialog er aktivert.

3:  

Halsslynge/Hodesett.

 Betjeningsknapp for aktivering  


av Halsslynge/Hodesett.

4 a-b:    

Volumknapper for Telefonrør.

4 c:  

Lyssøyle 

for indikering av volum og konfigureringsposisjon.

4 d:  

Funksjonsknapp for konfigurering.

4e: 

Ingen funksjon

5 a-b:    

Tonejustering for Telefonrør.

6 a-b:  

Volumknapper for Halsslynge/ 


Hodesett og Dialog.

6 c:  

Lyssøyle

 for indikering av volum og mikrofonfølsomhet

6 d:  

Funksjonsknapp

 for mikrofonfølsomhet, Halsslynge/ 


Hodesett og Dialog.

7 a-b:    

Tonejustering

 for Halsslynge/Hodesett og Dialog.

1:  

Telephone. Telephone activation button.

2:  

Dialogue. Dialogue function activation button.

2 a:  

Dialogue lamp. Lights when Dialogue function is 


activated.

3:  

Neck Loop/Headset. Neck Loop/Headset 


activation button.

4 a-b:   Volume buttons for Telephone.

4 c:  

Light bar indicating volume and configuration 


setting.

4 d:  

Function button for configuration.

4e: 

not used

5 a-b:   Tone adjustment for Telephone.

6 a-b:   Volume buttons for Neck Loop/Headset and 


Dialogue.

6 c:  

Light bar indicating volume and microphone 


sensitivity.

6 d:  

Function button for microphone sensitivity, 


Neck Loop/Headset and Dialogue.

7 a-b:   Tone adjustment for Neck Loop/Headset and 


Dialogue.

Explanation of Photo at left:

23

b

a

b

a

a

a

b

a

b

1

4

5

2

3

6

7

c

c

e

d

e

d

Type telefonapparat / Telephone type 

             Nr./No. 

Alcatel, Reflex, Ericsson, Telenor Venus, Siemens,
Ludia, Nortel, Meridian

Panasonic, Teleste

Ascom Eurit/office Unipax6, 
EB/ABB’s push-button series, B&O 500/2000
Eldre/

older

 Sopho K8-24

Eldre/

older

 Mine, UP 16/small, Tellus 30 ISDN

ZO, Telli 4000, Telleste SLO2000, Zodiac 308,
Zodiac Freedom

Amanda 520 VDU, Digital 2000, New VDU, Delta Analog

Telcom Europe S431, Hagenuk S322

TBK Concorde 1/2

Bang & Olufsen 1600/2400/2500

1

2

3

4

5

6
7

8

RaSki 

profil DESIGN

    ILLUSTRASJON/ ILLUSTRATION  

H


Konfigurasjons tabell/ Configuration Table

omslag-tango- mars06.indd   2

29-05-06   10:08:00

Summary of Contents for TANGO VII

Page 1: ...asonic Teleste Ascom Eurit of ce Unipax6 EB ABB s push button series B O 500 2000 Eldre older Sopho K8 24 Eldre older Mine UP 16 small Tellus 30 ISDN ZO Telli 4000 Telleste SLO2000 Zodiac 308 Zodiac F...

Page 2: ...ere Tango VII 7 Paring av enheter 8 Hvordan 9 justere volum p Tango VII 9 justere toneniv et p Tango VII 9 svare p en telefonsamtale Tango VII 9 avslutte en telefonsamtale Tango VII 1 0 ringe fra fast...

Page 3: ...es til f telefonsamtalen over i din Blues II Maestro Volumkontroll for telefonr r 4 a b Justerer volumet p telefonsamtalen i telefonr ret Volumindikasjon for telefonr r 4 c Indikerer volumet p telefon...

Page 4: ...seg p automatisk Dette vil du se ved at alle lampene p Tango VII lyser Tango VII har ingen av p knapp Den vil automatisk g i standby modus n r den ikke er i bruk Finn ledningen som g r fra telefonr r...

Page 5: ...NB Ved bruk av r rl fter tilleggsutstyr vil du f ringesignalet direkte i halsslyngen og du kan enkelt svare telefonsamtalen ved trykke p Bluetooth enhetens svarknapp Du slipper da ta av telefonr ret...

Page 6: ...2 0 og som st tter et hodesett en handsfree profil og eller en A2DP profil Bluetooth enhetene m ha 0000 som passord Oppbevaring og vedlikehold Oppbevar alltid enhetene med str mmen avsl tt Oppbevar i...

Page 7: ...ive the phone call through the Blues II Maestro Volume control for the telephone handset 4 a b Adjusts the volume of the conversation through the telephone handset Volume indicatior for the telephone...

Page 8: ...sure that you can hear the dialling tone in your phone and check the microphone by blowing on it Tango VII is now successfully confi gured Alternative b Press button 1 to activate the telephone receiv...

Page 9: ...ango VII is lit on the volume indicator for neck loop 6 c If not press the the selector for neck loop 3 Press the answer button on the neck loop Blues II Maestro Lift the handset from your telephone Y...

Page 10: ...with the crossed out waste bin symbol shown below are electrical and electronic equipment This symbol indicates that waste electrical and electronic equipment must not be discarded along with unsorte...

Page 11: ...9 17 V1 2 1 2002 08 EN 300 328 V1 6 1 2004 11 EN 61000 4 3 5 1 EN 61000 4 2 5 2 According the regulations in Radio Equipment and Telecommunications Terminal Equipment R TTE Directive 1999 5 EC This de...

Reviews: