Appendix B: Transmitter Installation
CommPact Installation Manual
93
This is a typical installation example where the detector is 5cm from the wall and 2m from
the protected window. The top two diagrams show the lens coverage pattern for the
detector when incorrectly adjusted to -2 and 0. The bottom diagram shows the PCB correctly
adjusted to +2.
Table B- 2: Recommended PCB Adjustment Scale Settings for Wall and Ceiling Mounting
Distance of Detector from Wall (D)
5cm
25cm
50cm
Distance of
Door/Window
from Detector
(W)
Up to 2m*
+2
0
-1
4m
+2
0
-1
6m
+2
0
0
8m
+2
+1
0
9m
+2
+1
0
It is not recommended to mount the unit less than 40cm away from the path of entry
protected by the detector.
Walk Test
A walk test determines the coverage pattern of the detector. To perform this test, walk across the
scope of the detector according to the detection pattern selected. Confirm that the LEDs activate
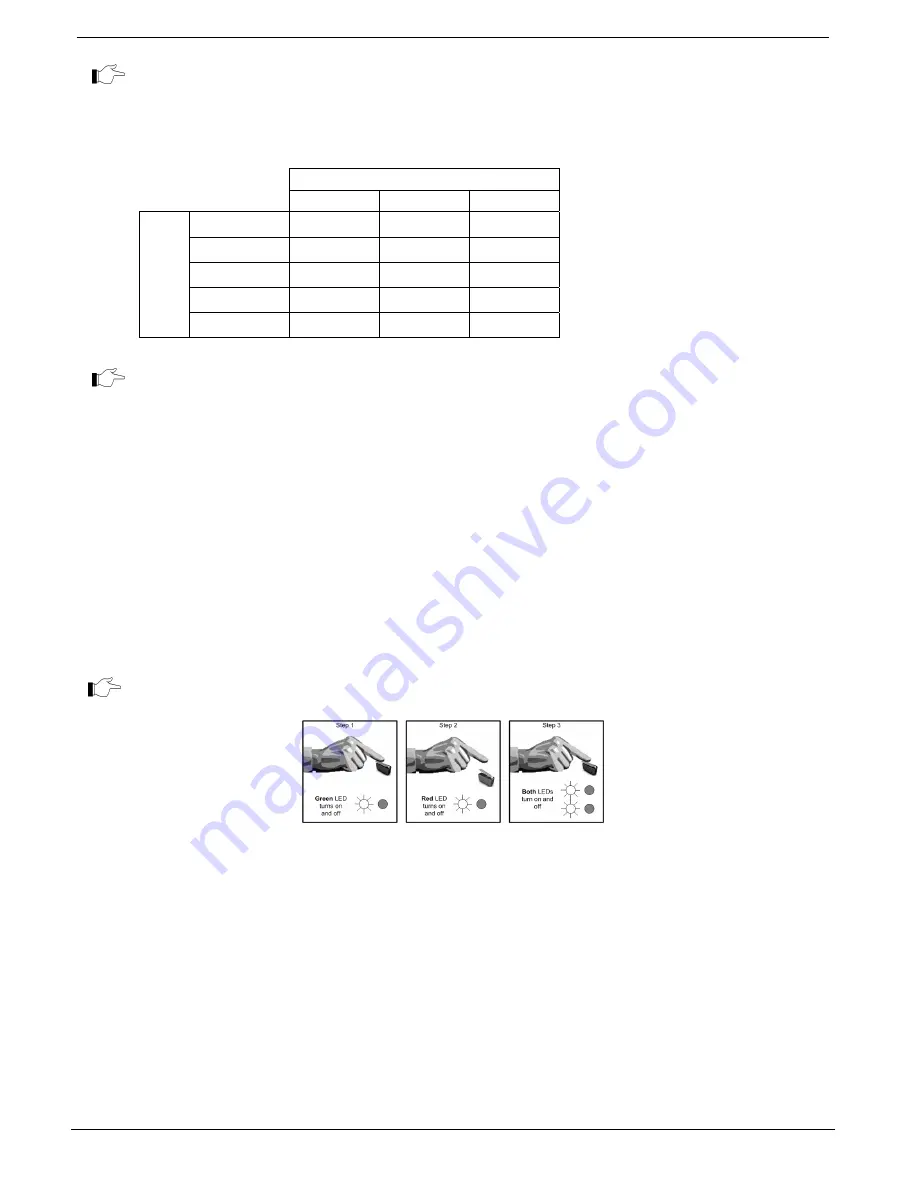
and deactivate as described in Table B- 5. To launch the Walk Test from the Radio mode, after any
transmission indicated by LED blinking, press the tamper switch and hold it until the green LED
turns on then off (see Figure B- 8, step 1). Release the tamper switch and wait until the red LED
turns on and then off (see Figure B- 8, step 2). Press the tamper switch once again. Both LEDS are lit
momentarily (see Figure B- 8, step 3). The detector enters the Walk Test mode for 4 minutes. During
the Walk Test, wait for twenty seconds between movements. To launch the Walk Test from the
Normal mode: Just open the detector housing: the tamper is triggered and the detector enters the
Walk Test mode for 4 minutes. Walk test should be performed weekly.
In Walk Test mode there are no delays.
Figure B- 8: Launching the Walk Test from Radio Mode
Selectable Operation Modes
The detector operates in two operation modes. In Directional Mode, crossing the infrared beams is
alarm-protected in one direction only. The protected direction is shown by the arrow printed on the
PCB. In case of crossing the beams from the non-permitted side (ALARM), red LED is lit for a
second. In case of crossing the beams from the permitted side (NO ALARM), green LED is lit for a
second and the Alarm delay (see below) starts to count down. In Curtain mode, crossing the beams
is alarm-protected in both directions. The Operation mode (Directional/Curtain) is selected using
the Mode Jumper – see Table B-3.
Summary of Contents for Control system
Page 84: ...Appendix A Menu Structure CommPact Installation Manual 80 Appendix A Menu Structure ...
Page 85: ...Appendix A Menu Structure CommPact Installation Manual 81 ...
Page 86: ...Appendix A Menu Structure CommPact Installation Manual 82 ...
Page 87: ...Appendix A Menu Structure CommPact Installation Manual 83 ...
Page 88: ...Appendix A Menu Structure CommPact Installation Manual 84 ...
Page 89: ...Appendix A Menu Structure CommPact Installation Manual 85 ...
Page 90: ...Appendix A Menu Structure CommPact Installation Manual 86 ...


