


6
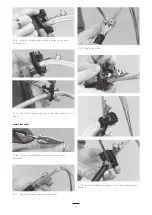
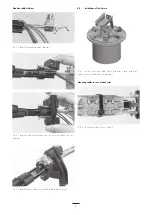
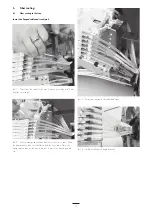
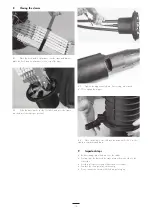
4.3.10 Install the strength member bracket.
4.3.11 Install the cable retention device , position the teethes onto the
grommet.
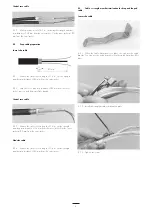
Modular cable Multi-out
4.3.12 Install the hose clamp around the cable retention device.
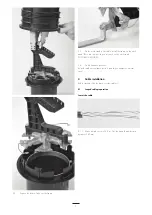
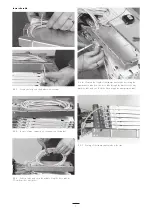
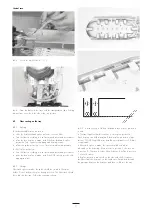
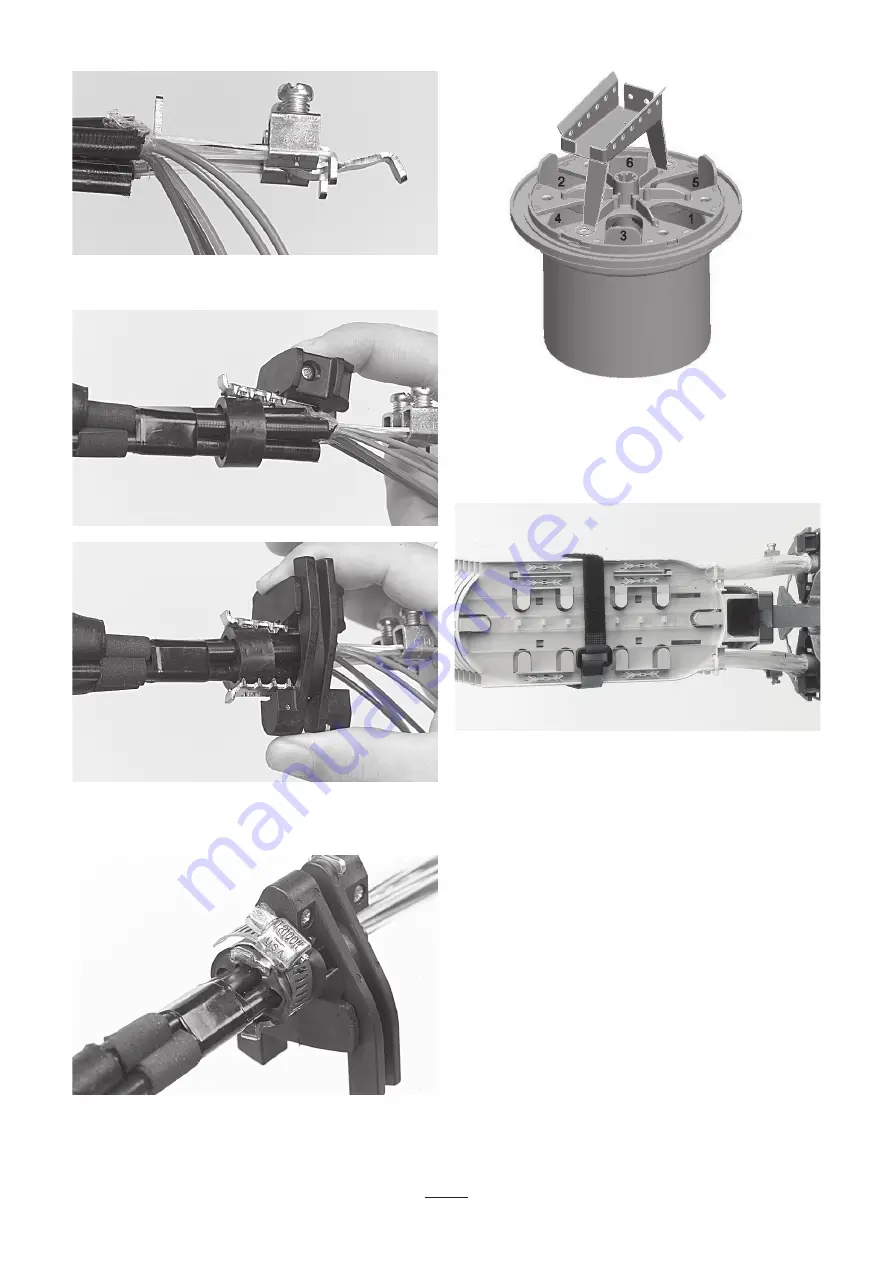
4.4.1 In case of looped cable, and if the basket is used, install the
cables in ports 5 and 6 (as on drawing).
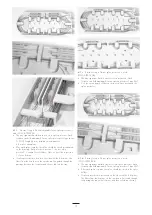
Mounting cables in case of track joint
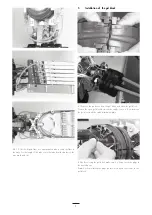
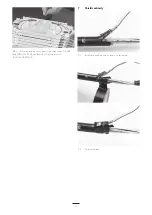
4.4
Installation of the closure
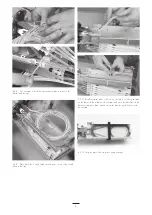
4.4.2 Install the cables in port 1 and 2.
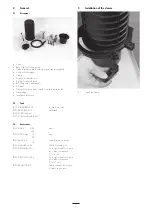
Summary of Contents for FOSC-450-BS
Page 15: ...15 ...


