background image

H350 Access Point

Quick Setup Guide

This Quick Setup Guide provides step-by-step instructions on how to set up

your RUCKUS H350 Dual Band 802.11ax Multimedia Wi-Fi Access Point

Wall Switch. After completing the steps described in this guide, you will be

able to access the H350 Access Point Wall Switch and begin providing

wired and wireless network access to users. The rest of this document

refers to the H350 Access Point Wall Switch as the H350.
The H350 has many options:

It can be mounted on a standard USA- or EU-style single-gang wall

outlet box.

It can be powered by a customer-supplied IEEE 802.3af-compliant PoE

switch or injector, or can be powered by an optional customer-ordered

DC power adapter.

It has side slots for one or two bypass cables. The mounting bracket has

locating hooks to keep the bypass cables aligned with the slots when

attaching the H350 to the mounting base.

NOTE: 

The H350 requires RUCKUS base image 116.0 firmware or later.

Managed H350 deployments require SmartZone 6.0 or later, or

ZoneDirector 10.5 or later.

This Guide in Other Languages

请从以下网站获得该指南的简体中文版


http://

docs.commscope.com/?docs-box

.

Vous trouverez la version française de ce guide à l'adresse suivante 

http://docs.commscope.com/?docs-box

.

このガイドの日本語版は


http://docs.commscope.com/?docs-box


ご覧ください。


가이드의


한국어


버전은


사이트

 (

http://docs.commscope.com/?

docs-box

에서


확인하시기


바랍니다

.

Veja a versão em português (Brasil) deste guia em 

http://

docs.commscope.com/?docs-box

Puede ver la versión en español (América Latina) de esta guía en 

http://

docs.commscope.com/?docs-box

Before You Begin

Before deploying RUCKUS products, please check for the latest software

and the release documentation.

Release Notes and other user documentation are available at 

http://

support.ruckuswireless.com/documents

.

Software upgrades are available at 

http://support.ruckuswireless.com/

software

.

Software License and Limited Warranty are available at 

http://

support.ruckuswireless.com/warranty

.

Package Contents

H350 Access Point Wall Switch

Mounting bracket

Two 6-mm M3 Torx flat head machine screws

Two 1-inch 6-32 Phillips pan head machine screws

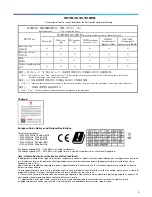
Declaration of Conformity/Regulatory flyer

Step 1: Collecting Tools and Setup Requirements

No. 2 Phillips screwdriver and T10 Torx driver for the mounting bracket

screws

A standard USA- or EU-style single-gang wall outlet box

One of the following:

Customer-supplied IEEE 802.3af-compliant PoE switch and customer-

supplied Ethernet cable

Customer-supplied IEEE 802.3af-compliant PoE injector and

customer-supplied Ethernet cable

Customer-ordered DC power adapter (RUCKUS part number

902-2170-XX00, sold separately)

An Ethernet cable with or without PoE run through the wall from your

LAN through the wall outlet box

A PC with an Ethernet port and a wireless card with customer-supplied

Cat 5e or better Ethernet cable

(Optional) One or two separate bypass cables run through the outlet

box

Step 2: Connecting the PC to the H350

1. Using an Ethernet cable, connect your PC's network port to the PoE In

port on the rear of the H350.

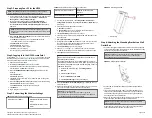
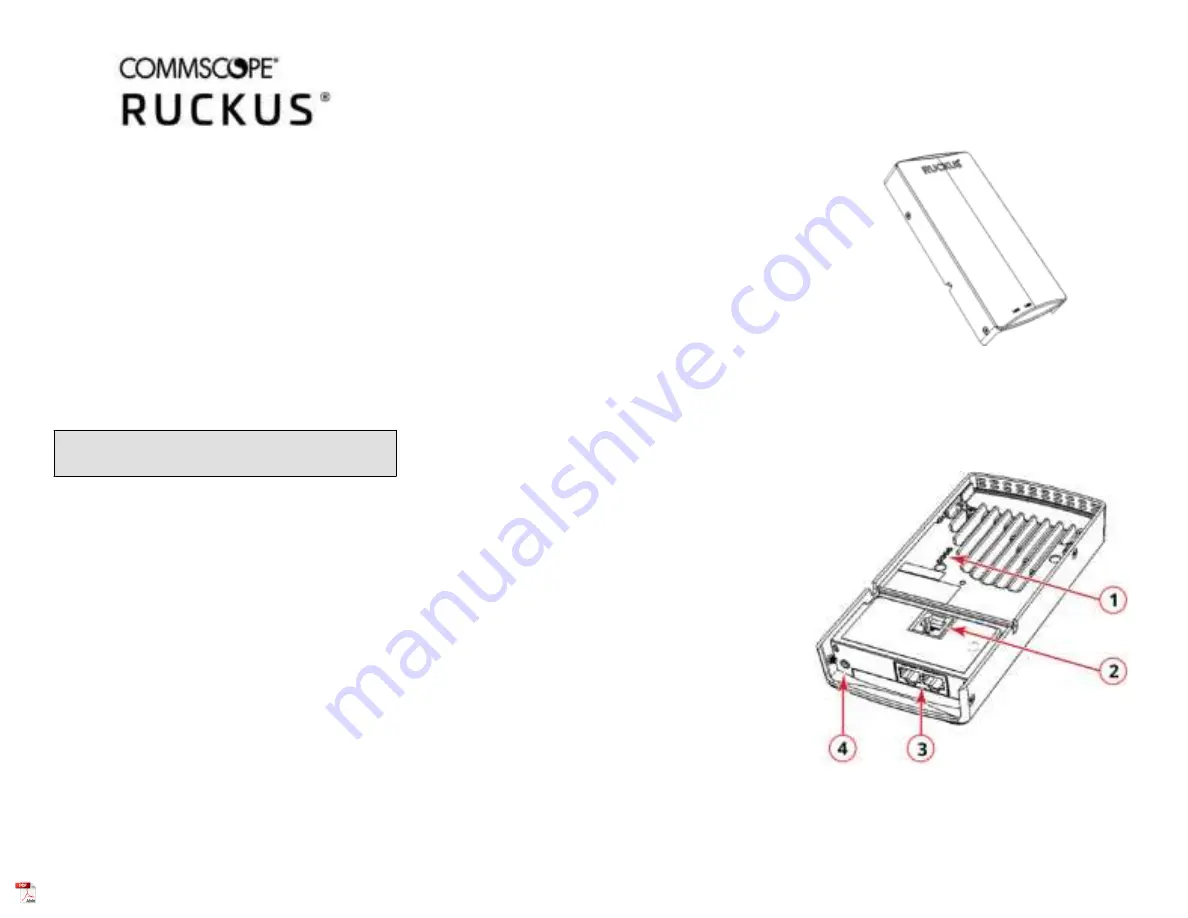
FIGURE 1  

H350 Front view

2. Using an AC adapter (sold separately), connect the H350 48V DC port

to a protected power source.

3. Verify that the PWR LED on the rear of the enclosure is green. The

PWR LED may be solid or blinking.

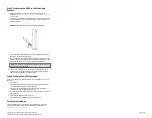
FIGURE 2  

H350 Rear and Bottom View

1. LEDs

2. PoE In Port

3. LAN Ports

4. 48V DC Port

Copyright 

©

 2021 CommScope, Inc. All rights reserved.

Page 1 of 3

Published September 2021, Part Number 800-72899-001 Rev A

Summary of Contents for RUCKUS H350

Page 1: ...are and the release documentation Release Notes and other user documentation are available at http support ruckuswireless com documents Software upgrades are available at http support ruckuswireless com software Software License and Limited Warranty are available at http support ruckuswireless com warranty Package Contents H350 Access Point Wall Switch Mounting bracket Two 6 mm M3 Torx flat head m...

Page 2: ...ent country 3 Click Update Settings if you made any changes 4 Click any of the wireless number Wireless LAN Number tabs at the top of the page 5 In Wireless Availability click Enabled 6 Delete the text in the SSID field and enter a name for your network that will help your users identify the H350 access point in their wireless network connection applications 7 Click Update Settings to save your ch...

Page 3: ... 5 Use a T10 Torx driver to screw the factory supplied Torx flat head machine screws through the H350 screw holes into the threaded inserts on the sides of the mounting bracket Step 8 Testing the H350 Operation After a short pause to re establish the Internet connection you can test the H350 1 For using any Wireless enabled PC or mobile device search for and select the wireless network you previou...

Page 4: ... the RoHS directive 2011 65 EU The product to which this declaration relates is in conformity with the following standards Safety IEC 62368 1 2014 2nd Ed EN 62368 1 2014 AC 2017 A11 2017 IEC 60950 1 2005 A1 2009 A2 2013 EN 60950 1 2006 A11 2009 A1 2010 A12 2011 A2 2013 EMC EN 301 489 1 V2 2 3 EN 301 489 17 V3 2 4 RF EN 300 328 V2 2 2 EN 301 893 V2 1 1 EMF EN 62311 2020 RoHS EN IEC 63000 2018 Addit...

Page 5: ...communication satisfaisante This device complies with ISED licence exempt RSS standard s Operation is subject to the following two conditions 1 this device may not cause interference and 2 this device must accept any interference including interference that may cause undesired operation of the device Le présent appareil est conforme aux CNR d ISED applicables aux appareils radio exempts de licence...

Page 6: ...Brazil those products are designed for specific application and needs to be installed by a qualified personal who has RF and related rule knowledge Regarding the operation on range of 5150 MHz to 5350 MHz the average output power of the equipment must be adjusted to the maximum limit of 0 48 dBm and for 5470 MHz to 5725 MHz the average output power of the equipment must be adjusted to the maximum ...

Page 7: ...nni alle apparecchiature o rischio di incendi se vengono ignorati i limiti Non vi sono parti riparabili dall operatore in questa apparecchiatura È necessario che l assistenza venga fornita soltanto da un tecnico dell assistenza qualificato Questa apparecchiatura viene fornita in dotazione con un cavo di alimentazione staccabile munito di un cavo di messa per un sistema di protezione integrale inte...

Page 8: ...nstallazione negli edifici deve fornire una protezione di riserva adeguata contro i cortocircuiti 5 È necessario installare un collegamento di protezione in conformità alle norme e alle direttive locali nazionali in materia di cablaggi 6 L utilizzo della gamma di frequenze 5725 5875 MHz è vietato nel territorio italiano 7 La banda di frequenze 5150 5350 MHz è consentita solo in ambienti interni ne...

Page 9: ...i Latvian Ar šo Ruckus Wireless deklarē ka Radio LAN atbilst Direktīvas 2014 53 EU būtiskajām prasībām un citiem ar to saistītajiem noteikumiem http docs commscope com docs box Lietuvių Lithuanian Šiuo Ruckus Wireless deklaruoja kad šis Radio LAN atitinka esminius reikalavimus ir kitas 2014 53 EU Direktyvos nuostatas http docs commscope com docs box Nederlands Dutch Hierbij verklaart Ruckus Wirele...

Reviews: