860543388
Instruction Sheet
www.commscope.com
Page 6 of 19
Step 3 – Upgrade Fiber Shelf with the iPatch MPO Upgrade Kit
Step 3a
Install the
iPatch
MPO Upgrade Kit to convert
SYSTIMAX
®
fiber shelves for use with the
iPatch
system and connect each panel to the panel bus.
•
General instructions are provided for installation on a sliding shelf.
Step 3b
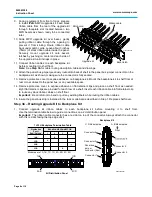
Instructions for routing upgrade kit ribbon cable to backplane kit.
Step 3c
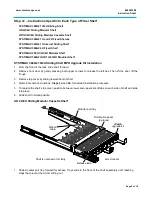
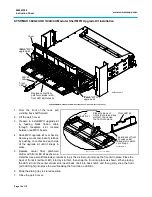
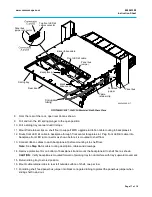
Instructions specific to each type of fiber shelf.
IMPORTANT
: Please read Step 3 entirely before installing kit.
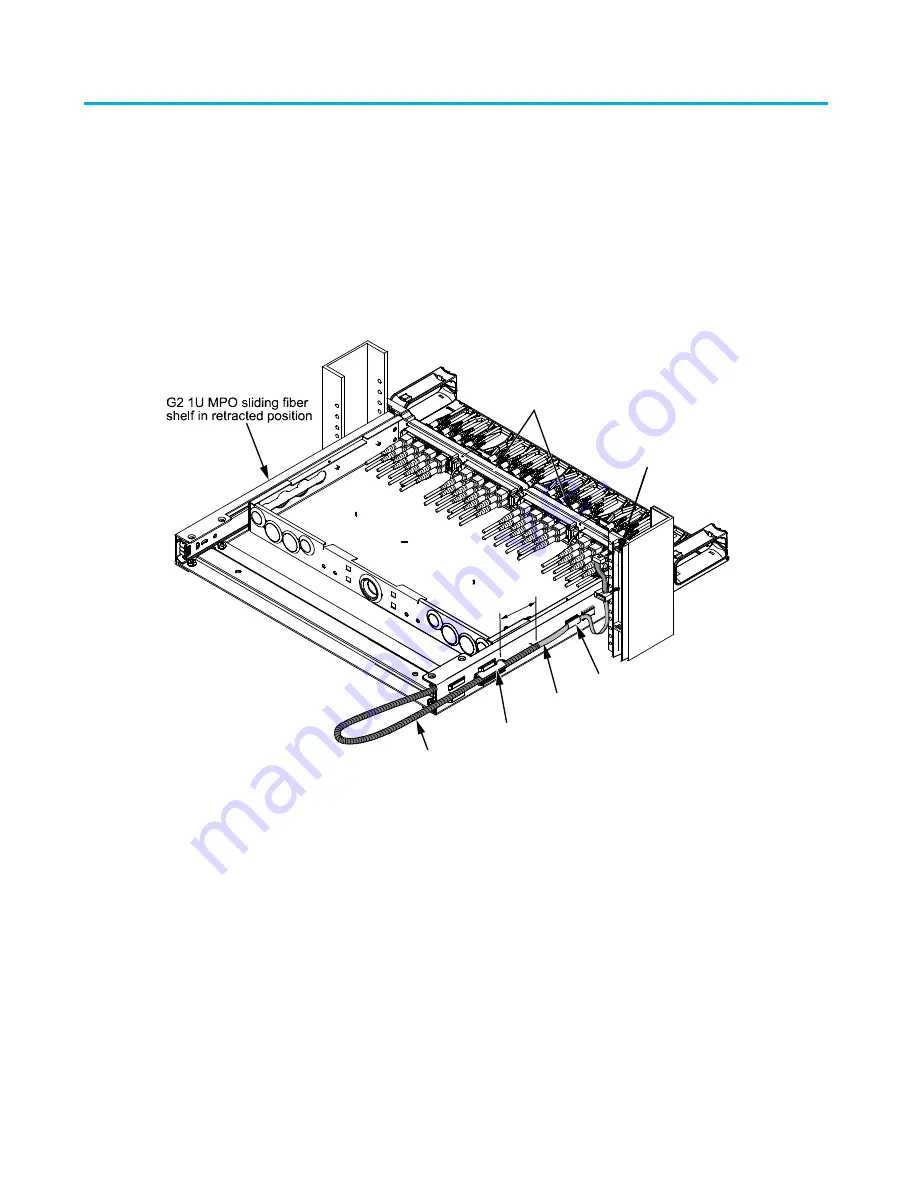
Step 3a – Sliding Shelf General Instructions
Note:
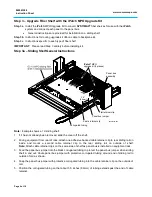
Example shows a 1U sliding shelf.
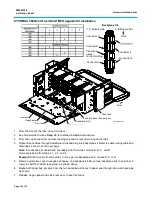
1. If it has not already been removed, slide the cover off the shelf.
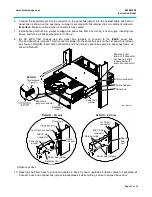
2. Facing equipment from rear of rack, attach one adhesive backed cable retainer clip to rear sliding rail on
inside and mount a second cable retainer clip to the rear sliding rail on outside of shelf.
Note:
Attach cable retainer clips on the same side of shelf as panel bus is installed on equipment rack.
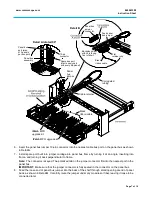
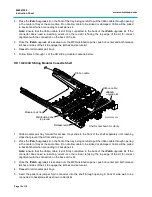
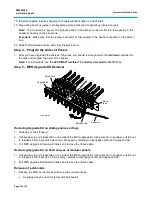
3. Feed the panel bus jumper into the black corrugated tubing to protect the panel bus jumper when sliding
shelf in and out. Route panel bus jumper with protective corrugated tubing around end of sliding rail to
outside of rail as shown.
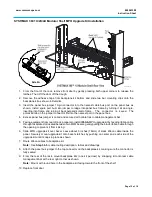
4. Snap the panel bus jumper with protective corrugated tubing into the cable retainer clip on the outside of
rail.
5. Position the corrugated tubing so that about 3.5 inches (89mm) of tubing extends past the end of cable
retainer.
iPatch
®
MPO
upgrade kit (2 places)
Panel bus
assembly
Panel bus jumper
Corrugated tubing
Cable retainer clip
Flat retainer clip
3.5"
(89mm)
860543388-004


