background image

37

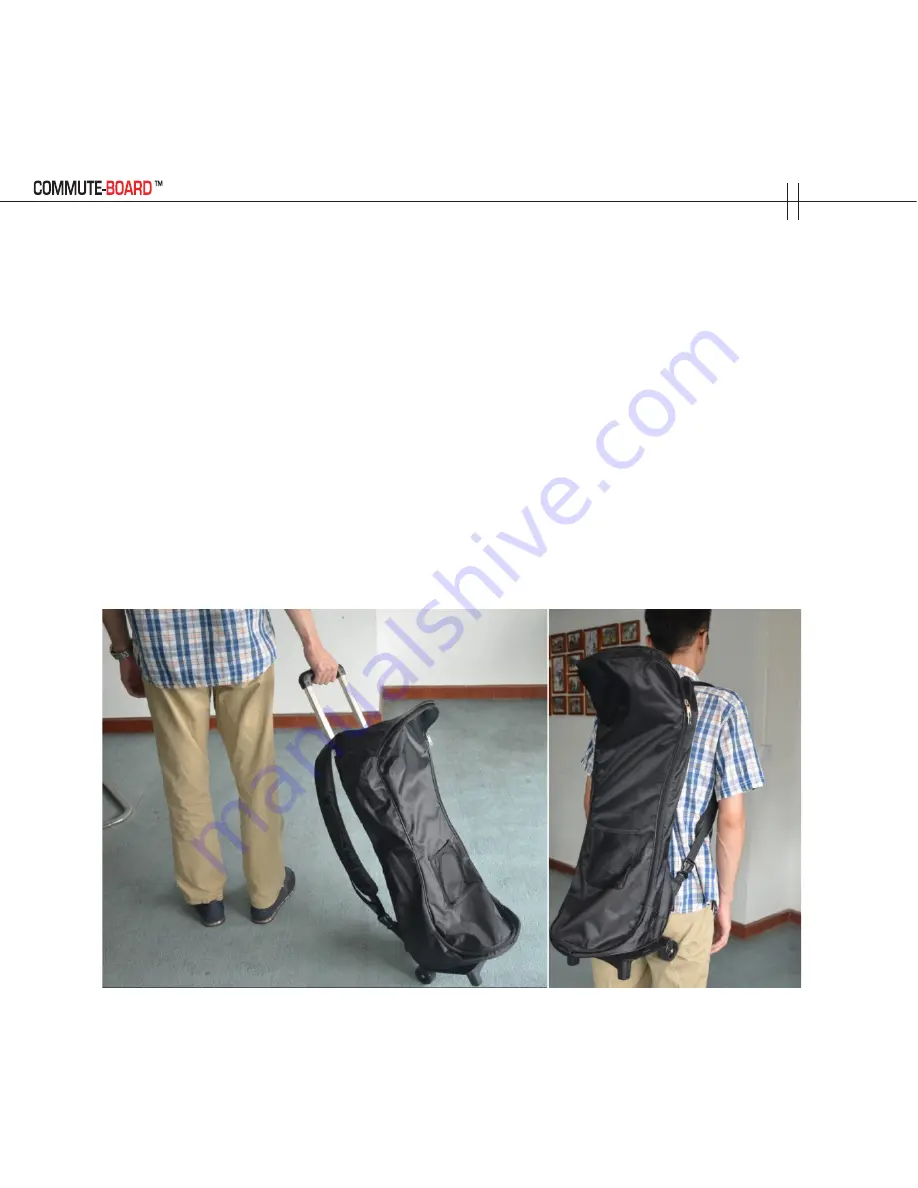
Step 3: Hint,,,,,,Cover the complete folded kickstand with some of the 
bubble wrap that came in the C-B’s® shipping carton. Tape/mold the 
bubble wrap using shipping tape, to form a protective molded fixture 
type shield. This will remove the possibility that any of the sharp cor-
ners of the folded kickstand might rip or tear the carry bag’s fabric. 
Carefully zip up the carry bag/backpack, being careful not jam or force 
the heavy duty zipper when zipping around the curves in the carry bag. 
Hint: A light coating of petroleum jelly, applied to both sides of a new 
zipper using a small piece piece of paper toweling, should prevent the 
zipper from ever jamming. The backpack straps are fully adjustable, 
and should easily fit most sized users.

Summary of Contents for Travel-X

Page 1: ......

Page 2: ...11 LEARNING TO RIDE C B FOR THE FIRST TIME P 12 GETTING STARTED PART 1 P 13 GETTING STARTED PART 2 P 14 HOW TO UNFOLD THE C B SHOWN IS THE DUEL FUNCTIONING SHOPPING BAG HOOK CARRY HANDLE HOOK P 15 HOW...

Page 3: ...TURE P 32 LIMITATION REGARDING THE INTERNAL TROLLEY FEATURE P 33 HOW TO ASSEMBLE THE OPTIONAL TROLLEY WHEELED CARRY BAG BACK PACK P 34 HOW TO ASSEMBLE THE OPTIONAL TROLLEY WHEELED CARRY BAG BACK PACK...

Page 4: ...ptive HINT First gear is rarely used Use second and third gears for best performance You may find first gear helpful climbing steep grades HILLS GRADES Use a combination of throttle power and manual l...

Page 5: ...oles or any object jutting out from an indoor or outdoor riding surface Note such objects in the roadway can jam stop the forward motion of any scooter with smaller type diameter wheels C B included e...

Page 6: ...d clear of hazardous objects Indoors drive and enjoy your emission free C B anywhere and everywhere you are allowed to always first pre checking your intended route to avoid driving on sur faces that...

Page 7: ...ster the basic functions required to unfold fold and ride your C B C Understand the structure and composition of the C B scooter and general maintenance methods WARNING Before driving your C B for the...

Page 8: ...an store your COMMUTE BOARD for extended periods of time as long as you recharge the battery pack to a full 100 charge at least EVERY 90 DAYS Failure to do time may permanently damage your battery pac...

Page 9: ...thorized factory repair personal For a period of 1 year the manufacturer will at its sole decision either repair or replace any defective components free of charge If shipping of replacement parts or...

Page 10: ...3 Electric Brake Sliding button that unfolds and re folds the handle bars Accelerator Clip Hook Front Lamp Brake Screw Motor Rear Lamp Rear Tire Screen Power on off...

Page 11: ...4 Battery Pack Sliding button that unfolds and re folds the handle bars Shopping Hook Folding metal deck lock...

Page 12: ...ed on the dash display performs all the follow ing functions 1 Press down black button on dash display 5 seconds to turn the C B power on for driving Press button down 5 seconds to turn off power on t...

Page 13: ...6...

Page 14: ...7...

Page 15: ...8...

Page 16: ...9...

Page 17: ...ARM ETER BATTERY PARAMERERS CHARGING TIME MAXIMUM LOAD LARGEST TRAVEL OVERALL DIM ENSIONS NET WEIGHT 24V 250W 15 MPH INPUT 100 240V 50 60Hz 2 2A MAX 29 4V 42V 1A 24V 8 8Ah EST 3H 150KG 330LBS 18MILE U...

Page 18: ...leg kick the scooter forward hop on with other foot and only then press your thumb down on the throttle located on right side of the handle bars Now the front hub power drive motor wheel is propel lin...

Page 19: ...ger cable box aside but keep the manual handy CAUTION Be careful when removing the folded C B from the white foam packing and carton because the carry handle hook latch and catch slot may not yet be s...

Page 20: ...f the folded steering column has NOT yet been securely connected into the catch slot located in the top rear section of top folded rear deck 2 make the hook slot connection now by using the first or i...

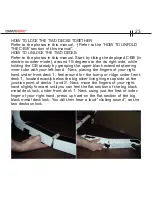
Page 21: ...14 HOW TO UNFOLD THE C B Refer to the photos in this manual Using your fingers unhook the black metal hook from the upper upper deck catch slot...

Page 22: ...your left hand to twist the round black screw wheel located at the front front of the lower steering column in a clock wise direction until the screw wheel is snug tight Hint Once the screw wheel is...

Page 23: ...with your left hand and holding it steady use your right hand to flip back the top rear deck 2 which contains the battery pack away and off of the front deck 1 Note During this procedure the kickstan...

Page 24: ...eel the flat section of the black medal deck lock recalling your practice finding that flat sweet spot when C B was positioned on the table e g described in the GETTING STARTED paragraph Leav ing your...

Page 25: ...lumn black tube until its height is adjusted to fit your comfort needs Unless you are 5 2 tall or under we recommend extending the black tube to it s maximum extension so the handle bars will be high...

Page 26: ...all black twist wheel ad juster located on the left side of the quick release clip Do NOT over tighten or under tighten the quick release clip Use the quick release clip s twist wheel adjuster to get...

Page 27: ...e outer front facing black sliding button with your first or index finger then immediately grasp the right handle bar end with the thumb and first or index finder of your right hand and with both blac...

Page 28: ...FORE your first C B ride you must charge up the C B to show 100 on the battery bar icon display Failure to do a first ride without the battery display at 100 may void your limited 1 year factory warra...

Page 29: ...WER available to continue your travels Therefore its always a good idea to start off on any single one way trip with the bat tery charged to a full 100 reading of the dash display SWITCHING THE POWER...

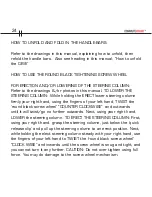
Page 30: ...be with your left hand Next placing the fingers of your right hand under front deck 1 feel around for the bump or ridge under front deck 1 located exactly below the big silver living hinge top side at...

Page 31: ...and TWIST the round black screw wheel COUNTER CLOCKWISE and outwards until it will twist go no further outwards Next using your right hand LOWER the steering column TO ERECT THE STEERING COLUMN First...

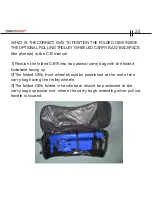
Page 32: ...sition the folded C B into its optional carry bag with the folded kickstand facing up 2 The folded C B s front wheel should be positioned at the end of the carry bag having the trolley wheels 3 The fo...

Page 33: ...e under construction or email us at info greenenergymotors com COMMUTE BOARD IS PATENT PENDING IN 168 COUNTRIES COUN TERFEITING IS STRICTLY FORBIDDEN COMMUTE BOARD TRAVEL X IS AVAILABLE EXCLUSIVELY at...

Page 34: ...27...

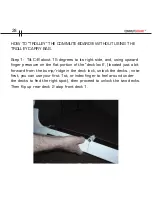
Page 35: ...g upward finger pressure on the flat portion of the deck lock located just a bit forward from the bump ridge in the deck lock unlock the decks note first you can use your first 1st or index finger to...

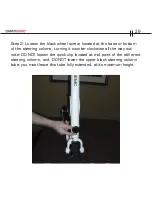
Page 36: ...the steering column turning it counter clockwise all the way out note DO NOT loosen the quick clip located at mid point of the still erect steering column and DO NOT lower the upper black steering co...

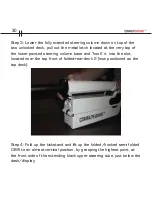
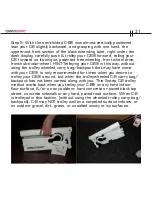
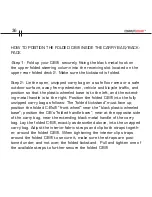
Page 37: ...ed steering column base and hook it into the slot located near the top front of folded rear deck 2 now positioned as the top deck Step 4 Fold up the kickstand and lift up the folded hooked semi folded...

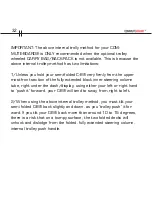
Page 38: ...y bag backpack that may have come with your C B is only recommended for times when you desire to trolley your C B around but when the trolley wheeled C B carry bag backpack has not been carried along...

Page 39: ...xtended black inner steering column tube right under the dash display using either your left or right hand to push it forward your C B will tend to sway from right to left 2 When using the above inter...

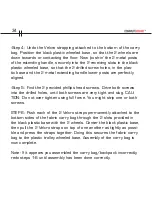
Page 40: ...s Set the 2 screws on the side Step 2 Position the zippered fabric carry bag on the floor so the outer mesh pocket is facing up and with the outer mesh pocket at the left end section of the black zipp...

Page 41: ...the drilled holes until both screws are very tight and slug CAU TION Do not over tighten using full force You might strip one or both screws STEP 6 Push each of the 2 Velcro straps permanently attache...

Page 42: ...35...

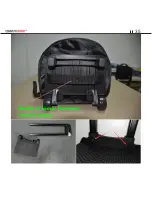
Page 43: ...Position the folded C B into the fully unzipped carry bag as follows The folded kickstand must face up position the folded C B s front wheel near the black plastic wheeled base position the C B s fold...

Page 44: ...arp cor ners of the folded kickstand might rip or tear the carry bag s fabric Carefully zip up the carry bag backpack being careful not jam or force the heavy duty zipper when zipping around the curve...

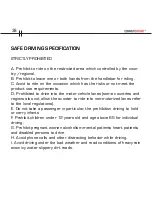
Page 45: ...countries and regions also not allow the scooter to ride into non motorized lanes refer to the local regulations E Do not take a passenger in particular the prohibition driving to hold or carry infant...

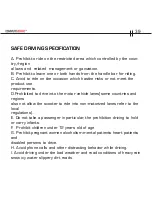
Page 46: ...he motor vehicle lanes some countries and regions also not allow the scooter to ride into non motorized lanes refer to the local regulations E Do not take a passenger in particular the prohibition dri...

Page 47: ...have a cool place to store the scooter keep away from fire try to avoid stay ing outside for a long time Sun exposure and the cold hot outdoor environment will get the appearance of the scooter being...

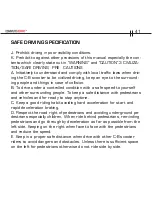
Page 48: ...nd other surrounding people To keep a safe distance with pedestrians and vehicles and for ready to stop anytime C Keep a good riding habit avoiding hard acceleration for start and rapid deceleration b...

Page 49: ...mail us from anywhere at info greenenergymotors com If you are inside the 50 United States and want a call back please leave your name and a phone number to call you back at International countries ca...

Page 50: ...selves or as a gift for that special someone To order online please go to the Hammacher Schlemmer web site America s Longest Running Catalog at www hammacher com Then type The Electric Commuter Scoote...

Reviews: