Page 3
HSZ70 Single Controller Configurations
Only use this procedure for the following configuration:
■
HSZ70 HSOF Version 7.x Single Controller
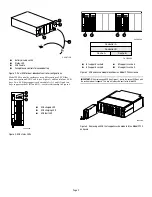
Use the following steps and Figure 1 or Figure 2 to replace an ECB:
1. If a controller is operating, connect a PC or terminal to the
controller maintenance port supporting the old ECB cache
module.
If the controller is not operating, go to step 3.
2. Shut down “this controller” with the following command:
SHUTDOWN THIS_CONTROLLER
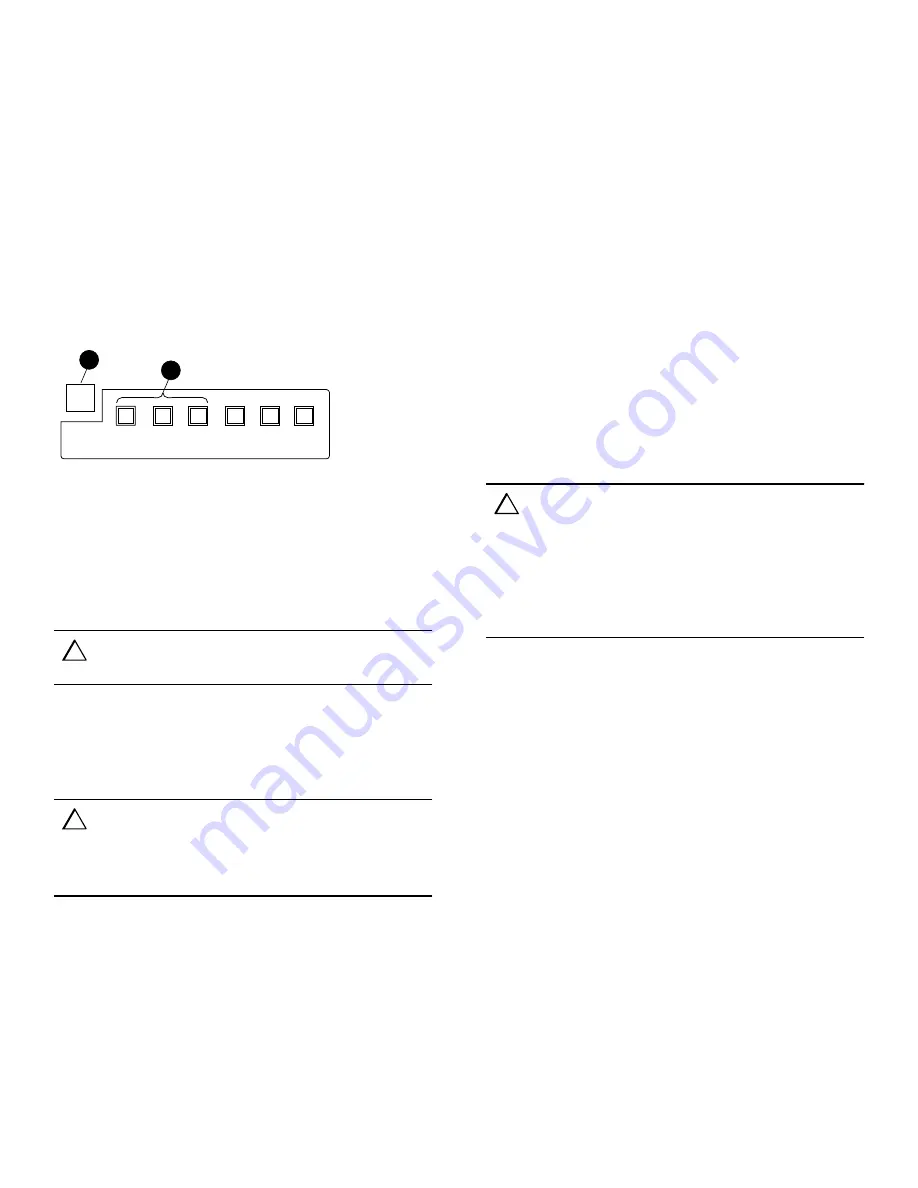
When the controller shuts down, the reset button
1 and the first
three LEDs
2 turn O
N
(see Figure 6). It might take several
minutes for this indication to appear, depending on the amount of
data that needs to be flushed from the cache module.
Figure 6. Controller reset button and first three LEDs
3. Turn O
FF
subsystem power.
NOTE:
If an empty bay is not available, place the replacement ECB on top of the
enclosure.
4. Insert the replacement ECB into its bay or near the ECB being
removed.
CAUTION:
The ECB Y-cable has a 12-volt and a 5-volt pin. Improper
handling or misalignment when connecting or disconnecting could cause
these pins to contact ground, resulting in cache module damage.
5. Connect the open end of the ECB Y-cable to the replacement
ECB.
6. Turn O
N
subsystem power.
The controller automatically restarts.
CAUTION:
DO NOT disconnect the old ECB Y-cable until the replacement
ECB is fully charged. If the replacement ECB status LED is:
■
O
N
, the ECB is fully charged.
■
F
LASHING
, the ECB is charging.
The subsystem can operate regardless of the old ECB status, but do not
disconnect the old ECB until the replacement ECB is fully charged.
7. Once the replacement ECB status LED turns O
N
, disconnect the
ECB Y-cable from the old ECB.
8. Remove the old ECB and place it in an antistatic bag or on a
grounded antistatic mat.
9. If the replacement ECB was not placed in an available bay, insert
the ECB into the vacant bay of the old ECB.
10. If a PC or terminal cable was connected in step 1, disconnect it
from the controller maintenance port.
HSZ70 Dual Controller Configurations
Only use this procedure for the following configuration:
■
HSZ70 HSOF Version 7.x Dual-Redundant Controller
Use the following steps and Figure 1 or Figure 2 to replace an ECB:
1. Connect a PC or terminal to the maintenance port of the controller
with the operational ECB.
The controller connected to becomes “this controller;” the
controller for the ECB being removed becomes the “other
controller.”
2. Disable failover and take the controllers out of their
dual-redundant configuration with the following command:
SET NOFAILOVER
3. Start FRUTIL with the following command:
RUN FRUTIL
4. Choose option 3, Replace other cache module battery.
5. Follow on-screen instructions to confirm ECB replacement.
NOTE:
If an empty bay is not available, place the replacement ECB on top of the
cabinet or enclosure until the defective ECB is removed.
6. Insert the replacement ECB into its bay or near the ECB being
removed.
CAUTION:
DO NOT disconnect the old ECB until the replacement ECB is fully
charged. If the replacement ECB status LED is:
■
O
N
, the ECB is fully charged.
■
F
LASHING
, the ECB is charging.
The subsystem can operate regardless of the old ECB status, but do not
disconnect the old ECB until the replacement ECB is fully charged.
The ECB Y-cable has a 12-volt and a 5-volt pin. Improper handling or
misalignment when connecting or disconnecting could cause these pins to
contact ground, resulting in cache module damage.
7. Follow on-screen instructions to connect the replacement ECB.
8. Follow on-screen instructions to restart the “other controller.”
9. Re-establish the dual-redundant configuration with the following
command:
SET FAILOVER COPY=THIS_CONTROLLER
This command copies the subsystem configuration from “this
controller” to the “other controller.”
10. If desired, verify the failover configuration with the following
command:
SHOW THIS_CONTROLLER FULL
11. Once the replacement ECB status LED turns O
N
, disconnect the
ECB Y-cable from the old ECB.
12. For dual ECB replacement:
■
If the other cache module is also to be connected to the new
dual ECB, connect the PC or terminal to the “other controller”
maintenance port.
The connected controller now becomes “this controller.”
■
Repeat step 2 through step 11.
13. Place the old ECB in an antistatic bag or on a grounded antistatic
mat.
14. Disconnect the PC or terminal from the controller maintenance
port.
1
2
3
4
5
6
CXO6991A
2
1


