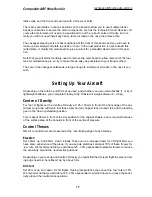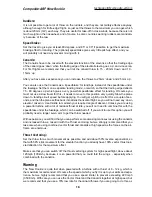
glue the edges of the canopy in place in 2 more places each side, with just a single small drop
of CA at each position, all the time checking that the edge of the canopy is tight up against the
frame at the front. (see photo P45)
Visually check from the front and back to make sure sure that the canopy is straight. Now that
the canopy is fixed in position and cannot twist anymore, you can carefully glue the rest of the
canopy firmly in place. You can either complete the gluing from the outside, allowing the CA glue
to wick into the joint between the frame and the clear plastic or, as we prefer, you can carefully
remove the canopy frame from the fuselage, and use a 30 minute or 24hr epoxy and micro-bal-
loon mixture for gluing all the edges to the frame on the inside surface. Even if you use the CA
glue method, we recommend that you also glue the inside edges with the the epoxy mixture to
be sure that the canopy cannot come off in flight.
An alternative method for holding the clear canopy in place while tacking it to the canopy
frame is to apply a little positive air pressure to the inside of the whole fuselage (seal up the
openings with tape), using a vacuum cleaner to blow the air in (connected in reverse).
Composite Fuel Tank
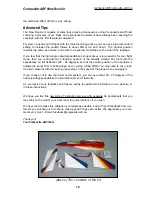
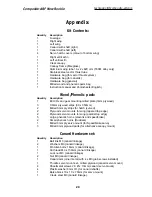
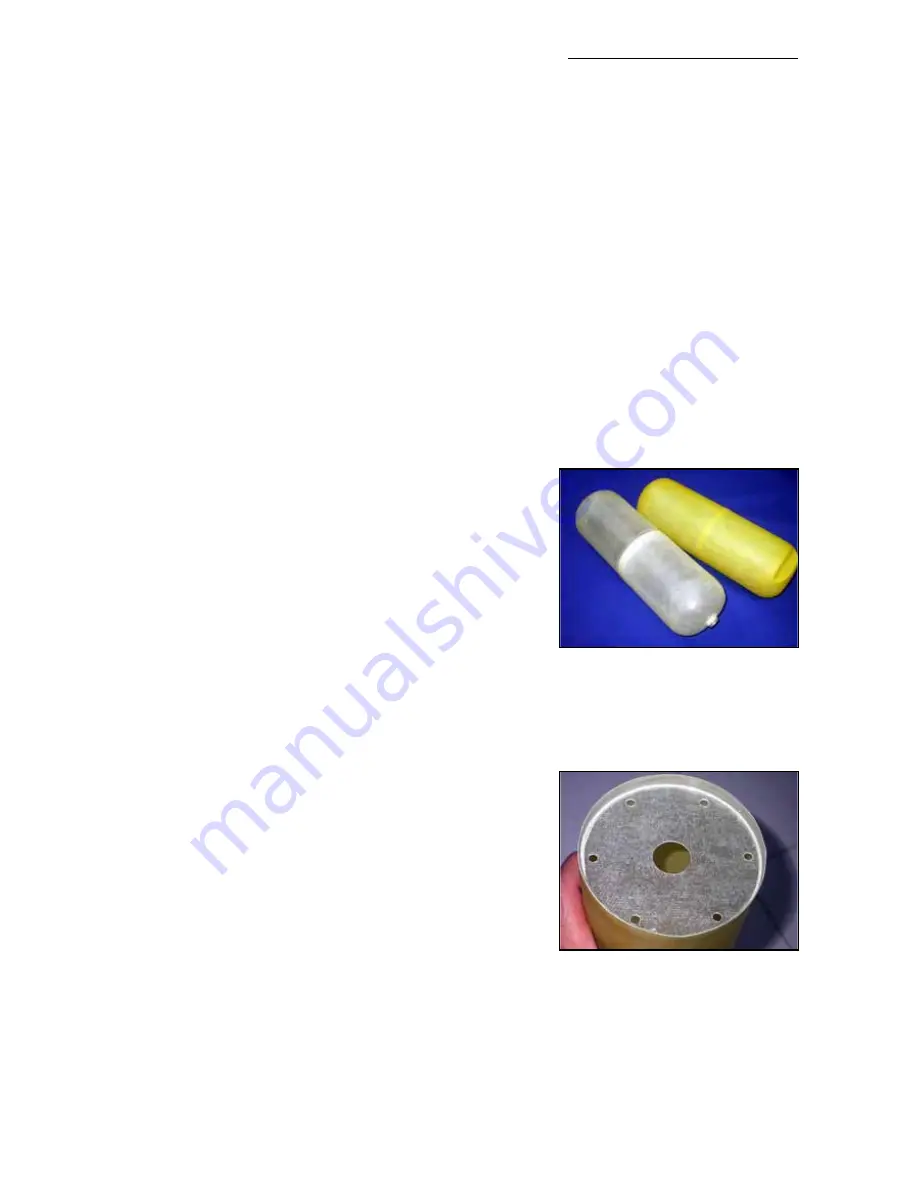
Available shortly will be a choice of 2 moulded composite
fuel tanks, one in kevlar and the other in fibreglass, to fit the
‘New Rookie’. Actually, by slightly enlarging the diameter of
the holes in the 2 main bulkheads these can also be retro-
fitted to original Rookies. Both tanks come with an internal
baffle to prevent to prevent fuel surge and C of G changes
during high G manoeuvres.
The full kevlar moulded tank has a capacity of 3.2+ litres and
is already joined at the factory, ready to install, with the baf-
fle and aluminium sleeve for the stopper hardware also fit-
ted. Included is the required kerosene stopper, aluminium
cap and brass tubing.
The fibreglass tank comes in ‘kit’ form, ready for you to join,
with instructions. By cutting the length of one half before
joining, capacities of between 1.6 and 3.2 litres can be
achieved - to suit your choice of engine and required flight
times.
With the larger cockpit area in the ‘New Rookie’ it is easy to
fit the fuel tank from the front thru’ the cockpit opening, mak-
ing installation and maintenance very simple. Full details will
be on our website shortly.
R/C and Gear installation
We have supplied a cnc milled plywood plate that locks into the slots on top of the lattice rails
that connect the front main bulkhead to the rear nosegear/canard former. This is identical to
the original Rookie, but can be extended forwards if you need extra space for a more complex
gear installation. The back edge of the board is trapped in the 2 small slots in the top of the
Composite-ARF New Rookie
techsupport@composite-arf.com
16
(above and below) The new
kevlar and glassfibre tanks for the
New Rookie, with capacities up to
3.2 litres, both have fuel baffles to
prevent fuel surge.


