Hardware Connections
Hardware Connections
Compro RS-3232 - User's Manual
3-4
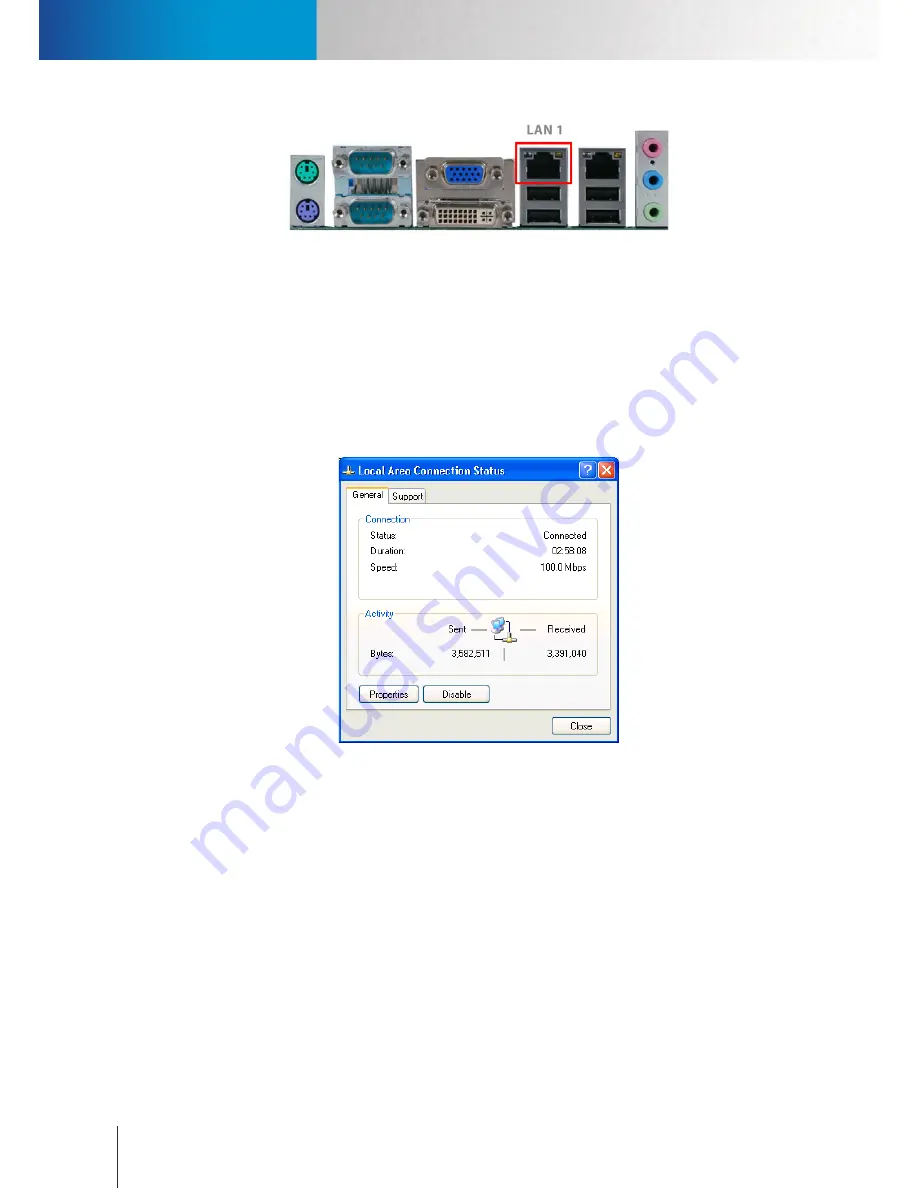
Figure 3-7. LAN 1 port
Manually assign IP address (Optional)
Alternatively, the unit can use a manually assigned IP address. Follow the steps below to assign an IP address.
1. Exit ComproView® on RS-3232.
2. Click the menu icon in the lower-left corner of the screen.
3. Choose “Control Panel” from the fly-out menu, and then double-click “Network Connections.”
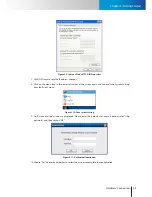
4. Double-click on the “Local Area Connection” icon. A connection status window will come up. Click on
“Properties” of that window.
Figure 3-8. Local Area Connection
5. A “Local Area Connection Properties” window pops up. Double-click “Internet Protocol (TCP/IP)” from a
list of items in this window.
6. An “Internet Protocol (TCP/IP) Properties” window is opened. Choose “Use the following IP address,” and
then punch in a new IP address, subnet mask, and default gateway. Please make note that if the unit and
your IP cameras are located on the same LAN network, ensure that they have the same subnet mask and
gateway.
Summary of Contents for RS-3232
Page 1: ...Network Video Recorder RS 3232 Model No V2 120510 ...
Page 34: ... Compro RS 3232 User s Manual 4 12 ...
Page 58: ...Talk and Broadcast Voice Compro RS 3232 User s Manual 6 8 ...
Page 64: ...Manual Recording Compro RS 3232 User s Manual 7 6 ...
Page 74: ...Add and Manage Bookmarks Compro RS 3232 User s Manual 8 10 ...
Page 78: ...Schedule a Backup Operation Compro RS 3232 User s Manual 9 4 ...
Page 82: ...Add an E Map Compro RS 3232 User s Manual 10 4 Figure 10 3 Emap example ...
Page 92: ...Remote Playback on WebVUer Compro RS 3232 User s Manual 11 10 ...
Page 112: ... Compro RS 3232 User s Manual 12 20 ...
Page 120: ...Contacting Compro Technical Support Compro RS 3232 User s Manual 14 4 ...


