Hardware Connections
Hardware Connections
Chapter 3: Getting Started
3-5
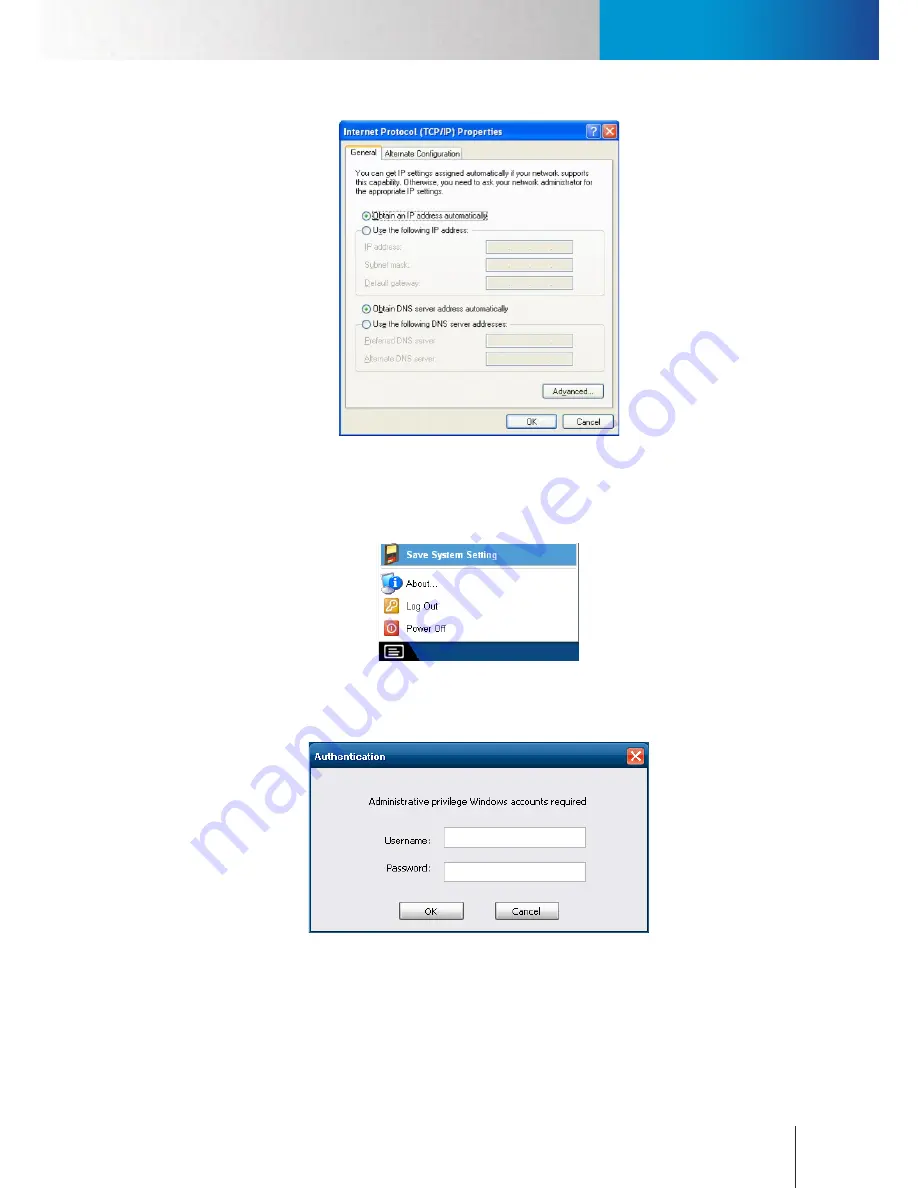
Figure 3-9. Internet Protocol (TCP/IP) Properties
7. Click [OK] twice to save the IP address changes.
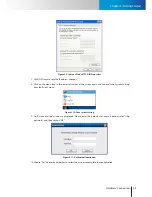
8. Click on the menu icon in the lower-left corner of the screen again, and choose “Save System Setting”
from the fly-out menu.
Figure 3-10. Save system setting
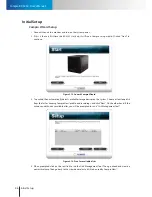
9. An “Authentication” window is displayed. Please enter the default user name “administrator” (skip
password), and then click on “OK”.
Figure 3-11. Authentication window
10. Choose “Yes” when asked whether to restart the system to complete the configuration.
Summary of Contents for RS-3232
Page 1: ...Network Video Recorder RS 3232 Model No V2 120510 ...
Page 34: ... Compro RS 3232 User s Manual 4 12 ...
Page 58: ...Talk and Broadcast Voice Compro RS 3232 User s Manual 6 8 ...
Page 64: ...Manual Recording Compro RS 3232 User s Manual 7 6 ...
Page 74: ...Add and Manage Bookmarks Compro RS 3232 User s Manual 8 10 ...
Page 78: ...Schedule a Backup Operation Compro RS 3232 User s Manual 9 4 ...
Page 82: ...Add an E Map Compro RS 3232 User s Manual 10 4 Figure 10 3 Emap example ...
Page 92: ...Remote Playback on WebVUer Compro RS 3232 User s Manual 11 10 ...
Page 112: ... Compro RS 3232 User s Manual 12 20 ...
Page 120: ...Contacting Compro Technical Support Compro RS 3232 User s Manual 14 4 ...


