Add Cameras
Assign New IP Address to RS-3232
Chapter 5: How to...
5-3
Add Cameras
After you have successfully logged into ComproView®, you can start to add cameras or video servers to the
system. There are several ways to add devices: using quick setup tool, using configuration console, using
right-click menu, and using channel control panel.
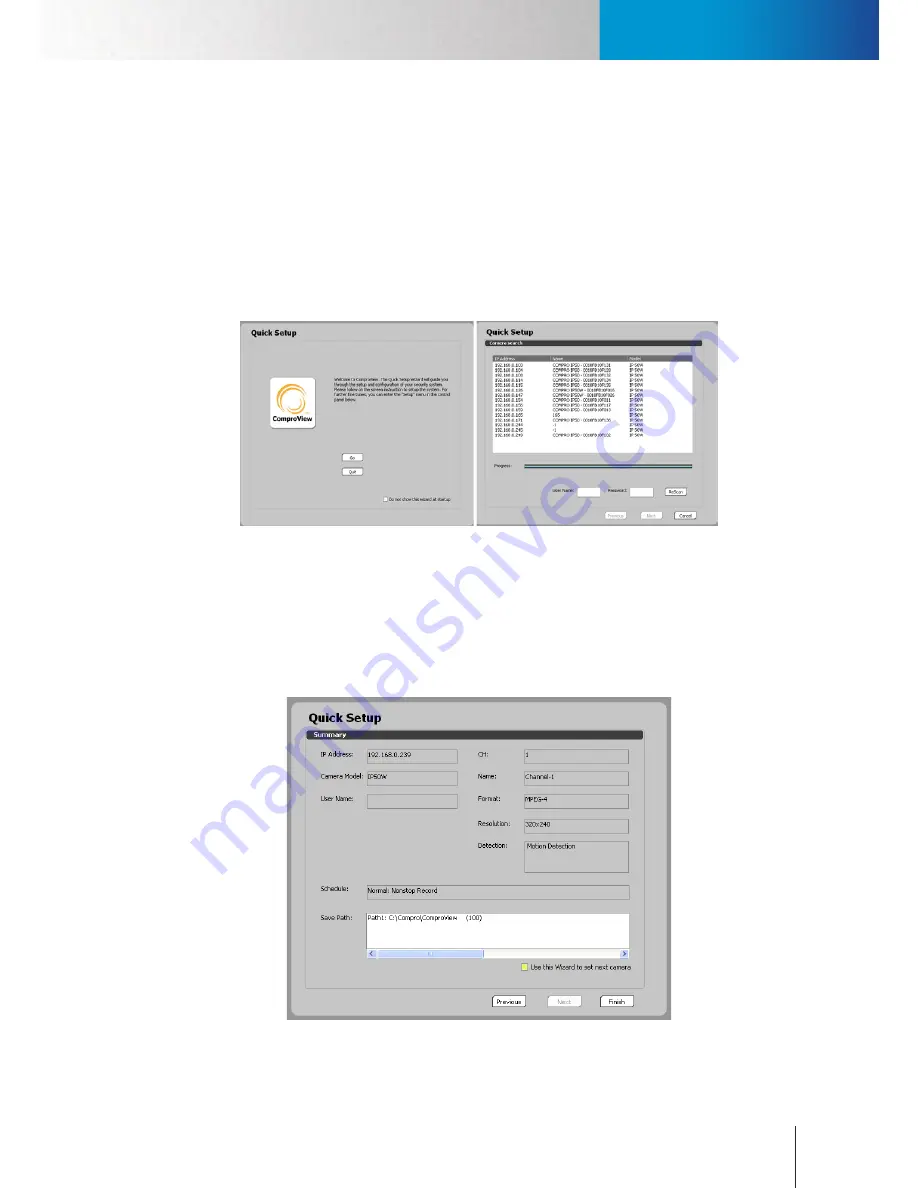
Using Quick Setup Wizard
1. After a successful login to the ComproView® system (the default user name and password are both
“admin”), you will be greeted by the Quick Setup Wizard. Press [Go] and the Wizard will guide you
through the process of adding devices.
Figure 5-5. Quick setup wizard
When you see the “Camera Search” screen, please choose one camera you wish to set up, and then enter
its correct User Name and Password. Click “Next” when ready.
2. When you have reached the last step of the quick setup but still need to set up other cameras, please
check the “Use this Wizard to set next camera” option and press the finish button to continue with the
quick setup.
Figure 5-6. Setup summary
Summary of Contents for RS-3232
Page 1: ...Network Video Recorder RS 3232 Model No V2 120510 ...
Page 34: ... Compro RS 3232 User s Manual 4 12 ...
Page 58: ...Talk and Broadcast Voice Compro RS 3232 User s Manual 6 8 ...
Page 64: ...Manual Recording Compro RS 3232 User s Manual 7 6 ...
Page 74: ...Add and Manage Bookmarks Compro RS 3232 User s Manual 8 10 ...
Page 78: ...Schedule a Backup Operation Compro RS 3232 User s Manual 9 4 ...
Page 82: ...Add an E Map Compro RS 3232 User s Manual 10 4 Figure 10 3 Emap example ...
Page 92: ...Remote Playback on WebVUer Compro RS 3232 User s Manual 11 10 ...
Page 112: ... Compro RS 3232 User s Manual 12 20 ...
Page 120: ...Contacting Compro Technical Support Compro RS 3232 User s Manual 14 4 ...


