Compsee
22
Apex-0698-Part 2: Apex-trak
Part 2
Set Options
The Set Options procedures are performed from all three Apex-Trak programs. All except one of the Set Options
procedures are identical.
The Field option procedure involves slightly different screens depending on whether it is performed from Asset
Inventory, Item Track, or Physical Inventory.
Perform this action from the Asset Inventory (AI), Item Track (IT), or Physical Inventory (PI) main menu to access
Set Options procedures.
1. Press the<O> key.
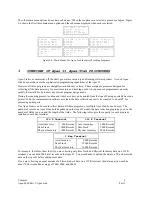
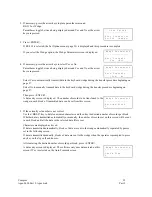
The Set Options menu is displayed. The current program (in this case, the
Asset) is displayed on the top line.
= = A s s e t I n v e n t = =
F ) i e l d O p t i o n s
P ) r i n t e r O p t i o n s
U ) p l o a d O p t i o n s
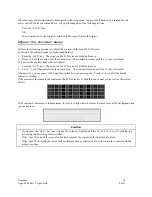
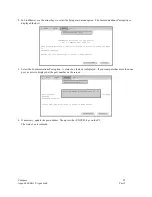
Otherwise, the three Set Options menus are identical.
= = A s s e t I n v e n t = =
E ) r a s e D a t a F i l e
Q ) u i t
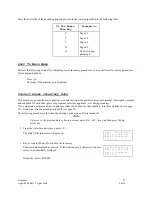
2. Select the desired option by pressing the key associated with that option. Then proceed to the page listed in
the following table.
To perform this
procedure
Proceed to this page
Field Options
22
Printer Options
23
Upload Options
24
Erase Data File
26
Quit to Apex II main menu
22
Quit to Current Program’s Main Menu
Perform the following action from any of the Set Options menus to cancel Set Options procedures and display the
current program’s main menu.
1. Press the <Q> key.
Field Options
The procedure is identical for all three inventory/tracking programs; however the LCD screen displays the field
names and lengths contained in the currently accessed program.
Refer to Chapter 5 for Asset Inventory, Chapter 6 for Item Track, and Chapter 7 for Physical Inventory Field
Options procedures.
Printer Options
Options set with this procedure only affect the program from which they are accessed. For example, when you set
Physical Inventory Printer Options, it does not affect the Asset Inventory Printer Options.


