


- 11 -
4
4
4
4.1
.1
.1
.1 Setting
Setting
Setting
Setting the
the
the
the Year
Year
Year
Year
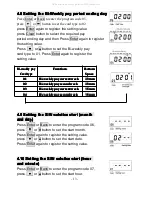
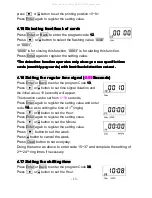
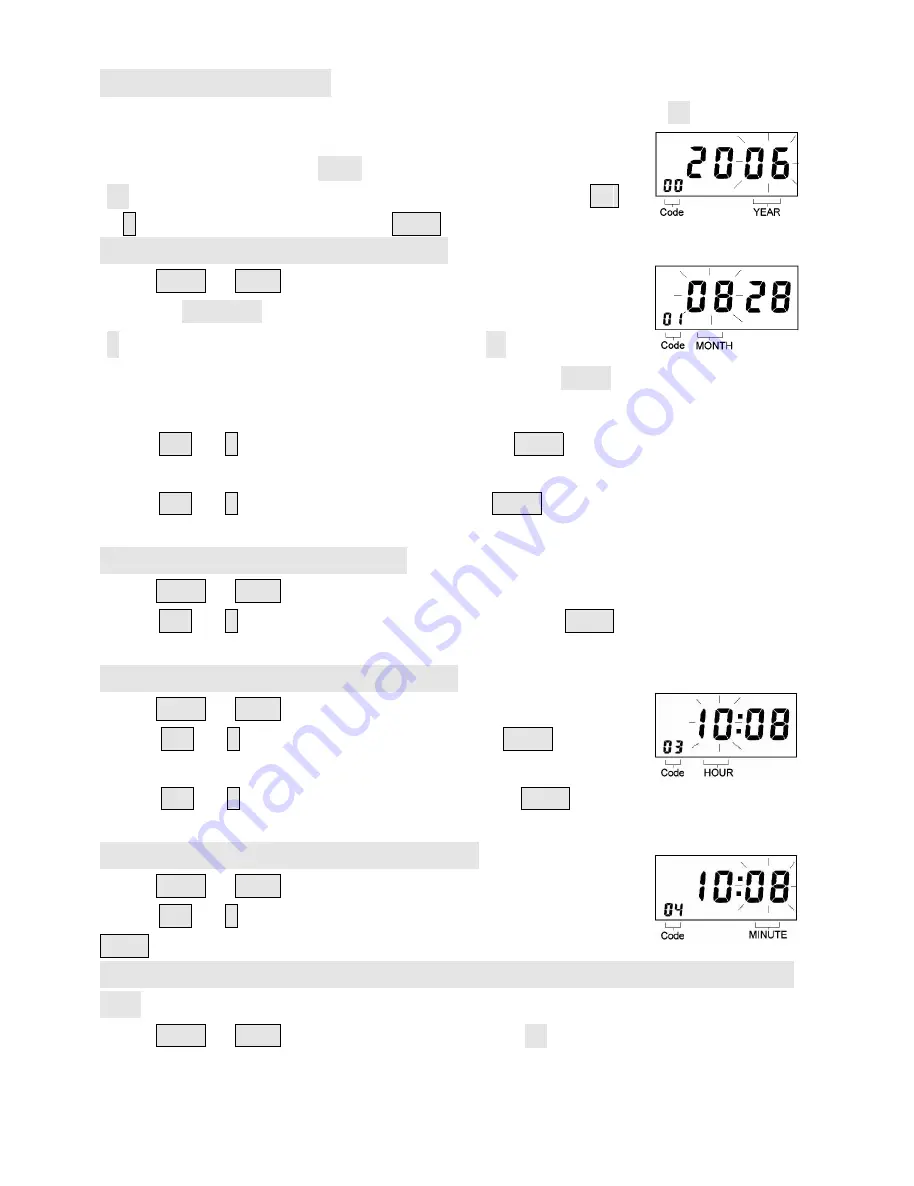
Turn the program switch to right side, the Codes will begin from “
0
0
0
00
0
0
0
”
(00 display on the left corner indicates the program Code)
,
The digital display reads 2006 indicates year 2006
,
The year
“06” flashes on the right of the digital display, press the
+
+
+
+
or
–
–
–
–
button to set the year. Press Enter to register the setting.
4
4
4
4.2
.2
.2
.2 Setting
Setting
Setting
Setting the
the
the
the Month
Month
Month
Month and
and
and
and Data
Data
Data
Data
Press Enter or Back to enter the program Code
01
01
01
01
,
or press”Program” to select function codes, then press
“+”to increase the value as well as press “
-
” to decrease
the value
to enter the program Code
01
01
01
01
, and press “Enter” to select the codes
forward
(the
(the
(the
(the next
next
next
next Codes(02-73)
Codes(02-73)
Codes(02-73)
Codes(02-73)
Perform
Perform
Perform
Perform the
the
the
the same
same
same
same operation
operation
operation
operation
)
press
+
+
+
+
or
–
–
–
–
button to set the month. Press Enter again to
register the setting value.
press
+
+
+
+
or
–
–
–
–
button to set the data,Press Enter again to
register the setting value.
4
4
4
4....3
3
3
3 Setting
Setting
Setting
Setting the
the
the
the time
time
time
time system
system
system
system
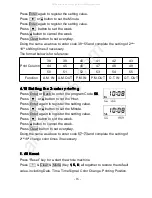
Press Enter or Back to enter the program Code
0
0
0
02
2
2
2
,
press
+
+
+
+
or
–
–
–
–
button to set the time system. Press Enter again to register the
setting value.
4
4
4
4....4
4
4
4 Setting
Setting
Setting
Setting the
the
the
the Hour
Hour
Hour
Hour and
and
and
and Minute
Minute
Minute
Minute
Press Enter or Back to enter the program Code
0
0
0
03
3
3
3
,
Press
+
+
+
+
or
–
–
–
–
button to set the Hour. Press Enter again to
register the setting value.
Press
+
+
+
+
or
–
–
–
–
button to set the Minute. Press Enter again to
register the setting value.
4
4
4
4....5
5
5
5 Setting
Setting
Setting
Setting the
the
the
the day
day
day
day changing
changing
changing
changing time
time
time
time
Press Enter or Back to enter the program Code
0
0
0
04
4
4
4
,
press
+
+
+
+
or
–
–
–
–
button to set the day changing time. Press
Enter again to register the setting value.
4
4
4
4....6
6
6
6 Setting
Setting
Setting
Setting the
the
the
the Monthly,
Monthly,
Monthly,
Monthly, Weekly,
Weekly,
Weekly,
Weekly, Bi-weekly
Bi-weekly
Bi-weekly
Bi-weekly pay
pay
pay
pay period
period
period
period ending
ending
ending
ending
day
day
day
day
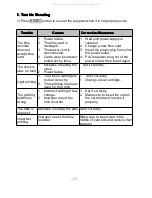
Press Enter or Back to enter the program Code
0
0
0
05
5
5
5
,
All manuals and user guides at all-guides.com
all-guides.com


