9
Chapter 2 Installation
2.1 Hardware Setup
Follow the instructions below to complete the hardware setup.
Non-stackable
This device is not stackable – do not place units on top of each other, otherwise
damage could occur.
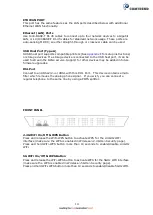
BACK PANEL
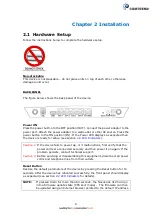
The figure below shows the back panel of the device.
Power ON
Press the power button to the OFF position (OUT). Connect the power adapter to the
power port. Attach the power adapter to a wall outlet or other AC source. Press the
power button to the ON position (IN). If the Power LED displays as expected then
the device is ready for setup (see section
Caution 1:
If the device fails to power up, or it malfunctions, first verify that the
power cords are connected securely and then power it on again. If the
problem persists, contact technical support.
Caution 2:
Before servicing or disassembling this equipment, disconnect all power
cords and telephone lines from their outlets.
Reset Button
Restore the default parameters of the device by pressing the Reset button for 10
seconds. After the device has rebooted successfully, the front panel should display
as expected (see section
NOTE:
If pressed down for more than 60 seconds, the NexusLink 3120 will go
into a firmware update state (CFE boot mode). The firmware can then
be updated using an Internet browser pointed to the default IP address.
Summary of Contents for NexusLink 3120
Page 41: ...40 5GHz ...
Page 60: ...59 5 3 4 UPnP Select the checkbox provided and click Apply Save to enable UPnP protocol ...
Page 70: ...69 A maximum of 100 entries can be added to the URL Filter list ...
Page 87: ...86 ...
Page 123: ...122 Enter the MAC address in the box provided and click Apply Save ...
Page 167: ...166 STEP 2 Click the Windows start button Then select Control Panel ...
Page 168: ...167 STEP 3 Select Devices and Printers STEP 4 Select Add a printer ...
Page 196: ...195 F2 4 PPP over ATM PPPoA IPv4 STEP 1 Click Next to continue ...
Page 216: ...215 Click Next to continue or click Back to return to the previous step ...


