169
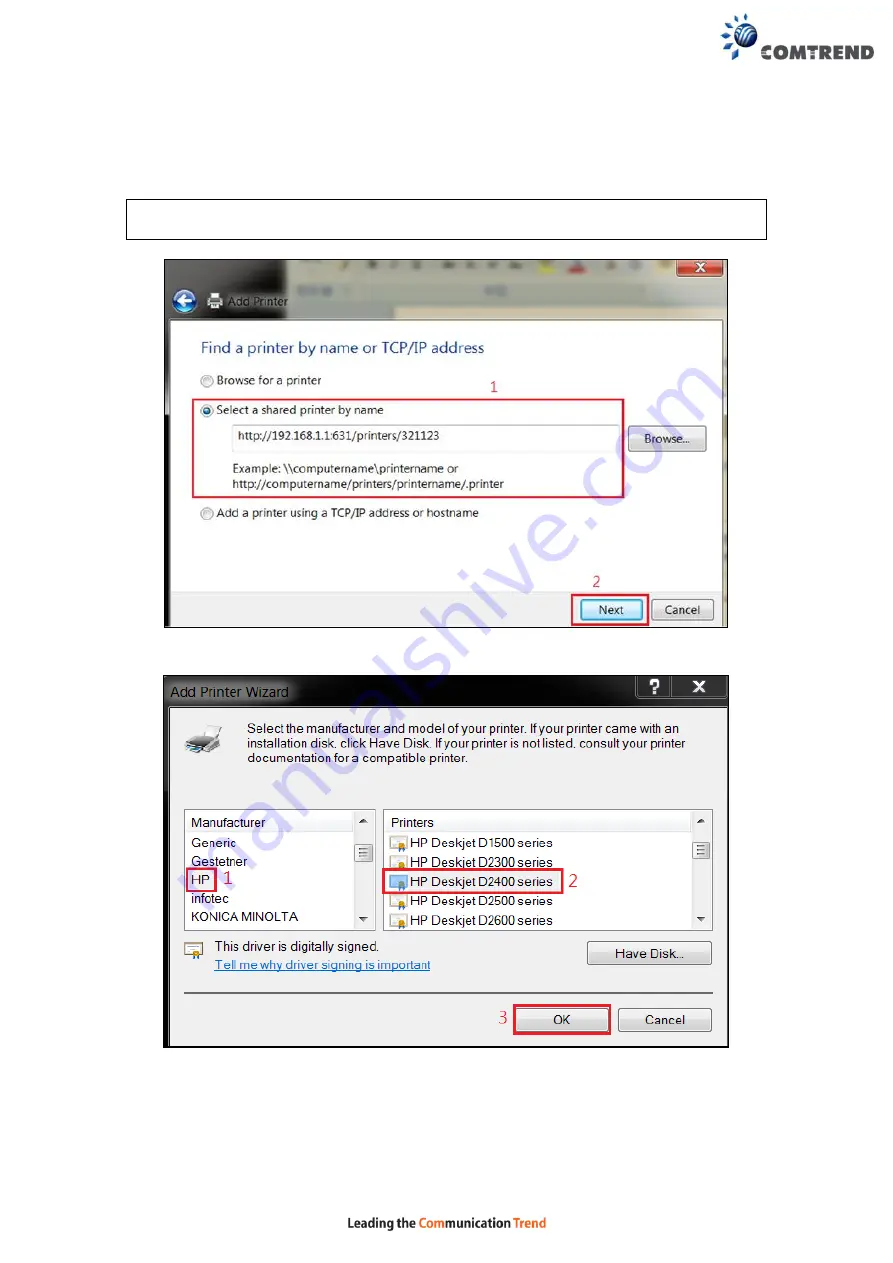
STEP 7:
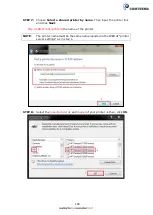
Choose
Select a shared printer by name
. Then input the printer link
and click
Next
.
http://LAN IP:631/printers/
the name of the printer
NOTE
: The printer name must be the same name inputted in the WEB UI “printer
server settings” as in step 1.
STEP 8:
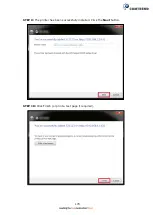
Select the
manufacturer
and
model
of your printer
then, click
OK
.
Summary of Contents for NexusLink 3120
Page 41: ...40 5GHz ...
Page 60: ...59 5 3 4 UPnP Select the checkbox provided and click Apply Save to enable UPnP protocol ...
Page 70: ...69 A maximum of 100 entries can be added to the URL Filter list ...
Page 87: ...86 ...
Page 123: ...122 Enter the MAC address in the box provided and click Apply Save ...
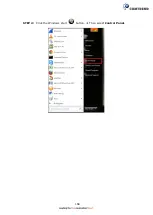
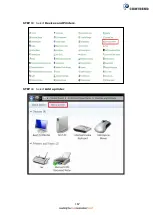
Page 167: ...166 STEP 2 Click the Windows start button Then select Control Panel ...
Page 168: ...167 STEP 3 Select Devices and Printers STEP 4 Select Add a printer ...
Page 196: ...195 F2 4 PPP over ATM PPPoA IPv4 STEP 1 Click Next to continue ...
Page 216: ...215 Click Next to continue or click Back to return to the previous step ...

