180
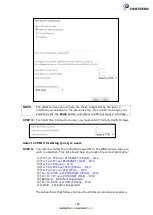
NOTE
:
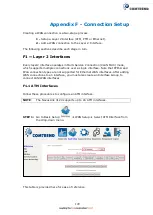
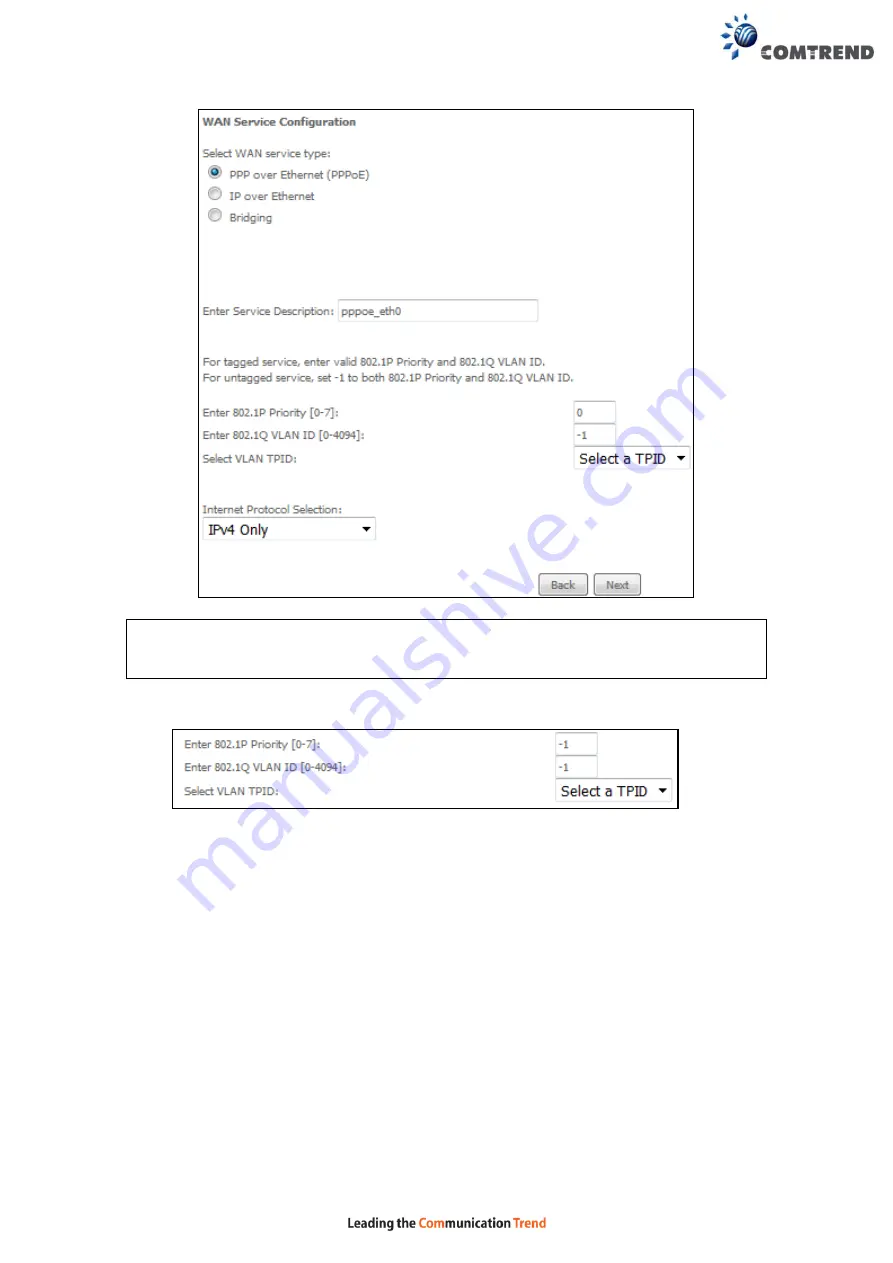
The WAN services shown here are those supported by the layer 2
interface you selected in the previous step. If you wish to change your
selection click the
Back
button and select a different layer 2 interface.
STEP 4:
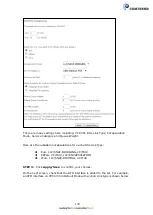
For VLAN Mux Connections only, you must enter Priority & VLAN ID tags.
Select a TPID if VLAN tag Q-in-Q is used.
STEP 5:
You will now follow the instructions specific to the WAN service type you
wish to establish. This list should help you locate the correct procedure:
F2.1 PPP over ETHERNET (PPPoE) – IPv4
F2.2 IP over ETHERNET (IPoE) – IPv4
F2.4 PPP over ATM (PPPoA) – IPv4
F2.5 IP over ATM (IPoA) – IPv4
F2.6 PPP over ETHERNET (PPPoE) – IPv6
F2.7 IP over ETHERNET (IPoE) – IPv6
(8) Bridging – IPv6 (Not Supported)
(9) For
F2.8 PPP over ATM (PPPoA) – IPv6
(10) IPoA – IPv6 (Not Supported)
The subsections that follow continue the WAN service setup procedure.
Summary of Contents for NexusLink 3120
Page 41: ...40 5GHz ...
Page 60: ...59 5 3 4 UPnP Select the checkbox provided and click Apply Save to enable UPnP protocol ...
Page 70: ...69 A maximum of 100 entries can be added to the URL Filter list ...
Page 87: ...86 ...
Page 123: ...122 Enter the MAC address in the box provided and click Apply Save ...
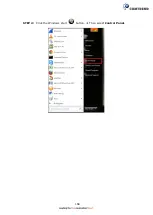
Page 167: ...166 STEP 2 Click the Windows start button Then select Control Panel ...
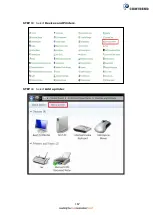
Page 168: ...167 STEP 3 Select Devices and Printers STEP 4 Select Add a printer ...
Page 196: ...195 F2 4 PPP over ATM PPPoA IPv4 STEP 1 Click Next to continue ...
Page 216: ...215 Click Next to continue or click Back to return to the previous step ...

