194
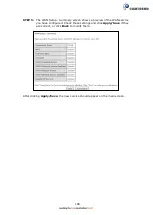
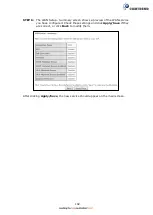
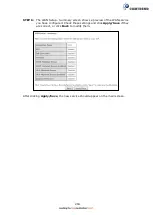
STEP 2:
The
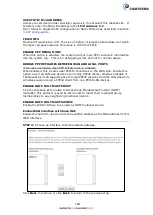
WAN Setup - Summary screen shows a preview of the WAN service
you have configured. Check these settings and click
Apply/Save
if they
are correct, or click
Back
to return to the previous screen.
After clicking
Apply/Save
, the new service should appear on the main screen.
NOTE:
If this bridge connection is your only WAN service,
the NexusLink 3120
will be inaccessible for remote management or technical support from the
WAN.
Summary of Contents for NexusLink 3120
Page 41: ...40 5GHz ...
Page 60: ...59 5 3 4 UPnP Select the checkbox provided and click Apply Save to enable UPnP protocol ...
Page 70: ...69 A maximum of 100 entries can be added to the URL Filter list ...
Page 87: ...86 ...
Page 123: ...122 Enter the MAC address in the box provided and click Apply Save ...
Page 167: ...166 STEP 2 Click the Windows start button Then select Control Panel ...
Page 168: ...167 STEP 3 Select Devices and Printers STEP 4 Select Add a printer ...
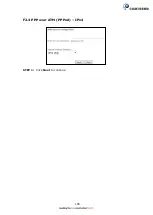
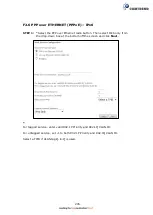
Page 196: ...195 F2 4 PPP over ATM PPPoA IPv4 STEP 1 Click Next to continue ...
Page 216: ...215 Click Next to continue or click Back to return to the previous step ...

