87
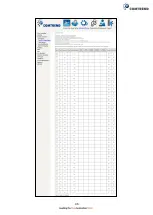
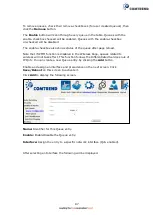
To remove queues, check their remove-checkboxes (for user created queues), then
click the
Remove
button.
The
Enable
button will scan through every queue in the table. Queues with the
enable-checkbox checked will be enabled. Queues with the enable-checkbox
un-checked will be disabled.
The enable-checkbox also shows status of the queue after page reload.
Note that if WMM function is disabled in the Wireless Page, queues related to
wireless will not take effect. This function follows the Differentiated Services rule of
IP QoS. You can create a new Queue entry by clicking the
Add
button.
Enable and assign an interface and precedence on the next screen. Click
Save/Reboot
on this screen to activate it.
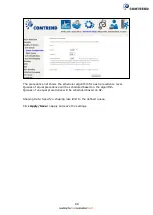
Click
Add
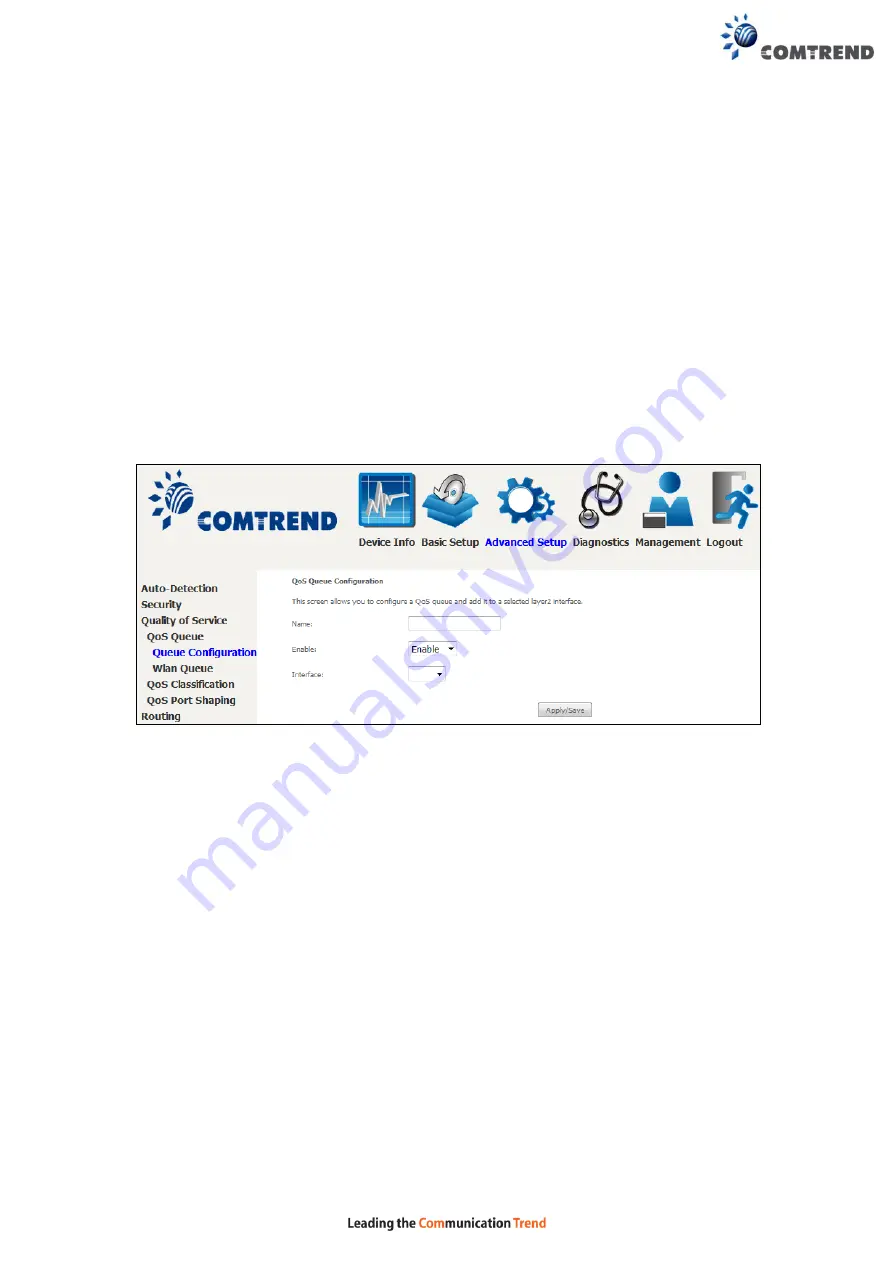
to display the following screen.
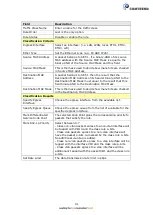
Name:
Identifier for this Queue entry.
Enable:
Enable/Disable the Queue entry.
Interface:
Assign the entry to a specific network interface (QoS enabled).
After selecting an Interface the following will be displayed.
Summary of Contents for NexusLink 3120
Page 41: ...40 5GHz ...
Page 60: ...59 5 3 4 UPnP Select the checkbox provided and click Apply Save to enable UPnP protocol ...
Page 70: ...69 A maximum of 100 entries can be added to the URL Filter list ...
Page 87: ...86 ...
Page 123: ...122 Enter the MAC address in the box provided and click Apply Save ...
Page 167: ...166 STEP 2 Click the Windows start button Then select Control Panel ...
Page 168: ...167 STEP 3 Select Devices and Printers STEP 4 Select Add a printer ...
Page 196: ...195 F2 4 PPP over ATM PPPoA IPv4 STEP 1 Click Next to continue ...
Page 216: ...215 Click Next to continue or click Back to return to the previous step ...

