172
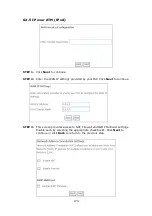
STEP 5:
The
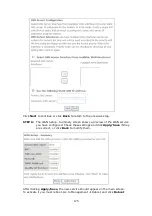
WAN Setup - Summary screen shows a preview of the WAN service
you have configured. Check these settings and click
Apply/Save
if they
are correct, or click
Back
to modify them.
After clicking
Apply/Save
, the new service should appear on the main screen.
To activate it you must reboot. Go to Management
Reboot and click
Reboot
.
Summary of Contents for VI-3223u
Page 1: ...VI 3223u Multi DSL WLAN IAD User Manual Version B1 0 July 19 2013 261099 020...
Page 7: ...6 1 2 Application The following diagram depicts a typical application of the VI 3223u...
Page 16: ...15 STEP 3 After successfully logging in for the first time you will reach this screen...
Page 26: ...25...
Page 32: ...31 Chapter 5 Advanced Setup The following screen shows the advanced menu options...
Page 67: ...66 5 11 UPnP Select the checkbox provided and click Apply Save to enable UPnP protocol...
Page 72: ...71 5 15 1 Storage Device Info Display after storage device attached for your reference...
Page 74: ...73 Automatically Add Clients With Following DHCP Vendor IDs...
Page 98: ...97 Click Apply Save to set new advanced wireless options...
Page 103: ...102 7 1 SIP Basic Setting 7 1 1 Global Parameters A common parameter setting...
Page 104: ...103 7 1 2 Service Provider This screen contains basic SIP configuration settings...
Page 106: ...105 7 2 SIP Advanced This screen contains the advanced SIP configuration settings...
Page 107: ...106 7 2 1 Global Parameters A common parameter setting...
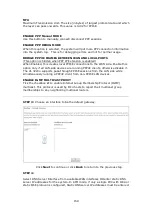
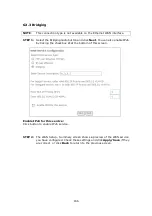
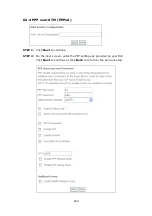
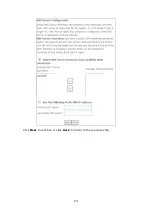
Page 172: ...171 Click Next to continue or click Back to return to the previous step...


