Hardware Installation Overview
13
Installing the Hardware
Hardware Installation Overview
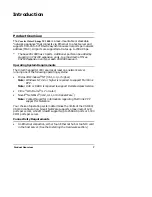
Perform the following steps to install your virtual server:
•
Install the VS1000/VS1100 hardware and the devices that you are
connecting to the serial ports.
•
Install the VS-Link software (as described in the section for your
operating system).
•
Configure your operating system to work with the serial devices
connected to the VS1000/VS1100 ports.
This section covers installing the VS1000/VS1100 hardware,
understanding the power-on diagnostics, and connecting serial devices.
For information regarding serial port pinouts and cabling, see the
section titled Building Cables.
Installing the VS1000 Hardware
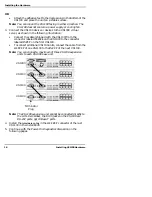
Follow this procedure to connect the VS1000 to your network.
1.
Write down the serial number and Network (MAC) address of the
VS1000 in the event that you need to call technical support.
The identification tag is located on the back panel of the unit. The
VS1100 has a serial number only. If the VS1000/VS1100 is to be
mounted in a remote location, you can also write this information on
the blank sticker shipped with the VS1000/VS1100 and place the
sticker in a more accessible location.
2.
Optionally, mount the VS1000 into the rack using the enclosed
mounting brackets or mount the rubber feet.
Warning: If mounting the VS1000 into a rack mount unit, make
sure that the rack is not top heavy.
Table 2. VS1000 Model and Serial Numbers
Serial Number*
Network Address*
00 C0 4E _____ _____ _____
Summary of Contents for InterChangeVS1000
Page 1: ...InterChangeVS 1000 Series VS1000 and VS1100 Hardware Installation and Configuration Guide ...
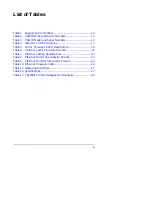
Page 6: ...6 List of Tables ...
Page 26: ...26 Building Loopback Plugs Building Cables ...
Page 30: ...30 Power Supply Requirements InterChangeVS Specifications ...
Page 36: ...36 Index ...
Page 37: ......


