Using the Weight Only Mode
• Instructions for customizing your Weight Watchers Body Fat Monitor and
Weight Tracker are below. However,
the scale does not need to be
programmed to operate as a simple weigh scale.
• With the wireless display in clock mode, press the SET key. “8888” will appear
on the display.
• Tap the scale with your foot and wait until all digits light up for a few seconds
and then “0.0” appears.
• Step on the scale and adjust your position according to the leveler
indicators on the display.
• The indicators show where you are off center. Dashes on the left show that too much
of your weight is on the left side of the scale, dashes on the right show that too much
of your weight is concentrated on the right side. Try to balance yourself in the centre.
• Once you achieve the correct position, the center diamond will flash.
Off center position
Center position
• Weight reading appears and stays for 10 seconds.
• Display returns to clock mode.
Customizing Your Weight Watchers
®
Weight and
Body Fat Monitor
This tracking scale can be customized for up to 4 users. While the customization
process is not difficult, it may be easiest to read all the instructions first to
familiarize yourself with them. Then keep the instruction manual handy as you
go through the process step by step. Should the scale time out during the setup
process (display goes to clock mode), you can always start over.
Setting Data for Body Fat/Hydration/BMI Measurement:
1. In clock mode, press the SET button.
2. “8888” will be lit on LCD screen.
Setting the User Number
1. Press a user button (marked as 1, 2, 3, 4).
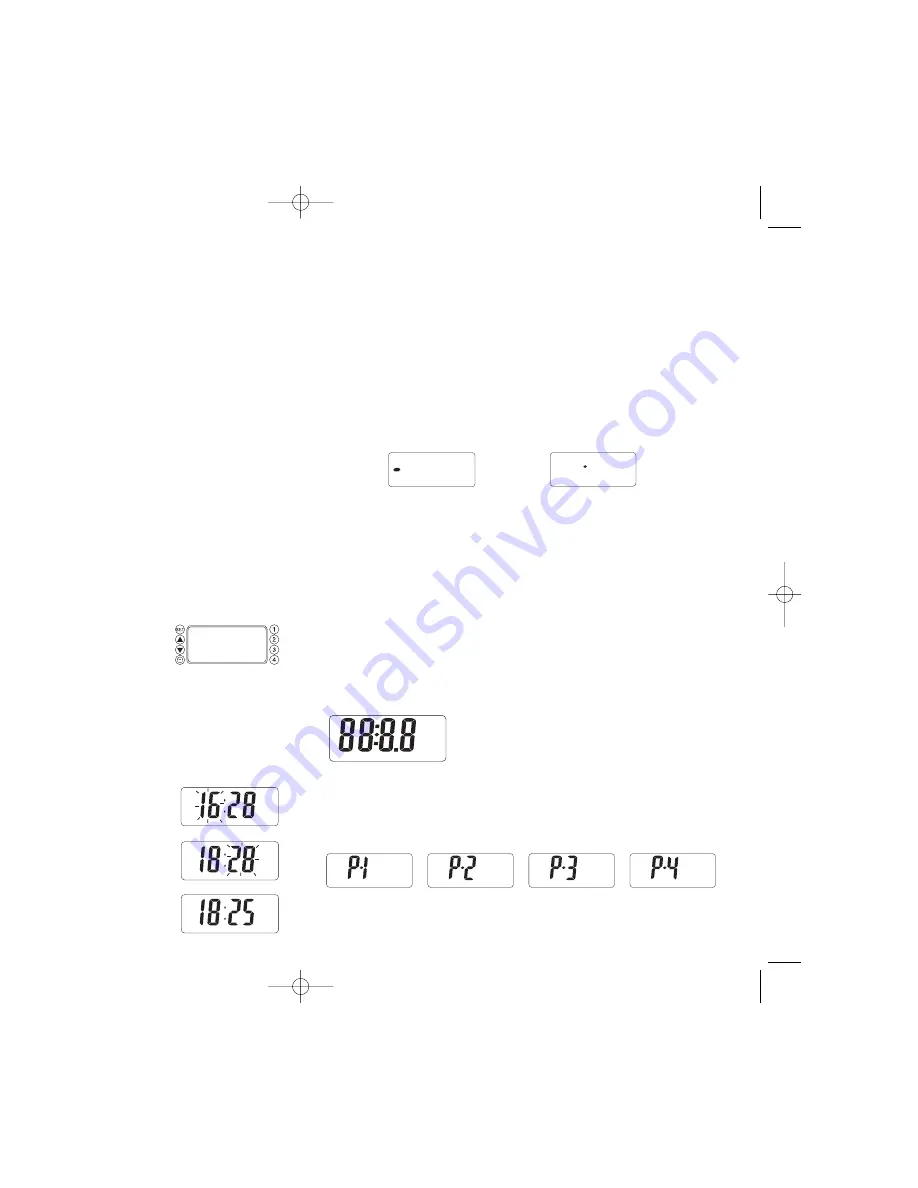
2. User number “P-1”, “P-2”, “P-3”, or “P-4” flashes on the LCD.
3. Press the SET button to confirm the user number. User number becomes stable.
Before Using Scale
1. Set switch on the base of scale to measure in kg (kilograms) or lb (pounds).
2. Set scale on floor. Surface must be level for accurate operation and safety.
3. Insert batteries into the remote and the scale (8 AAA batteries; batteries not
included). To insert batteries into the scale, open the battery door on the
bottom of the scale. Insert 4 AAA batteries as indicated on the inside of the
battery door cover. To insert batteries into the remote, open the two battery
doors on the back of the remote and insert 2 AAA batteries into each.
Note:
if your display shows "CErr" or "Err" when installing batteries for the
first time, please follow the procedure below.
a. With batteries installed in the scale base and the remote unit, press and hold
UP key for about 3 seconds. "CodE" appears on the display and flashes.
b. Press reset key in the back of scale base by using a ball point pen. Scale unit
starts to communicate with the remote unit. "CodE" is still flashing.
c."CodE" becomes stable and stays for about 3 seconds and then display
returns to clock mode. Code recognition for the display remote is complete. If
"CodE" did not become stable and stay for about 3 seconds before display
returns to clock mode, start from the beginning again.
4. You can place the removable wireless display on the scale where it will
magnetically adhere to the center of the indentation; you can set it on a
counter or it can be wall-mounted. The display does not have to be within line
of sight of the scale and can be placed several feet away from the base of the
scale. You can try out different places and choose the one that allows you the
best access to the buttons on the display and the best angle from which to view
the display while you are weighing yourself.
Keys
All keys are on the removable wireless display: Set key, up
and down arrows, clock key and 4 user buttons.
Setting the clock
1. Once batteries have been installed in the scale, the clock will show 12:00.
2. The clock is set to a 12-hour clock. No action is required to leave it as a 12-hour
clock. To change it to a 24-hour clock, press the clock key on the wireless
display. The hour digits will start flashing. Press the clock key again. Clock will
now display time in a 24-hour clock (i.e., 4:28pm will be displayed as 16:28).
3. To change the time:
• Press and hold the clock key. The first two digits on the
left of the display which show the hour will start flashing.
Press the up or down arrows to get the correct hour. Then
press SET to confirm.
• Now the last two digits on the right of the display
showing the minutes will start flashing. Press up or
down arrows to set the correct minutes. Press the SET
key to confirm.
• Time setting is now complete and the new time is shown
on the display.
WW83_IB_EN_book_revised.qxd 9/29/05 11:43 AM Page 3


