4. Note: If you attempt to set up a user number that is already in use, the display
will flash the word “dAtA”. If you press the SET button, you will overwrite the
existing user data. All existing data will be lost. If you press another user button,
you will proceed to that profile to enter your data. If you do nothing, the scale
display will time out in 30 seconds and no data is overwritten or lost.
Setting a Passcode
1. To protect your personal data, your Weight Watchers scale is equipped
with a passcode feature.
2. The display will flash “C” until a passcode is entered or the SET button is pressed.
3. If you do not wish to set a passcode for your user number, press the SET
button. The scale will then enter the height setting mode (below).
4. To set a passcode, use the user buttons marked 1, 2, 3, and 4 to enter a 4-digit
passcode (for instance: 1232 or 4431, etc). Each time a user button is pressed, the
number appears and blinks on the screen. If you accidentally press the wrong
number, you can keep re-entering numbers until you have the desired 4-digit
passcode. Press the SET button to accept your 4-digit code. The passcode
becomes stable.
5. The scale is now ready to enter your height.
Setting Height
1. The height indicator “HT” and inch symbol flash (if your scale is set to
measure in pounds; if it is set to weigh in kg, the height will be measured
in cm). To switch to metric centimeter without shifting the lb/kg switch
underneath the scale, press up or down arrows and then press SET to confirm).
2. Press the up or down arrows in the middle of your button array to scroll to
the correct height. Pressing and holding either the up or the down arrow
advances the numbers more quickly.
3. Press SET to accept the height. Height number becomes stable.
4. Your scale is now ready to enter the age-setting mode.
Setting Age
1. “AGE” appears on the display and the default age 30 flashes.
2. Press the up or down arrows in the middle of your button array to scroll to
the correct age. Pressing and holding either the up or the down arrow advances
the numbers more quickly.
3. Press SET to accept the age. Age number becomes stable.
4. Your scale is now ready to enter the gender setting mode.
Setting Gender
1. A gender icon (female/male) appears on the display and flashes.
2. Press the up or down arrows in the middle of your button array to switch
to the other gender.
3. Press SET to accept the gender. Gender icon becomes stable.
Setting BMI Level
The scale automatically calculates your Body Mass Index (BMI) and based on that
calculation and other data, assigns a BMI level (L1, L2, L3, L4, L5) which is closely
related to fitness (see section “About BMI Levels”). For many people, the initial
level will be L2 or L3. The BMI level is assigned automatically and you do not need
to program it. To leave the automatically assigned level in place, you do not need
to do anything. Your scale will move on to the “Data Display” below.
If you are athletic, with good overall fitness, you work out on a regular basis, and
the scale has assigned you a BMI Level of L1, L2, or L3, you may want to consider
manually changing the BMI level. You will need to go through the customization
procedure described above again.
1. At the “Setting Gender” step, once you have chosen your correct gender, do
not press the SET button, but instead press your user number.
2. Scale will enter BMI level setting mode and you can use the up or down arrows
to choose the level appropriate for you (see section ”About BMI Levels”).
3. Press SET to confirm level.
4. Scale will move on to data display.
Data Display
1. Once gender has been set, you have completed the data setting for body fat/
hydration/ BMI measurements.
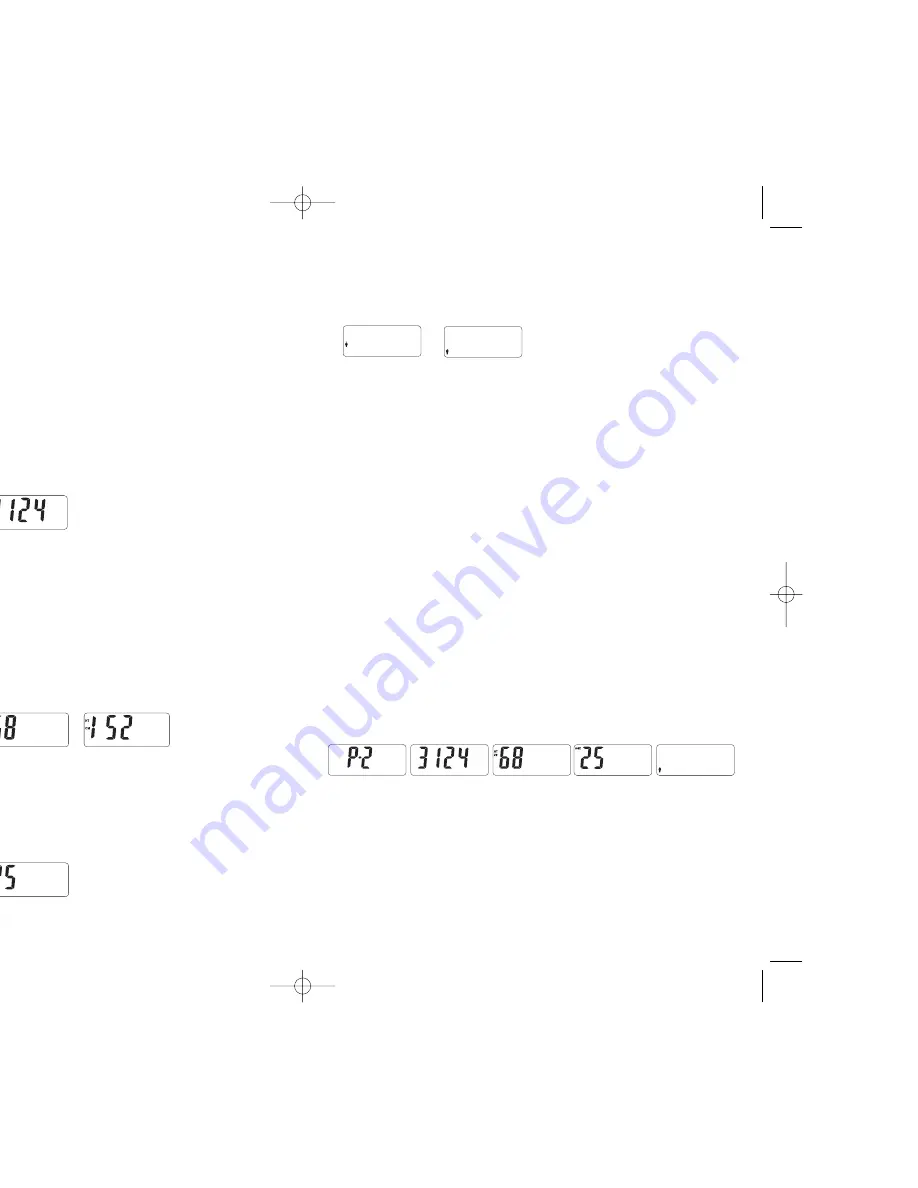
2. All stored data automatically runs on the screen for 2 seconds in setting
sequence: user number, passcode, height, age, and gender.
3. Press the SET button to skip the data display or press your user button again to
go through the whole setting procedure again and change the data. If you do
nothing, scale advances to point 4 below.
4. The display goes to “888.8” to show that the scale is now ready to enter
your weight data.
Setting Data for Weight Tracking
Current Weight
1. After data has been set for body fat measurement and “888.8” appears
on the screen, tap on the scale and wait until “00.0” appears on the screen.
Step on the scale.
2. Adjust your position on the scale according to the leveler indicators on the
display. The indicators show where you are off center. Dashes on the left show
that too much of your weight is on the left side of the scale; dashes on the
WW83_IB_EN_book_revised.qxd 9/29/05 11:43 AM Page 5


