EN
54
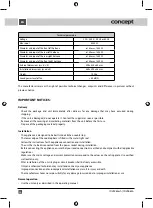
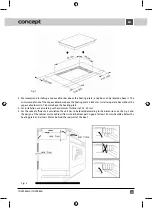
6. Before installing the unit in the cut-out in the worktop, stick sealing against the leakage of liquids along the perimeter
of the bottom part of the glass-ceramic plate (enclosed depending on the type).
7. Position the unit onto the edge of the board and pass the power cord through the opening so that the plug or
terminals remain accessible after installation.
8. Push the unit carefully into place. Be careful not to squeeze the power cord. Fix it in the required position using 4
clamps (supplied).
9. Plug the supply cable in the wall outlet or the terminal box.
Removal
To uninstall the unit, it is important to proceed correctly:
1. First, unplug the power cord from the mains (pull out the plug or switch off the circuit breaker).
2. Remove the attachment screws.
3. Slide out the unit and at the same time pull out the power cord carefully.
Connecting to the mains
•
Only authorized personnel can install the connection!
• Make sure the mains voltage and current protection correspond to the values on the rating plate. Otherwise the
installed electric circuit could be overloaded, especially in the case of single-phase connection (230 V). We recommend
using a separately protected electric circuit.
•
Use solely electric power distribution with PE protective conductor.
• Do not use adapter plugs, connectors or extension cables. They could create a risk of fire due to overheating.
• The supply cable plug or the circuit breaker has to be freely accessible even after the installation of the unit.
• The electrical safety of the unit can only be guaranteed if the protective terminal of the unit is connected to the
protective conductor of the mains.
• The manufacturer bears no responsibility for damage caused to people or objects as a result of a missing or bad
protective connection.
• The power cord must be located so that it does not come into contact with hot parts of the unit and so that it is not
deformed and excessively bent.
Connection of the terminal box of the unit
WARNING!
Only authorized personnel can install the connection!
A switch or circuit breaker for disconnection of the unit from the mains must be installed in the wiring before the unit,
where the distance between open contacts of all poles is at least 3 mm.
EN
55
IDV2660
After fixation of the ends of the wires under the heads of the screws in the terminal box insert the cable in the terminal
box and secure it with a clip against pulling out.
After the connection turn the unit into the working position, put it in the cut-out and check the position of the supply
cable.
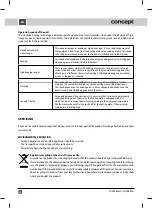
Operation sounds of the unit
The induction heating technology is based on specific parameters of metal materials, when under the influence of high-
frequency waves. Under special circumstances these vibrations can manifest themselves by weak sounds, which do not
signal any fault. These include:
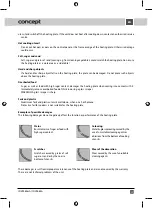
Deep hum such as at
a transformer
This sound accompanies cooking at high power level. It is caused by big amount of
energy which is transferred from the heating plate to the cooking utensil. This sound
will disappear or weaken as soon as the hotzone is switched over to lower power.
Beeping
This sound usually appears in the case of an empty cooking utensil. It will disappear
when you pour water or put food in the utensil.
High beeping sounds
These sounds appear mainly with cooking utensils consisting of several layers of
various materials, when they are in operation at the maximum heating power. This
effect does not influence the result of cooking. The beeping disappears or weakens
as soon as the power is reduced.
TROUBLESHOOTING
Problem
Cause, solution
The household wiring protection
reacts to the switching on of the
heating plate.
Check that the input of all switched-on units does not exceed the maximum load of
the household wiring. Check whether the protection breaks in case of switching on
of another hotzone too.
The heating plate has switched
off.
Somebody has touched the main switch accidentally. Switch on the heating plate
again. Perform setting once more.
When you put a utensil on the
induction hotzone, the „
U
“
symbol is displayed (and the
hotzone does not heat).
Check whether the cooking utensil is electromagnetic (i.e. whether it attracts
a magnet). Check whether the bottom diameter of the utensil is sufficient.
If the cooking utensil has got too hot during use, let it cool down.
If the indicator does not shine even after the next switching off and on again,
disconnect the heating plate from the mains. Wait 20 seconds and then connect it
again.
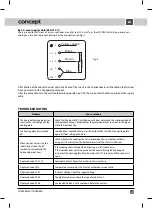
Displayed code F0, F1, F2
Cooling fan defect. Contact an authorized service centre.
Displayed code F3-F8
Temperature sensor defect. Contact an authorized service centre.
Displayed code E1, E2,
Incorrect voltage. Check the supply voltage.
Displayed code E3, E4,
Too high temperature. Check the type of used utensil.
Displayed code E5, E6,
Overheated hotzone. Let it cool down before the next use.
EN
56
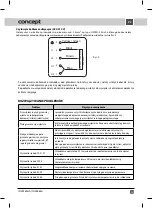
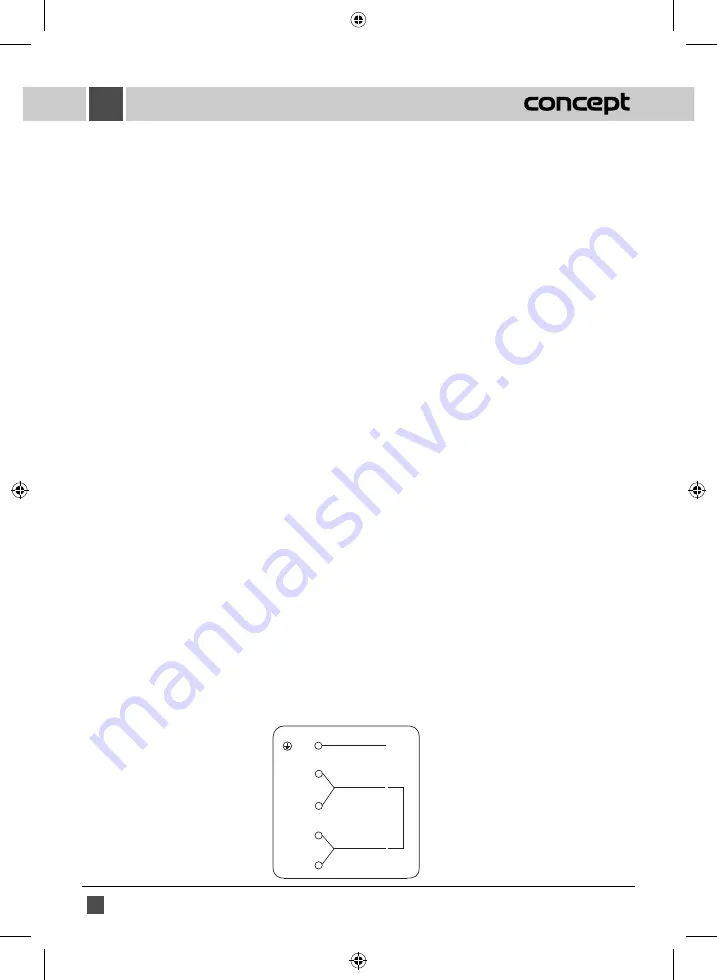
The unit can be connected in the following way:
By a 3-core supply cable (230 V)
Use a cable with wires of a
cross-sectional
area of at least 4 mm
2
, e.g. the H0
7RN-F 3Gx4,0
type, and press endings on
its ends to
prevent fraying. For the connection see Fig. 3.
F
ig
. 3
Yellow / Green
Brown
Blue
220-240V~
2
3
4
5
N1
L2
L1
N2 1
IDV2560wh | IDV2660n
Summary of Contents for IDV 2660n
Page 2: ...ID D c P k O T D P P N T T Č I Ř S O P C V v ř 1 N t 2 J 3 V n s j P p P T s p P m ...
Page 61: ......
Page 62: ......
Page 63: ......

