EN
19
VS5010
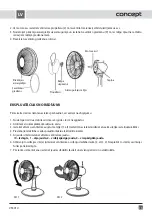
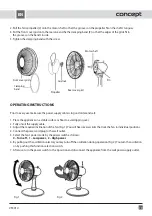
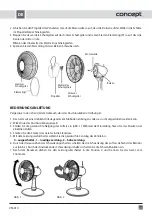
2. Pull the fan‘s propeller (2) onto the motor shaft so that the grooves on the propeller fit on the shaft‘s tongues.
4. Put the front cover grid onto the rear one and fix the clamping band (9) so that the edges of the grids fit in
the grooves on the band‘s inside.
5. Tighten the clamping band with the screw.
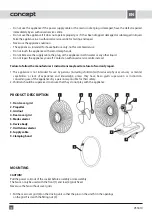
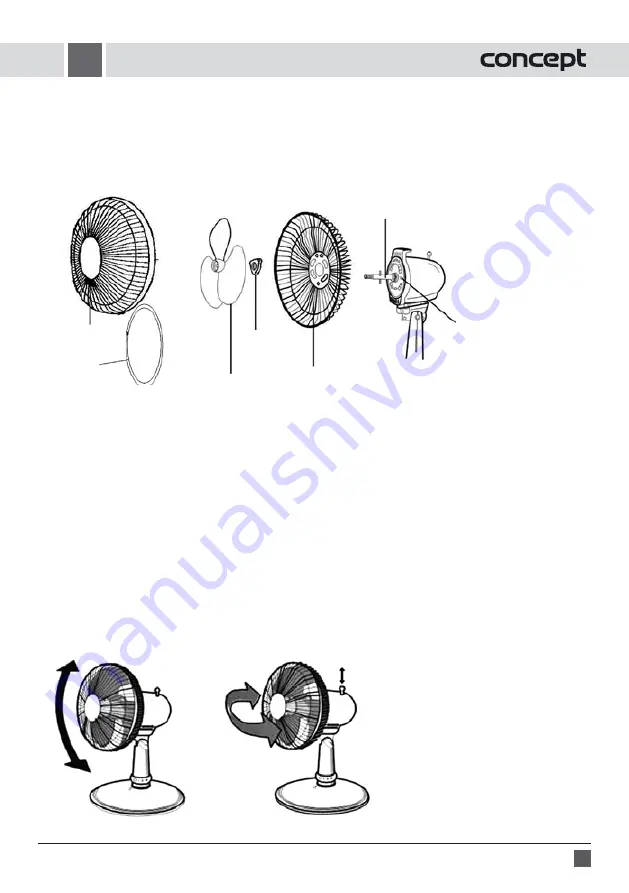
Fig. 1
Fig. 2
OPERATING INSTRUCTIONS
Prior to every use make sure the power supply cable is in good order and safe.
1. Place the appliance on a stable surface or floor to avoid tipping over.
2. Fully uncoil the supply cable.
3. Adjust the required inclination of the fan (Fig. 1). You will hear several clicks that lock the fan in individual positions.
4. Connect the power cord plug to the wall outlet.
5. Select the fan‘s power mode by the power switch as follows:
0 – Turn-off , 1 – Low power , 2 – High power.
6. By pulling out the oscillation selector you may turn off the oscillation during operation (Fig. 2). You turn the oscillation
on by pushing this function selection switch.
7. After use, turn the power switch to the 0 position and disconnect the appliance from the wall power supply outlet.
Front cover grid
Rear cover grid
Clamping
band
Propeller
Motor shaft
Grid nut
Pin


