9
IP Address: The IP address identifies the NVR in the network. It consists of four groups of numbers
between 0 to 255, separated by periods. For example, “192.168.001.100”.
Subnet Mask: Subnet mask is a network parameter which defines a range of IP addresses that can be used in a
network. If IP address is like a street where you live then subnet mask is like a neighbourhood. The subnet address
also consists of four groups of numbers, separated by periods. For example, “255.255.000.000”.
Gateway: This address allows the NVR to access the Internet. The format of the Gateway address is the same
as the IP Address. For example, “192.168.001.001”.
DNS1/DNS2: DNS1 is the primary DNS server and DNS2 is a backup DNS server. Usually, it should be enough just to
enter the DNS1 server address. You will need to consult your Internet Service Provided (ISP) for these details if you
do not know how to find them yourself.
Port
Web Port: This is the port that you will use to log in remotely to the NVR (e.g. using the Web Client).
If the default port 80 is already taken by other applications, please change it.
Client Port: This is the port that the NVR will use to send information through (e.g. using the mobile app).
If the default port 9000 is already taken by other applications, please change it.
RTSP Port: This is the port that the NVR will be allowed to transmit real-time streaming to other device (e.g. using a
streaming Media player.).
UPNP: If you want to log in remotely to the NVR using Web Client, you need to complete the port forwarding in
your router. Enable this option if your router supports the UPnP. In this case, you do not need to configure manually
port forwarding on your router. If your router does not support UPnP, make sure the port forwarding is completed
manually in your router.
4.1.3 Date/Time
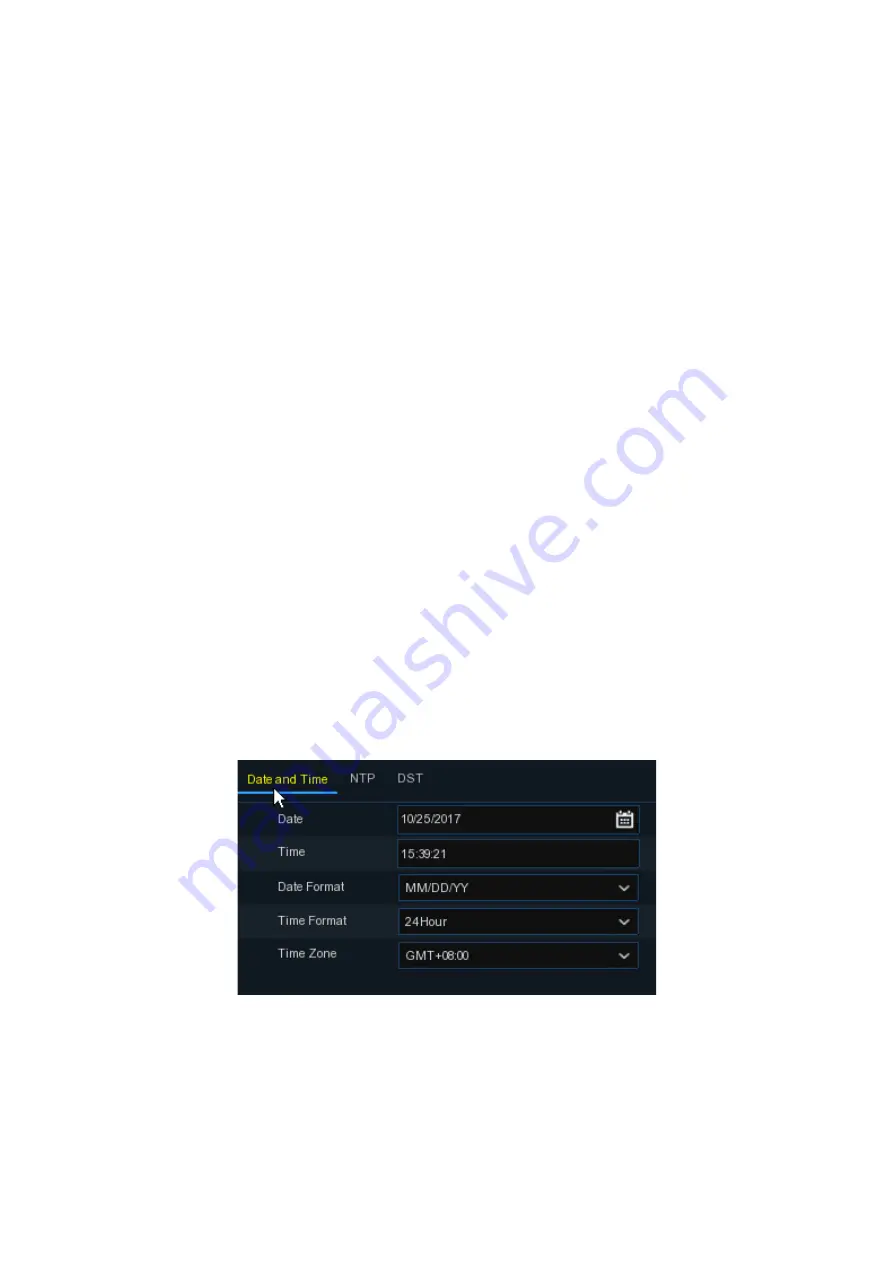
This menu allows you to configure the Date, Time, Date Format, Time Format, Time Zone, NTP and DST.
Date and Time
Click on the calendar icon to set the current system date.
Date: Click on the calendar icon to set the system date.
Time: Click to set the system time.
Date Format: Choose from the dropdown menu to set preferred date format.
Time Format: Choose time format between 24Hour and 12Hour.
Time Zone: Set the correct time zone


