background image

16

17

User manual

Thermal imager

IR-CAM


2 CONDTROL

User manual

Thermal imager

IR-CAM


2 CONDTROL

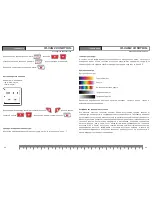
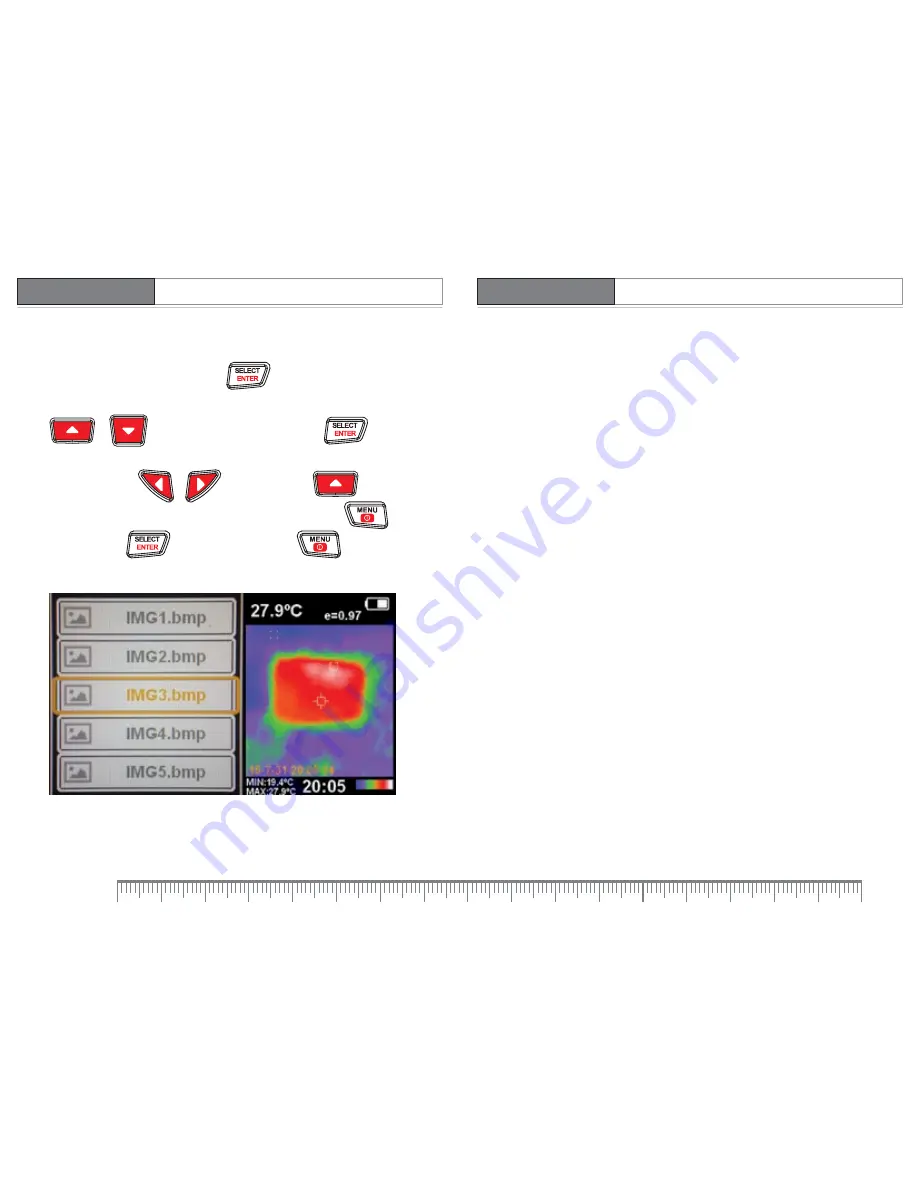
display/delete images

select option «saved images» in menu, press                  . A list of saved images will appear on 

the display (see picture below). 

press                       or                  to select image. to view image press                        , 

the product will enter  image display mode (see picture below).  

Flip the images by pressing                                  . After you press                         the product will 

suggest to delete currently displayed image.       to delete image press                          , 

to cancel remove press                     .  to return to menu press                       .

SaFETy INSTruCTIONS

attention! 

this product is an accurate optical and electronic device and requires delicate 

handling. unintended use of the product can be dangerous for human’s health! the user 

manual should be read carefully before you use the product for the first time. if the product is 

given to somebody for temporary use, be sure to enclose user manual to it. 

- do not misuse the product. 


- do not remove warning signs and protect them from abrasion, because they contain 

information about safe operation of the product.
- it is prohibited to disassemble or repair the product yourself. intrust product repair to 

qualified personnel and use original spare parts only.
- do not use the product in explosive environment, close to flammable materials.

the actual temperature of the object may differ from the results of measurement. investigated 

surface can be potentially dangerous! Measured objects or environment can also pose risks. 


the following recommendations will extend the life of the product:

- it is forbidden to point the product at the sun or other sources of intense emission (objects 

with temperature exc300 °С). It can lead to serious damage of detector.

- protect the product from bumps, drops, excessive vibration; do not allow moisture, 

construction dust, foreign objects inside the product;
- in case of moisture getting inside the product, first remove batteries and then apply to 

service center;
- do not store or use the product in high humidity environment for a long period of time;
- to clean the product use a soft cloth wet cloth.

non-compliance of the below mentioned instructions can cause electrolyte leakage and 

product damage:

-  remove batteries from the product, if it is not used for a long period of time;
- do not use batteries of different type or with different charge levels; 
- do not leave discharged batteries inside the product;
- do not heat the batteries to avoid the risk of explosion and electrolyte leakage. in case of 

liquid contact with skin, wash it immediately with soap and water. in case of contact with 

eyes, flush with clean water during 10 minutes and consult the doctor.

Summary of Contents for IR-CAM 2

Page 1: ......

Page 2: ...ion 11 Menu 11 Date and time setting 12 Units of temperature 12 Temperature of reflective background 13 Color palette 13 Emissivity 13 Emissivity of some materials 14 Marking of hot cold spot temperat...

Page 3: ...tes 22 Geraetbeschreibung 23 Display 24 Bedienung des Geraetes 25 Menuefunktionen 25 Manuelle Zeit und Datum Einstellung 26 Einstellung der Temperatureinheiten 26 Umgebungstemperatur 27 Farbpalette 27...

Page 4: ...g measures Set Thermal imager IR CAM2 1pc Power supply 4 pcs Micro SD memory card 4 Gb 1 pc Pouch 1 pc User manual 1 pc Specifications Display Wide viewing angle high resolution color screen 2 4 inche...

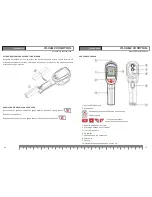
Page 5: ...ct enter Navigation buttons up down left right 3 Battery cover 4 Yellow option box 5 Memory card slot Insert replace batteries Remove the battery cover slide out the battery cover and remove it Insert...

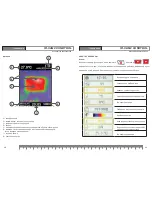
Page 6: ...if the function in ON 7 current time 8 color palette 1 2 3 4 8 6 5 7 Operation Menu Switch on the product Press to enter menu Use to select appropriate menu option The selected option is framed in ye...

Page 7: ...tive background within 0 36 Color palette Available color palettes Iron red Rainbow Rainbow high contrast Grey scale palette 1 Grey scale palette 2 Correctly selected color palette provides more corre...

Page 8: ...ction is ON the areas of hottest and coldest temperature will be marked on the display Elimination of infrared camera noise Put infrared imaging sensor closer to flat surface with homogeneous temperat...

Page 9: ...in explosive environment close to flammable materials The actual temperature of the object may differ from the results of measurement Investigated surface can be potentially dangerous Measured objects...

Page 10: ...e the original supporting document 3 The Warranty does cover defects resulting from wear and tear or improper use malfunction of the product caused by failure to observe the instructions of this user...

Page 11: ...ng Lieferumfang Waermebildkamera IR CAM2 1St ck Batterien 4 St ck Speicherkarte micro SD 4 Gb 1St ck Tragtasche 1St ck Bedienungsanleitung 1St ck Technische Daten Display 2 4 color HD Aufl sung der In...

Page 12: ...halten des Ger tes Druecken Sie und halten 5 Sekunden die Taste um das Geraet einzuschalten Das Ger t ist bereit zu messen Um das Geraet abzuschalten druecken und halten Sie die Taste 5 Sekunden 6 Inf...

Page 13: ...Farbpalette 1 2 3 4 8 6 5 7 Bedienung des Geraetes Menuefunktionen Schalten Sie das Geraet ein Um in das Menue zu gelangen druecken Sie die Taste Benutzen Sie die Tasten um den noetigen Menuepunkt zu...

Page 14: ...essgenauigkeit beeinflussen Um diesen Einfluss zu kompensieren stellen Sie die Umgebungstemperatur im Bereich von 0 bis 36 Farbpalette Verf gbare Farbpalette Hei es Metall Regenbogen Hoher Kontrast Gr...

Page 15: ...tur markiert Reduzierung des Rauschens Bringen Sie den Infrarot Sensor moeglichst nah zu einer glatten Fl che mit homogener Temperatur Druecken Sie und halten die Taste bis adjust im Display erscheint...

Page 16: ...extreme Temperaturen Verwenden Sie die Batterie entsprechend den Sicherheitsvorschriften Platzieren Sie die Batterien des Geraets nie in der Naehe von Hitze oder Feuer um das Risiko von Explosionen un...

Page 17: ...nd beginnt am Datum des Kaufs an den ersten Endabnehmer siehe Originalbeleg 3 Die Garantie trifft nicht fuer Teile zu deren Fehlfunktion auf Gebrauch oder Verschleiss zurueckzufuehren ist Fuer Maengel...

Page 18: ...CAM 2 CONDTROL IR CAM2 CONDTROL IR CAM2 IR CAM2 1 4 micro SD 4 1 1 1 c 2 4 60 60 3600 0 3 20 x20 0 5 0 15 20 300 2 2 2 4 F 0 1 1 0 6 8 14 2 5 Micro SD 4 bmp 4 x 1 5 V AA 6 12 CE EN61326 1 2006 212 95...

Page 19: ...36 37 IR CAM 2 CONDTROL IR CAM 2 CONDTROL 5 5 6 7 8 9 10 1 4 1 2 3 4 5...

Page 20: ...38 39 IR CAM 2 CONDTROL IR CAM 2 CONDTROL 1 2 3 4 5 6 7 8 1 2 3 4 8 6 5 7...

Page 21: ...40 41 IR CAM 2 CONDTROL IR CAM 2 CONDTROL C F 0 36 1 2 0 9 0 6...

Page 22: ...90 0 98 0 98 0 94 0 98 0 96 0 75 0 80 0 90 0 96 0 92 0 96 0 80 0 95 0 92 0 96 0 97 0 96 0 98 0 94 0 83 0 85 0 95 0 90 0 95 0 90 0 90 0 94 0 70 0 94 0 94 0 81 0 80 0 90 0 78 0 89 0 91 0 78 0 82 0 93 0...

Page 23: ...44 45 IR CAM 2 CONDTROL IR CAM 2 CONDTROL 300...

Page 24: ...46 IR CAM 2 CONDTROL 2002 96 91 157 12 36 www condtrol ru CONDTROL...

Page 25: ......

Reviews: