fmGenie Diversity Soundfield
B44FDIVINS – fmGenie Diversity Soundfield Installation Instructions V1.3
7
Check the transmitter
Plug the microphone into the fmGenie transmitter and switch on by
holding the power button down until the display appears. Check
that the four green signal bars on the fmGenie Diversity receiver
light up. Hold the microphone at about 25mm from the mouth and
talk whilst increasing the 'Radio Mic' volume on the Diversity until
you can hear it clearly without causing feedback whistling.
Make sure that the transmitter aerial (the microphone cable) is
substantially vertical and fully extended by wearing the transmitter
in the hip pouch supplied or simply clipping it to your belt. Walk
around the room whilst talking. There should be no important places where the sound
cuts out. Walk around again whilst staying silent. There should be no important places
where the sound goes very noisy. If either of these instances occurs, check for the
presence of large metallic objects in the vicinity. Consider moving them, adjusting the
position of one or both aerials on the Diversity, re-siting the Diversity or alternatively,
increase the fmGenie transmitter power setting to 'LR'.
6 Demonstrate and set the volume level for the user
It is important that the soundfield is set up properly. We have found that most users
tend to set the system too loud. This is unnecessary and undesirable. The golden rule
is "if the user of the transmitter can hear themselves clearly from the speakers, then
the volume is too loud". It is difficult for the person talking to judge the level of their own
amplified voice.
There are two ways to set up a soundfield properly; one uses a sound level meter and
the other relies on the subjective judgement of another person. Both methods require
two people with the class teacher preferably being the one doing the talking.
Setting the correct volume level
z
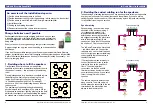
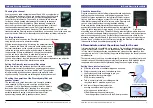
Wear the collarworn or headset microphone as shown.
z
Walk to the point in the room furthest away from
the Diversity and invite a colleague to join you.
z
Mute the transmitter by pressing the
STAR button momentarily.
z
Talk in a normal voice to your colleague while
they stand about 1 metre away from you.
z
Ask your colleague to remember the
average sound level reading by either....
a) Using a sound level meter
or
b) Remembering the sound level by ear
....and then get them to walk over to the Diversity receiver.
Signal bars
100-150mm
fmGenie Diversity Soundfield
6
B44FDIVINS – fmGenie Diversity Soundfield Installation Instructions V1.3
Choosing the channel
You may use any radio channel between 38 and 69. Any number lower
than 38 defaults to channel 38 and any number higher than 69 defaults
to channel 69 on the Diversity receiver. All radio receiving apparatus
can suffer from interference. Channels 38 to 44 inclusive are reserved
for the use of radio hearing aids (personal fm systems) so these are
least likely to suffer from interference. When choosing channels for
each room, try to ensure that there is always a separation of at least
two channels between adjacent rooms. Don't forget that adjacent
rooms includes rooms above and below too! The channel number on the fmGenie
transmitter and the Diversity receiver are dialled up as 'tens' and 'units' in the same way
on both products. Refer to the relevant product instructions for further information.
Avoiding interference
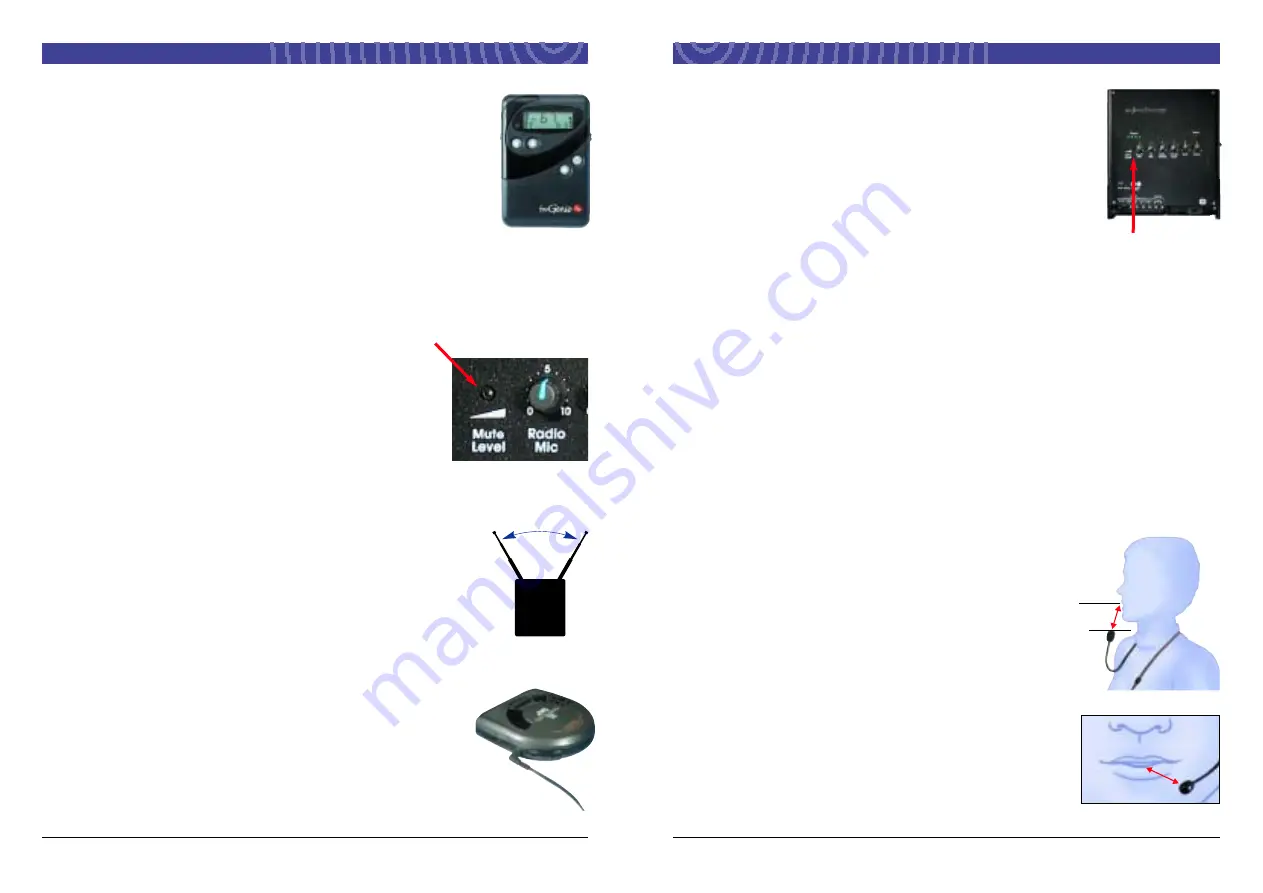
Set the ‘Mute level’ control on the Diversity receiver fully anti-clockwise
using the fmGenie tool or a small screwdriver.
With the receiver powered up, but leaving the transmitter turned
OFF, increase the 'Radio Mic' volume to check whether there is
any local interference on the channel you have selected. If not,
reduce the volume to about half-way and proceed to checking
the transmitter. If there is interference, change the channel until
you find one that is clear. Keep in mind the minimum two
channel separation between adjacent rooms. If you are unable
to find a clear channel, then find the channel with the least interference and adjust the
'Mute Level' clockwise until the interference is muted.
Setting the Diversity receiver amplifier aerials
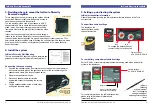
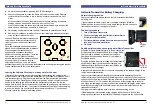
Make sure that the two aerials on the top of the wall mounted
Diversity receiver are fully extended and angled upwards at about
60 degrees to each other, but in line with the wall. They should be
left permanently in these positions, pinned to the wall with cable
clips if necessary. The aerials are not designed for daily movement.
Checking the operation of the Diversity amplifier and
speaker system
The easiest way to check the system is to connect a portable
radio, cassette or CD player into one of the auxiliary inputs
(numbered 1 to 4). Adjust the appropriate volume to a suitable
level and walk around the room, checking for a reasonably
constant sound level and lack of distortion or buzzing from any
particular speaker. Buzzing or distortion from a particular
speaker may indicate a faulty speaker or loose mount.
60°
Collarworn microphones
25-50mm
Head/earworn microphones


