42
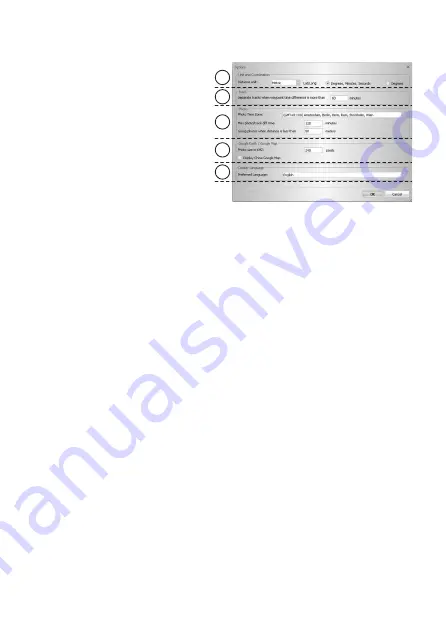
You will then see a window into which you can enter the following settings:
‘Unit and Coordination’ (a)
1. ‘Distance unit: Metric’:
Kilometres and/or meters are used for
the display.
2. ‘Distance unit: Imperial’:
Miles and/or feet are used for the display.
3. ‘Lat/Long: Degrees, Minutes,
Seconds’:
The latitude and longitude are displayed
in degrees, minutes and seconds.
4. ‘Lat/Long: Degrees’:
The latitude and longitude are displayed in decimal degrees.
‘Track’ (b)
1. Here, defi ne the time in minutes that is to apply as a separating point for various routes.
‘Photo’ (c)
1. ‘Photo time zone’
Set the time zones that correspond to the time zone settings of the camera that was used to take
the photos assigned to the waypoints.
2. ‘Max Photo/track diff time’
Enter the maximum difference between the capture time and the storage time of the waypoint at
which the photo is assigned to the waypoint.
3. ‘Group photos when distance is less than’
If the distance between two photos is less than the set value, both photos for a position marking
are assigned.
1-2
3
4
1
1
2
3
1
1
a
b
c
d
e
Summary of Contents for 37 27 38
Page 111: ...109...
Page 112: ...110...
Page 113: ...111...
Page 115: ...00086040bda indd 1 00086040bda indd 1 14 10 2009 8 53 16 Uhr 14 10 2009 8 53 16 Uhr...
Page 116: ...00086040bda indd 2 00086040bda indd 2 14 10 2009 8 53 17 Uhr 14 10 2009 8 53 17 Uhr...


