Loading
32
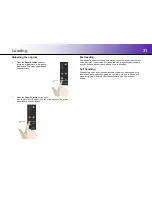
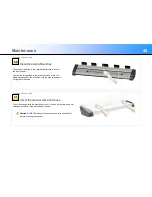
Paper Pressure Adjustment
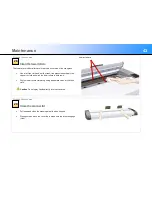
Assist the movement of very thin documents through the scanner by
reducing the pressure the scanner exerts on the media.
Before loading a very thin original, reduce the paper pressure by
pushing the paper pressure lever down.
ALWAYS lift the paper pressure lever back to its normal position when
you have finished scanning very thin documents.
Setting the input size
The input size
defines the scan area. This can be set in three different ways
from the Nextimage scanning software.
Automatic size detection - t
he scanning system detects the edges of the
document and calculates the input size automatically.
Standard size
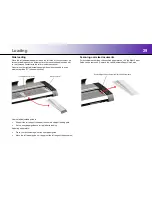
- standard paper sizes are marked on the scanner feed tray.
Use these markings to determine which standard size matches the original
then select this size in the Nextimage input size dialog.
Manual input
- for irregular sizes and non-square originals. Measure or
estimate the width of the original then type this as the width setting in
Nextimage. You can measure and set a length value or choose automatic
length detection and let the scanner to find it.
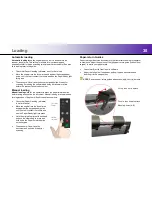
Batch scanning
When the same scan settings can be used for a large group of originals and
there is no need to stop and change them this is often referred to as batch
scanning. Under these conditions, the scanner can be allowed to run in semi-
automatic mode and operator interaction is reduced to simply feeding the
next document.
The basic steps are:
Set up the scanner for input size, color type and file format.
Select Batch Mode in the software. This instructs the scanner to start
scanning as soon as the document is fed.
Choose automatic loading or manual loading.
Load the first document
Press scan
UP - Normal paper pressure
DOWN - Low paper pressure


