W415-1007 / A / 07.18.12
27
1. Disconnect exhauster wire connection.
2. Remove the 3 exhauster screws.
3. Remove pressure switch assembly (switches) and front manifold cover pressure sensing hose.
4. Remove exhauster.
5. Reverse the bands on the rubber drain coupling so the screws are accessible if necessary. (Do not
reverse the drain coupling.) Confirm that directional arrow on drain coupling points away from exhauster.
6. Remove the appropriate plastic cap on the side panel. Install cap on vent opening not in use.
7. Reinstall the exhauster and the pressure switch assembly in the correct orientation with the (3) exhauster
screws removed in step 2. Reinstall the pressure switches so that they are above the heat exchanger
drain, to eliminate the chance of condensate draining into the pressure switch sensing hose causing
erratic furnace operation. See Figures 22-25 for reference.
8. Rotate the drain coupling so the drain holes are angled downward 15° and tighten coupling band to
exhauster.
9. Complete the venting as installation requires.
Always secure or support the vent and intake to the floor joists or rafters to avoid sagging and possible fatigue
of venting materials. This ensures proper drainage and prevents spilling the products of combustion into the
building.
The blower compartment should be completely isolated from the burner compartment, and in tight rooms
with other combustion devices, be completely isolated from the room (unless indirect vent). Ensure that the
combustion door gasket is in good condition.
oRIENTATIoN
RoTATE
ExhAuSTER
SEE FIguRES
16 - 19 FoR
RECommENDED
mouNTINg
FuRNACE FluE
Down
left
y
Down
Right
y
up
left
y
up
Right
y
up
Vertical
N
horz.left Vertical
y
horz. left Vertical
N
horz.Right Vertical
y
horz.Right
Right
N
This furnace can be installed in any of four positions. Figures 22-25 on the following pages show the four
positions. The installer must consider the following services: gas pipe, electrical power, drain trap, intake and
exhaust vents. Also consider the air conditioning connections and drain, access to filter(s) and
access to furnace and a/c for repair. Drains and traps of furnaces installed in spaces subjected to
freezing temperature must also be protected against freezing.
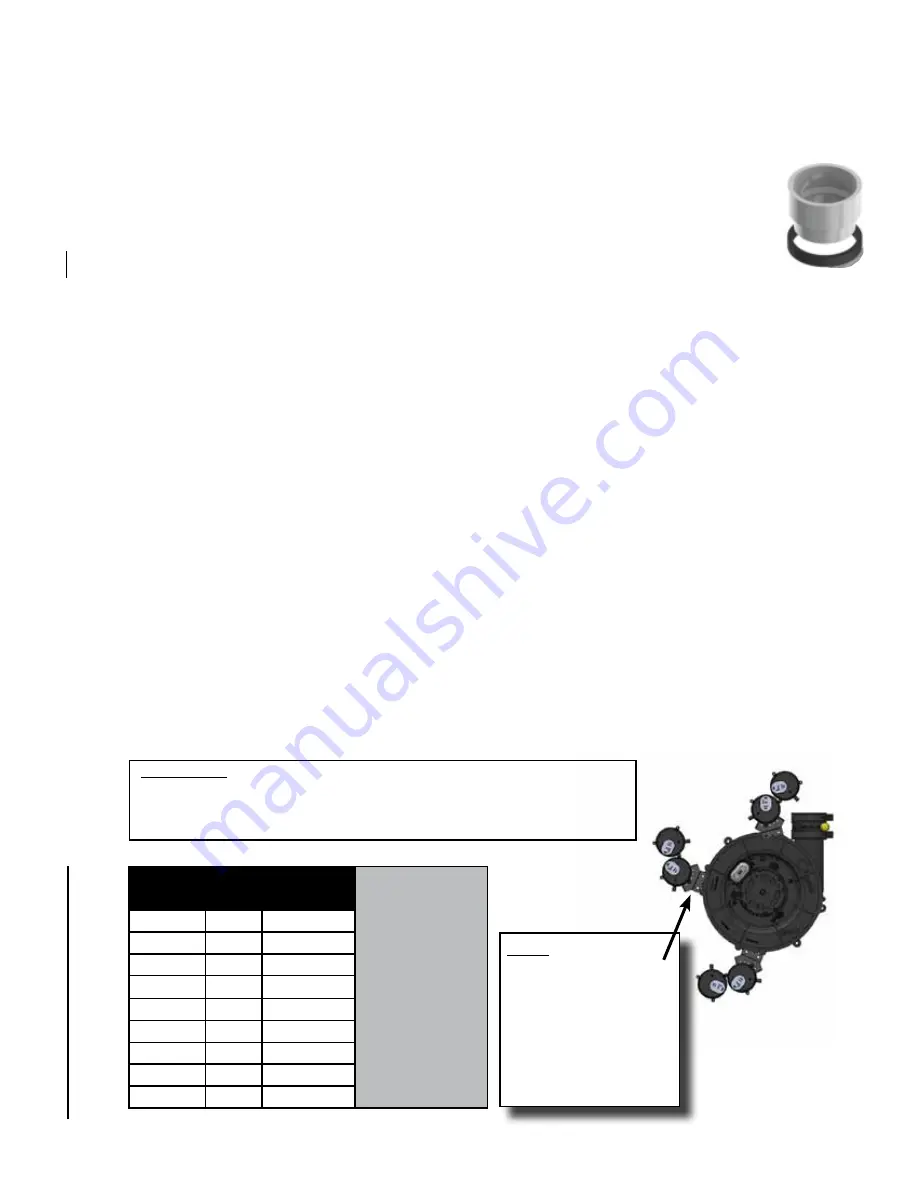
The combustion air inlet fitting is a 2” pVC Socket to pipe Thread adapter. Choose the intake
location and remove the appropriate plastic cap. Install the adapter to the exterior panel using the
gasket (on the outside of the panel and the locknut on the inside of the panel. Failure to apply
gasket on cabinet exterior voids the warranty.
11.0 RoUTInG opTIons
11.1 exhaUsTeR RoTaTIon InsTRUCTIons & pRessURe sWITCh
MoUnTInG
IMPORTANT:
KEEP PRESSURE SWITCH HOSES ABOvE HEAT ExCHANGER
DRAIN, AND CUT TO APPROPRIATE LENGTH TO PREvENT
ANY SAGS OR TRAPS FORMING IN THE HOSES.
NOTE
It is acceptable to
change the position
of the pressure switch
assembly on the
mounting bracket from
the number “2” to any
of the five positions
available.
TABLE 5


