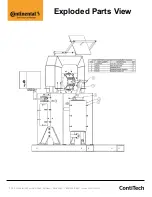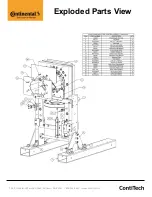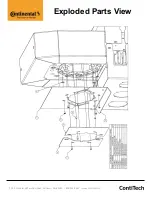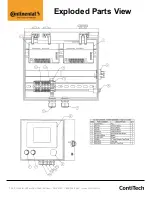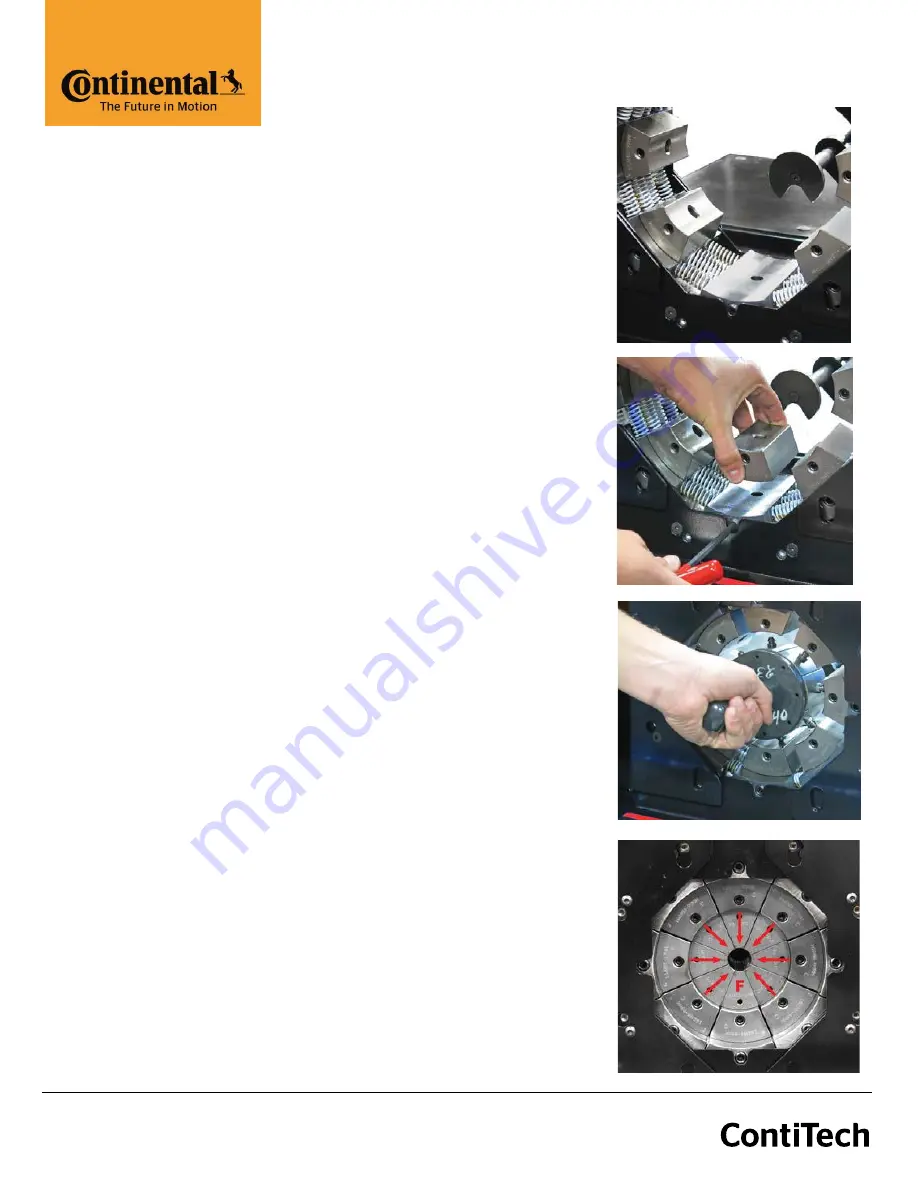
Die Installation and Removal
Adapter Die Installation 160 mm to 99 mm Adapter Dies are available
with the crimper. Adapter dies are held in place by the locking screws
as shown in the illustration. Hydraulic dies can either be installed
manually or with the die removal tool as shown.
The I.D. of intermediate adapter dies must match the O.D. of the
corresponding adapter die or hydraulic die or accurate crimps can not
be made.
Hydraulic Die Installation
•
Install the 160 mm to 99 mm Intermediate Adapter Dies as
shown making certain that the Intermediate Adapter Die I.D.
matches the Hydraulic Die O.D.
•
Remove the Hydraulic Dies from their holder with the magnetic
die insertion tool as shown.
•
The die size stamped on the face of the die should face toward
the operator.
•
Align the studs of the Hydraulic Dies with the holes in the
Adapter Dies and with the crimper in manual mode SLOWLY close
the crimper head on the die set.
•
Bring the crimper head to a fully closed position and remove the
die insertion tool.
The dies may also be inserted manually with the crimper head in the
fully open position.
Proceed to the ACTTM controller operating instructions to set up the
crimper for the hose and fitting being crimped. Note that the fixed 6
o’clock die makes it easier to more accurately position the fitting.
For Hydraulic Die removal, place the crimper in manual mode and
bring the crimper head to the fully closed position. Insert the die
removal tool and open the crimper head releasing the Hydraulic Dies
from their spring retention holes.
Press the CHANGE DIES button on the controller to easily open and
close the master dies without affecting crimper settings
Note that on the PC440, the master dies must be slightly closed in
order to completely insert the die removal tool.
703 S. Cleveland Massillon Road, Fairlawn, OH 44333 I 800.234.4632 I www.contitech.us


