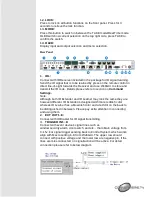
12.
LOCK:
Press to lock on all button functions on the front panel. Press for 3
seconds to relieve the lock function.
13.
MODE:
Press this button to switch in between the TAKE mode/Real Time mode.
OLED will show current selection on the top right side, press TAKE to
confirm the switch.
14.
OLED:
Display input and output selection and menu selection.
Rear Panel
1.
IRL:
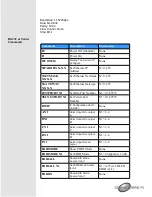
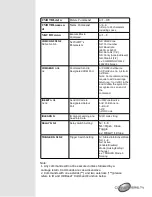
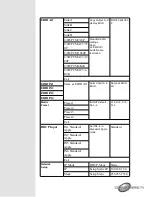
Connect with IR Receiver included in the package for IR signal learning.
Send the IR signal that is to be learned by press on the remote control in
direct line-of-sight towards the Receiver and use WebGUI to store and
transmit the IR code. Details please refers to section on
Command
Settings.
Note:
Although both IR Extender and IR Learner may look the same they are
however different. IR Extender is designed with more reddish color
whereas IR Learner has a brownish color and a red dot on the back to
be distinguished in between. Please pay extra attention in connecting
and using them.
2.
EXT OUT 1~8:
Connect with IR Blaster for IR signal transmitting.
3.
TRIGGER IN 1~8:
Connect with event device’s signal lines such as
window security alarm, door switch, and etc... that obtain voltage from
0~15v. For signal trigger sending back to Control System which works
align with Macro setting 1~8 from WebGUI. The upper row should
connect with positive voltage and the lower row are negative pin, if the
lines are miss connected, no signal/action will be active. For detail
connection please refer to below diagram


