86
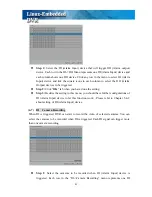
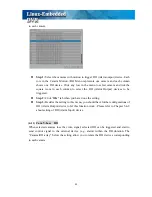
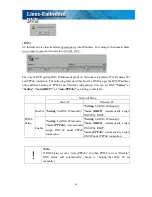
(Alarm Input) device and each column represents one camera. Click any row in the
menu to select DI (Alarm Input) device and tick the square icons in each column to
select the cameras.
z
Step 2:
Click “
OK
” tab when you have done the setting.
z
Step 3:
Besides the setting in this menu, you should have further configurations of
DI (Alarm Input) device to let this function work. . Please refer to Chapter 5-4-2
about setting of DI (Alarm Input) device.
(4-8)
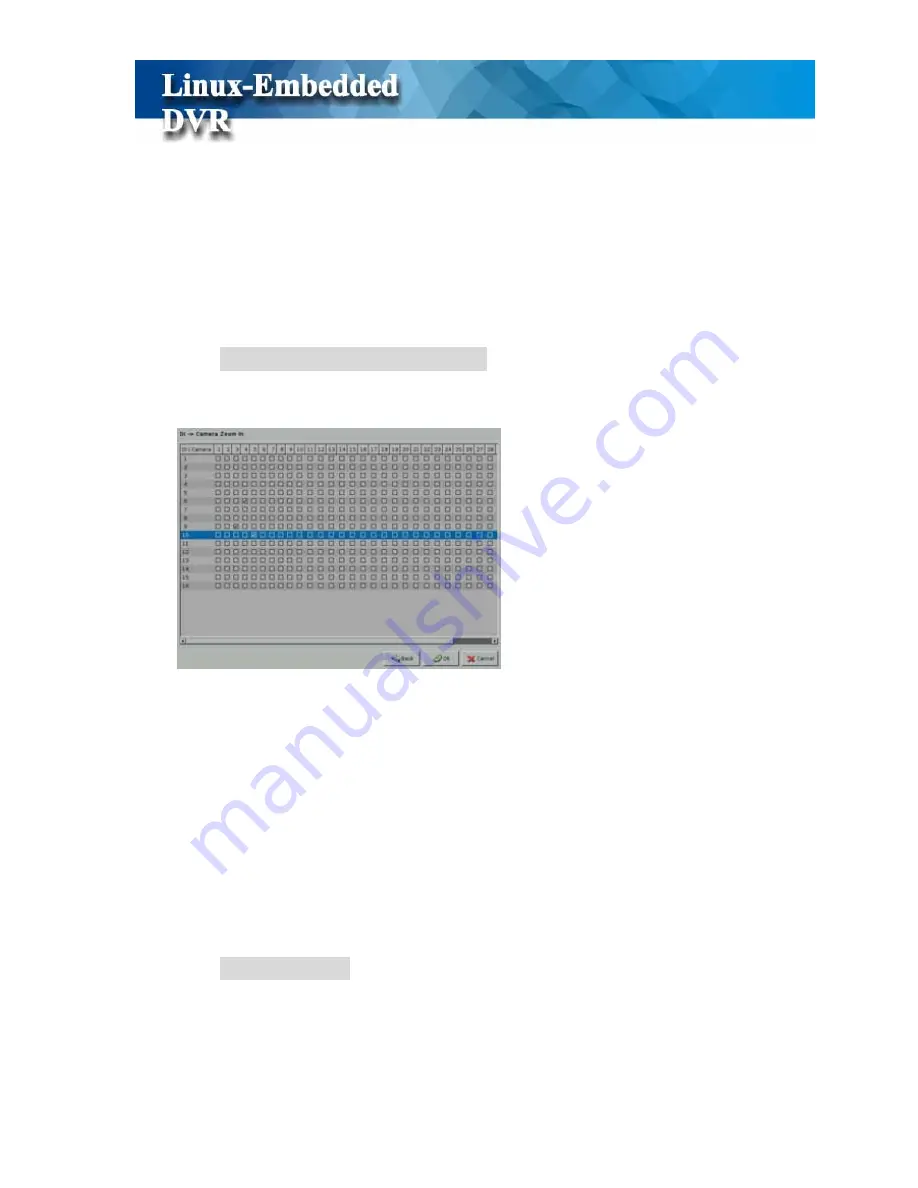
DI (Alarm Input) Camera Zoom-in
When selected DI is triggered, the image of selected camera will be zoomed in the
“
Zoom-in Window
” (refer to Chapter 3-1-3 Event to Zoom).
z
Step 1:
Select the DI (Alarm Input) device that will trigger camera for zooming.
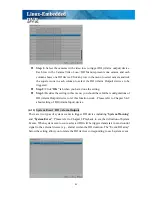
Each row in the “DI->Camera Zoom-in” menu represents one DI (Alarm Input)
device and each column shows one camera. Click any row in the menu to select DI
(Alarm Input) device and tick the square icons in each column to select the cameras
to be zoomed in.
z
Step 2:
Click “
OK
” tab when you have done the setting.
z
Step 3:
Besides the setting in this menu, you should have further configurations of
DI (Alarm Input) device to let this function work. . Please refer to Chapter 5-4-2
about setting of DI (Alarm Input) device.
(4-9)
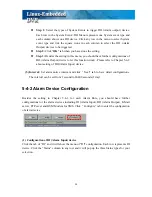
DI Call Monitor
This function is only provided when DVR is equipped with Multiplexer Quad card. Please
refer to “Chapter 5-2-3 Multiplexer”. When selected DI is triggered, the image of selected
cameras will be popped up to full screen in Main monitor or Quad monitors.
Summary of Contents for M1600
Page 1: ......
Page 16: ...12 3 Main Screen ...
Page 43: ...39 ...
Page 50: ...46 ...
Page 79: ...75 Note z Only analog camera can be displayed in these monitors ...
Page 153: ...149 ...


